Table of Contents
Advertisement
Quick Links
Advertisement
Table of Contents

Related Manuals for TechniSat DigitRadio 215


Summary of Contents for TechniSat DigitRadio 215
- Page 1 DigitRadio 215...
-
Page 2: Important Safety Instructions
straight out from the outlet. Important Safety Instructions 10. Repair or replace all electric service cords that have become frayed or otherwise damaged immediately. Do not use a cord that shows cracks or abrasion damage along its length, the plug, or the connector end. 11. -
Page 3: Table Of Contents
Contents Important Safety Instructions ........2 Contents ..............3 Your radio ..............4 Top View ............4 Front View ............4 Rear View ............4 Getting Started ............5 Digital Radio Mode (DAB Mode) ......5 Station List ............6 Secondary Service ........... -
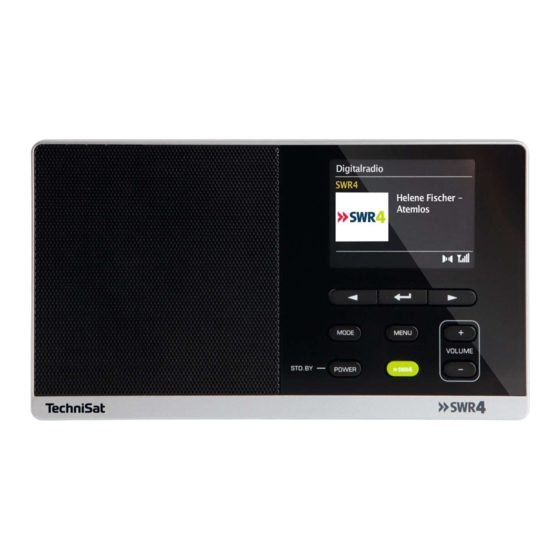
Page 4: Your Radio
Your radio Rear View Top View DIRECT PRESET buttons P1- P6 Press and hold one button to save preset station 1, 2, 3, 4, 5 or 6. Antenna Press one button to recall preset station 1, 2, 3 4, 5 or 6. DC IN 6V 500mA socket Headphone socket Battery compartment... -
Page 5: Getting Started
Getting Started Turning the unit on/off Connect the plug at the end of power adapter cable Carefully remove your radio from the box. You may to the DC IN socket on the rear of the unit. Then wish to store the packaging for future use. insert the power adapter into the mains socket. -
Page 6: Station List
Station List Manual Tune This feature enables you to select a station from Press and hold MENU button, and then press available station list. button to select ‘Manual Tune’, press Press and hold MENU button, and then press button to confirm, the display will show the button to select ‘Station List’, press channel number and frequency. -
Page 7: Viewing Station Information
Viewing Station Information your current area. ‘No SWR4 station’ will appear after full scanning if SWR4 station cannot be DAB/DAB+ stations broadcast additional information. searched in your location. Press MENU button repeatedly to view information through DLS (Dynamic Label Segment), Program Type, Ensemble, Frequency, Signal quality, Signal Recalling Preset Stations strength, Bitrate, Codec and Date. -
Page 8: Fm Mode
To play weak stations in mono, press and hold FM Mode MENU button, and then press button to select ‘Audio setting’, press button to Selecting FM Mode confirm. Press MODE button to select FM mode. Press button to browse ‘Forced For initial use, it will start at the beginning of the mono’, and then press button to confirm. -
Page 9: General Operations
Note: the options of Snooze time depends General Operations on which alarm duration time you selected. Alarm Setting Alarm Snooze time duration time Your radio includes dual alarms. Set Alarm, making 15 minutes 5 or 10 minutes sure set time at first. 30 minutes 5, 10 or 15 minutes Keeping power adapter connected when standby is... -
Page 10: Setting Time/Date
To set your prefer EQ, press button Press button to set backlight level to select ‘My EQ Setup’, and then press and backlight timeout, and then press button to confirm. Press button to button to confirm the setting. select through ‘Treble’ and ‘Bass’, and then press button to confirm. -
Page 11: Troubleshooting
Troubleshooting Specifications If a problem occurs, it may often be due to something Items Specifications very minor. The following table contains various tips. Description: DAB/DAB+ and FM Digital Radio Problem Solution No Power. Ensure the mains cable is FM: 87.5-108 MHz Frequency properly connected.
Need help?
Do you have a question about the DigitRadio 215 and is the answer not in the manual?
Questions and answers