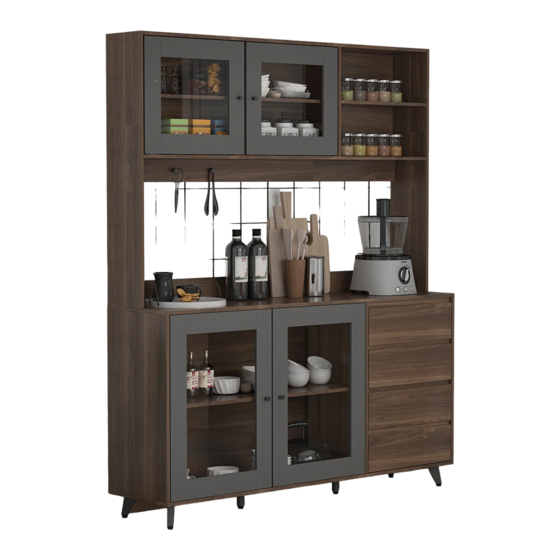
Summary of Contents for FUFU & GAGA Cupboard
- Page 6 Separate glides into 2 parts. Fix slide rail 15 to board 5 and 6 with screw(D) as shown. Please pay attention to the holes where the accessories are inserted.
- Page 7 Insert quickfit screw(A) into corresponding holes in board 5 and 6 with screwdriver as shown. Please don't use an electric screwdriver or use force to rotate, may cause crack.
- Page 8 Attach plank 14 and 30 to board 5 with wooden dowel(E) and turn cam locks(B) clockwise to tighten as shown.
- Page 9 Attach board 6 to the component with wooden dowel(E) and turn cam locks(B) clockwise to tighten as shown.
- Page 10 Insert quickfit screw(A) into corresponding holes in board 5 and 4 with screwdriver as shown.
- Page 11 Connect board 4 and 5 to board 3 with wooden dowel(E) and turn cam locks(B) clockwise to tighten as shown. Connect board 4 and 5 with bar 29 using screw(P) as shown.
- Page 12 Attach board 2 to board 4,5,6 with screw(C) as shown.
- Page 13 Insert quickfit screw(A) into corresponding holes in board 1 as shown.
- Page 14 Cover board 1 to the assembled unit with wooden dowel(E), and turn cam locks(B) clockwise to tighten as shown.
- Page 15 Fix leg and leg support to board 2 with screw(D) as shown.
- Page 16 Fix back board 8 to the assembled unit with screw(D) as shown.
- Page 17 Reinforce the back board with part(N) and nail(J) as shown.
- Page 18 Insert quickfit screw(A) into board 27 at first, attach board 20 and 21 to board 27 and turn cam locks(B) clockwise to tighten as shown.
- Page 19 Insert quickfit screw(A) into board 19 at first,attach board 19 to board 22 and turn cam locks(B) clockwise to tighten as shown. Attach board 19 to board 27 with screw(F) as shown.
- Page 20 Insert quickfit screw(A) into corresponding holes in board 25 and 26 with screwdriver as shown.
- Page 21 Attach board 25 and 26 to the component and board 23 with wooden dowel(E), and turn cam locks(B)clockwise to tighten as shown.
- Page 22 Attach board 18 to board 26,27,25 with screw(F) as shown.
- Page 23 Fix back board 24 to the component with screw(D) as shown.
- Page 24 Reinforce the back board with part(N) and nail(J) as shown.
- Page 25 Insert quickfit screw(A) into corresponding holes in board 1 with screwdriver as shown. Attach both 2 components with wooden dowel(E), and turn cam locks(B)clockwise to tighten as shown. Fix board 1 and 23 with screw(C) as shown. Fix part(G) to board 24 with screw(H) as shown.
- Page 26 Fix hinge(I) to board 28 with screw(D) as shown. Fix knob(G) to board 28 with screw(H) as shown.
- Page 27 Fix hinge(I) to board 7 with screw(D) as shown. Fix knob(G) to board 7 with screw(H) as shown.
- Page 28 Attach board 28 to the upper cabinet by fixing hinge with screw(D) as shown.
- Page 29 Attach board 7 to the lower cabinet by fixing hinge with screw(D) as shown.
- Page 30 Attach board 10,11 to board 12 with screw(F). Slide board 13 into available slots.
- Page 31 Insert quickfit screw(A) into board 9 as shown. Attach board 9 to the component and turn cam locks(B) clockwise to tighten as shown.
- Page 32 Fix runner 15 to board 10 and 11 respectively with screw (D) as shown.
- Page 33 Fix part(M) to a proper positon of your wall.Fix anti-dumping device(L) to board 18 with screw(D) at first. Fix part(L) to (M) with screw(F) as shown. Align rails, insert all drawers.


Need help?
Do you have a question about the Cupboard and is the answer not in the manual?
Questions and answers