Table of Contents
Advertisement
Quick Links
Download this manual
See also:
Instruction Manual
Advertisement
Table of Contents

Related Manuals for StarTech.com 1UCABCONS


Summary of Contents for StarTech.com 1UCABCONS
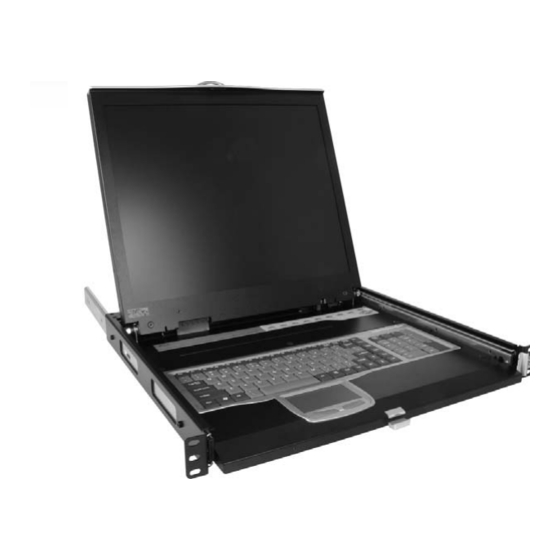
- Page 1 Cabinet Console 1U Cabinet Console with 15" TFT Monitor 1U Cabinet Console with 17" TFT Monitor 1U Cabinet Console with 19" TFT Monitor 1UCABCONS 1UCABCONS17 1UCABCONS19 Instruction Manual Actual product may vary from photo...
- Page 2 StarTech.com. Where they occur these references are for illustrative purposes only and do not represent an endorsement of a product or service by StarTech.com, or an endorsement of the product(s) to which this manual applies by the third-party company in question.
-
Page 3: Table Of Contents
T T a a b b l l e e o o f f C C o o n n t t e e n n t t s s Introduction ........... . .1 Features . -
Page 4: Features
I I n n t t r r o o d d u u c c t t i i o o n n Thank you for purchasing a StarTech.com 1U Cabinet Console. This console offers the ultimate in computer management, especially for applications where space is at a premium. - Page 5 Note : the following length is measured between "front pole and rear pole inside a rack cabinet" not the outside depth of a rack: Front Pole to Rear Pole Distance Front 1UCABCONS CABCONS30KIT 1UCABCONS17 CABCONS42KIT pole to rear pole distance...
- Page 6 The KVM Module can be connected to a console, or be used as a stand-alone KVM Switch. There are three major categories: PS/2, USB and Sun Interfaces: Type Model name CAB832DS No. of Console Ports No. of Computer Ports OSD Menu OSD Menu Cable Type SVPS23N1_xx PS23N1THINxx...
- Page 7 A A s s s s e e m m b b l l y y 1. Choose a proper position for the rack drawer. Mount the rear brackets (from the Rear bracket & extension kit) and lightly fasten them onto the rear vertical poles.
- Page 8 Instruction Manual 5. Remove both of the rear brackets. The front brackets now hold the assembled drawer. 6. Attach the extensions (from the Rear bracket & extension kit) to both sides of the KVM module box. Please note the length of the extensions and mount them in one of the following ways.
- Page 9 follow these steps for easy installation. A.Slide the rear brackets onto the extensions. B. Insert both sliding rails of the assembled drawer into the tight space formed by the rear brackets and the extensions. The KVM module should be pushed in evenly on both right and left sides.
-
Page 10: Installation
I I n n s s t t a a l l l l a a t t i i o o n n Consider the console as a set of keyboard, mouse and monitor, and connect it directly to... -
Page 11: Front Panel Functions
4. Remote Console in Operation - This will illuminate green when a computer is accessed by another set of keyboard/mouse/monitor connected to the Remote console when the KVM Switch Function Module is a 2-console KVM. LCD Panel Control 5. -
Page 12: Replaceable Keyboard
Replaceable Keyboard The keyboard is replaceable, in the event of language changes or maintenance. To replace the keyboard, tilt it up, locate the mini-USB cable underneath the keyboard and gently unplug it. While installing the replacement keyboard, please ensure that you extend just enough of the cable to keep the keyboard flat inside the tray. - Page 13 Instruction Manual To remove the Touch Pad, press the tab underneath it upward to release the latch, and then slide it outwards until the Touch Pad can be lifted up clear from the notches, as shown in the figure on the right. The Touch Pad is attached by a piece of mini-USB cable. To install the Touch Pad, extend just enough mini-USB cable and slide the Touch Pad all the way in till you hear a click sound as it is locked in position.
-
Page 14: Specifications
S S p p e e c c i i f f i i c c a a t t i i o o n n s s Specifications 15” LCD Panel Active Display Area 304.1 x 228.1 (mm) Pixel Pitch (mm) 0.297(H) x 0.297(V) Resolution 1024 x 768 @60/70/75Hz... -
Page 15: Limitation Of Liability
Limitation of Liability In no event shall the liability of StarTech.com Ltd. and StarTech.com USA LLP (or their officers, directors, employees or agents) for any damages (whether direct or indirect,... - Page 16 Visit www.startech.com for complete information about all our products and to access exclusive interactive tools such as the Parts Finder and the KVM Reference Guide. StarTech.com makes it easy to complete almost any IT solution. Find out for yourself why our products lead the industry in performance, support, and value.
Need help?
Do you have a question about the 1UCABCONS and is the answer not in the manual?
Questions and answers