Table of Contents
Advertisement
Quick Links
Advertisement
Table of Contents

Summary of Contents for StarTech.com DRW150SAT
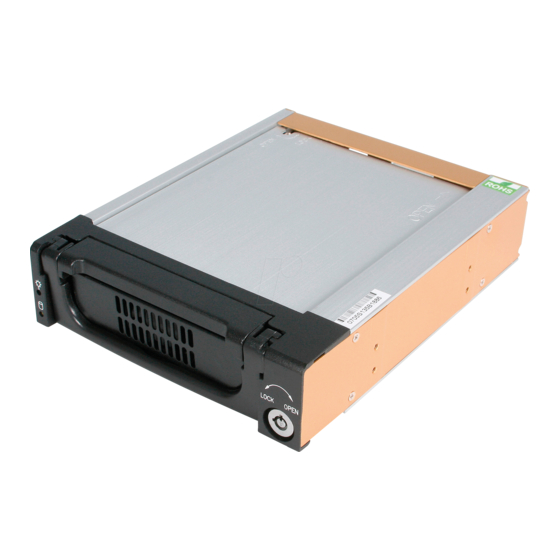
- Page 1 R R E E M M O O V V A A B B L L E E S S E E R R I I A A L L A A T T A A D D R R I I V V E E D D R R A A W W E E R R 5.25” Serial ATA Hard Drive Drawer DRW150SAT Instruction Guide DRW150SATBK * Actual product may vary from photo * DRW150SAT shown...
- Page 2 FCC COMPLIANCE STATEMENT This equipment has been tested and found to comply with the limits for a Class B digital device, pursuant to part 15 of the FCC Rules. These limits are designed to provide reasonable protection against harmful interference in a residential installation. This equipment generates, uses and can radiate radio frequency energy and, if not installed and used in accordance with the instructions, may cause harmful interference to radio communications.
-
Page 3: Table Of Contents
Table of Contents Introduction ........... . 2 Before You Begin . -
Page 4: Introduction
Introduction Thank you for purchasing a StarTech.com 5.25” Serial ATA hard drive drawer. Now, you can quickly add and remove hard drives from your system without having to open your computer. Each unit consists of a bay portion that fits into your 5.25” drive bay and a removable caddy that holds your hard disk. -
Page 5: Installing The Hard Drive
Contents • 1 x drive caddy • 1 x drive bay • 2 x Keys to lock/unlock the drive • 1 x Bag of assorted screws Installation This section will guide you through the installation of your external drive case. Please read through the instructions carefully and complete each step in the order listed. -
Page 6: Installing The Drive Bay
(see your computer’s user manual for details, if necessary). 3. a) By default, DRW150SAT/DRW150SATBK is configured for use with a SATA II drive. If you wish to use a SATA (150) drive, move the switch on the rear panel to the rightmost position (as illustrated below). -
Page 7: Installing The Caddy
Installing the Caddy in the Bay 1. With the handle lifted, slide the caddy into the bay until it is firmly seated. Lower the handle to click the caddy into its proper position. 2. Insert the key and turn clockwise to lock the drive into place and supply the drive with power. The drive will not function if the drawer has not been locked. -
Page 8: Technical Specifications
Technical Specifications Enclosure Dimensions Length 7.5 inches (190 mm) W i dt h 5.8 inches (147 mm) Height 1.6 inches (41 mm) Enclosure Construction Aluminum Hard Drive Compa t i b i l i t y Compa t i b l e w i t h 3 . 5 ” S e r i a l ATA Hard Drives Up to 300 MBytes/sec. -
Page 9: Technical Support
We are constantly adding new information to the Tech Support section of our web site. To access this page, click the Tech Support link on our homepage, www.startech.com. In the tech support section there are a number of options that can provide assistance with this product. - Page 10 Revised: April 10, 2007...


Need help?
Do you have a question about the DRW150SAT and is the answer not in the manual?
Questions and answers