Sign In
Upload
Download
Table of Contents
Contents
Add to my manuals
Delete from my manuals
Share
URL of this page:
HTML Link:
Bookmark this page
Add
Manual will be automatically added to "My Manuals"
Print this page
×
Bookmark added
×
Added to my manuals
Manuals
Brands
Develop Manuals
All in One Printer
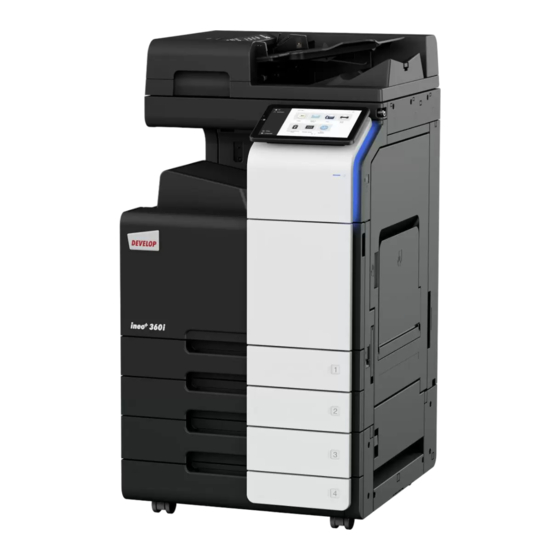
ineo+ 360i
Quick manual
Develop ineo+ 360i Quick Manual
Hide thumbs
1
2
Table Of Contents
3
4
5
6
7
8
9
10
11
12
13
14
15
16
17
18
19
20
21
22
23
24
25
26
27
28
29
30
31
32
33
34
35
36
37
38
39
40
41
42
43
44
45
46
47
48
49
50
51
52
53
54
55
56
57
58
59
60
61
62
63
64
65
66
67
68
69
70
71
72
73
74
75
76
77
78
79
80
81
82
83
84
85
86
87
88
89
90
91
92
93
94
95
96
97
98
99
100
101
102
103
104
page
of
104
Go
/
104
Contents
Table of Contents
Bookmarks
Table of Contents
Table of Contents
Safety Information
Introduction
Environmental Information
Safety Information
Regulation Notices
Caution Notations and Labels
Special Notice to User
Space Requirements
Operation Precautions
Legal Restrictions on Reproduction
Before Using this Machine
Environmental Initiatives
Intended Use of Office MFP Devices
Target Groups
Introduction to User's Guide
Symbols and Notations Used in this Manual
Administrator Password
How to Use the HTML User's Guide
About this Machine
Optional Components
Name of each Component (Main Unit)
Power Supply
About Panels
Control Panel
Touch Panel
Login Methods
Loading the Original and Paper
Load the Original
Loading the Original into the ADF
Placing the Original on the Original Glass
Loading Paper
Loading Paper in Tray 1 to Tray 2
Loading Paper into the Bypass Tray
Loading Envelopes
Loading Postcards
Loading Label Sheets
Loading Index Papers
Available Operations in this Machine
How to Copy
How to Print
How to Scan
How to Fax
Registering a Destination
How to Register a Destination
Read this if You Have a Problem
Main Messages and Remedies
Checking a Notification Message on the Touch Panel
Screen that Appears When a Paper/Staple Jam Has Occurred
When an Error Message Appears
When the Touch Panel Is Not Visible
When Printing Quality Has Deteriorated
When a Message Appears to Replace Consumables or Carry out Cleaning
About Drum Unit
About Developing Unit
About Toner Cartridge
About Waste Toner Box
About Staple Cartridge
About Hole-Punch Scraps
Advertisement
Quick Links
1
Table of Contents
2
Administrator Password
3
Control Panel
4
How to Print
5
How to Scan
Download this manual
Dynamic balance
www.develop.eu
Quick Guide
ineo +
360i/300i/250i
Table of
Contents
Previous
Page
Next
Page
1
2
3
4
5
Advertisement
Table of Contents
Need help?
Do you have a question about the ineo+ 360i and is the answer not in the manual?
Ask a question
Questions and answers
Related Manuals for Develop ineo+ 360i
All in One Printer Develop ineo+ 300i Quick Manual
(104 pages)
All in One Printer Develop ineo+ 220 Quick Manual
Copy/print/fax/scan/box operations (302 pages)
All in One Printer Develop ineo+ 224 Product Manual
(44 pages)
All in One Printer Develop ineo 361 Product Manual
All in one printer (56 pages)
All in One Printer Develop ineo+ 353 User Manual
(220 pages)
All in One Printer Develop ineo+ 451 User Manual
(526 pages)
All in One Printer Develop ineo 367 Quick Manual
(188 pages)
All in One Printer Develop ineo+ 220 Short Manual
(7 pages)
All in One Printer Develop ineo 163 User Manual
(342 pages)
All in One Printer Develop ineo 163 Product Manual
(40 pages)
All in One Printer Develop ineo+ 654 Product Manual
(49 pages)
All in One Printer Develop ineo 250 Service Manual Field
(770 pages)
All in One Printer Develop ineo 161 Service Manual
(70 pages)
All in One Printer Develop INEO 161 Service Manual
(188 pages)
All in One Printer Develop ineo+ 3350 Quick Manual
(64 pages)
All in One Printer Develop ineo 1051 Product Manual
(60 pages)
This manual is also suitable for:
Ineo+ 300i
Ineo+ 250i
Table of Contents
Save PDF
Print
Rename the bookmark
Delete bookmark?
Delete from my manuals?
Login
Sign In
OR
Sign in with Facebook
Sign in with Google
Upload manual
Upload from disk
Upload from URL


Need help?
Do you have a question about the ineo+ 360i and is the answer not in the manual?
Questions and answers