Advertisement
Quick Links
3R D GE N 4 RUN NE R ( 96- 02)
ST R I KE R O C K SL I DE R S
INSTALL I NS T RU C T I O N S
Please read the mounting instructions below carefully before attempting to install.
Be sure to check out the install video on the product page, if available.
Thank you for purchasing from Victory 4x4! Checkout our website, victory4x4.com for other great off-road
products. Be sure to rate and review our product online. If you have any questions or are missing parts, please
don't hesitate to call us at 269-459-8447!
Advertisement

Related Manuals for Victory 4x4 3RD GEN 4RUNNER STRIKE ROCK SLIDERS


Summary of Contents for Victory 4x4 3RD GEN 4RUNNER STRIKE ROCK SLIDERS
- Page 1 Be sure to check out the install video on the product page, if available. Thank you for purchasing from Victory 4x4! Checkout our website, victory4x4.com for other great off-road products. Be sure to rate and review our product online. If you have any questions or are missing parts, please...
-
Page 2: I Nclu D E D Hardware
I NCLU D E D HARDWARE I NCLUDED BOLT PACK(S ) 046-01 29 Note: Some Victory 4x4/JCR Offroad/SquatchProof products share hardware kits. Any extra hardware you may recieve that is not listed above can be repurposed or discarded. 3/8”-1 1/2” Hex... -
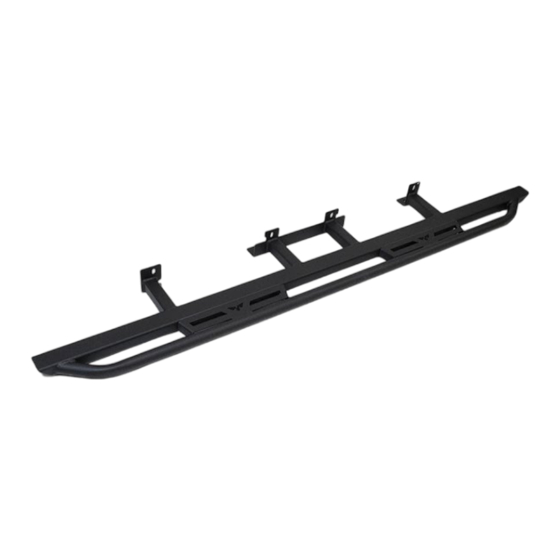
Page 3: Included Parts
I NCLU D E D PARTS 1L/1R Strike Rock Slider... - Page 4 AS SE M BLY Start by removing any factory or after market steps or sliders that may be already equiped on your vehicle. These typically mount along the body and not over the frame. With the factory steps removed, you now have access to the factory gas tank skid plate on the driver side of the vehicle.
- Page 5 AS SE M BLY Next, there will be a factory front mount, as pointed out in the area below, that will also be used to bolt the slider into. If anything is bolted into that hole from the factory, like a splash guard or a plastic skid plate, that will need to be removed as well.
- Page 6 AS SE M BLY With those bolts removed and out of the way, you can now loosely bolt in the slider, making sure it is clamped in between the gas tank skid and the frame. There will be arrows on the side of the slider that will indicate which side of the vehicle it belongs on, the arrows should point toward the front of the vehicle.
- Page 7 A S S E M B LY With the slider in place, you will need to use c-clamps to keep it supported and clamped in place in order to drill your holes, you can also use a jack or jack stand to support it in place also. You will need a 5/16” drill bit or step bit and we recommend a right angle drill, as the angle may be difficult for a normal straight drill bit.
- Page 8 A S S E M B LY At this point there will be no remaining factory holes on the frame, so you will need to mark and drill the remaining holes into the frame using the same 5/16” drill bit. You can either use the mounting holes on the slider as a guide to drill into the frame, like on the previous step, or you can mark them with a sharpie and then center punch the mounting locations with the slider off to drill the holes out.
- Page 9 AS SE M BLY Once all of your holes are drilled and your hardware is started on both sides, remove any clamps or jacks you are using to hold your slider supported to the frame. Once those are out of the way, be sure to go around and tighten down all of your hardware to complete your install.
Need help?
Do you have a question about the 3RD GEN 4RUNNER STRIKE ROCK SLIDERS and is the answer not in the manual?
Questions and answers