Advertisement
Quick Links
UNIVE RS AL
ADV E NT URE C ARR I E R
INS TAL L I NSTRUC T ION S
Please read the mounting instructions below carefully before attempting to install.
Be sure to check out the install video on the product page, if available.
Thank you for purchasing from Victory 4x4! Checkout our website, victory4x4.com for other great off-road
products. Be sure to rate and review our product online. If you have any questions or are missing parts, please
don't hesitate to call us at 269-459-8447!
Advertisement

Subscribe to Our Youtube Channel
Summary of Contents for Victory 4x4 ADVENTURE CARRIER
- Page 1 Be sure to check out the install video on the product page, if available. Thank you for purchasing from Victory 4x4! Checkout our website, victory4x4.com for other great off-road products. Be sure to rate and review our product online. If you have any questions or are missing parts, please...
-
Page 2: Includ Ed Hardwar E
INCLUD ED HARDWAR E 3/8”-16 x 1” 1/4”-20 X 3/4” 1/4”-20 Button Head Button Head Serr. Flange Nut 1/4”-20 X 3/8” 3/8”-16 1/4”-20 X 1/2” Button Head Serr. Flange Nut Flat Head 1/4”-20 X 1” Hex Head 3/4”-10 X 1-1/2” Hex Head 1”... -
Page 3: Included Parts
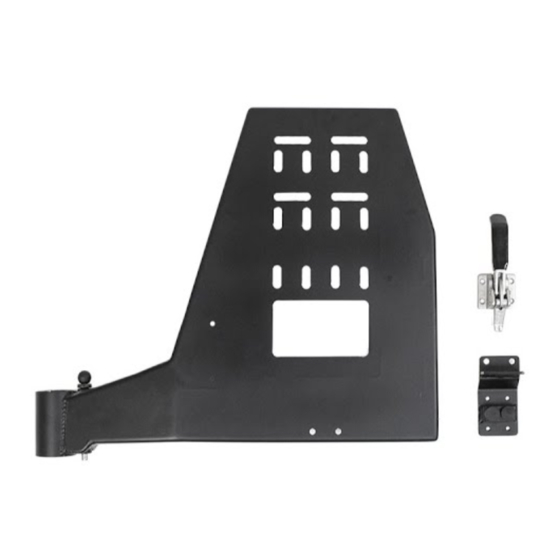
I NCLU D E D PARTS... - Page 4 I NS TA LL ATI ON Start by installing the pin track on whichever side of the bumper you are installing your carrier on. Make sure that when you line the holes up, the small bolt holes are counter sunk. Then use the 1/4”-20 x 1/2” flat head bolts and 1/4”-20 serr.
- Page 5 I NS TA LL ATI ON Next, install the spindle into the bumper. Put the larger end of the spindle into the hole on the pin track. Then, use the 3/4” x 1-1/2” bolt with the 3/4” washer to secure it onto place. To do this you will need to insert the bolt and washer into the threaded hole in the bottom of the spindle by reaching around to the back of the bumper from the bottom.
- Page 6 I NS TA LL ATI ON Next, grease both bearings and the rubber seal. For more in-depth instructions on how to do so, watch the installation video. Then, flip your carrier door upside down, and insert 1 bearing and the rubber seal into the hub.
-
Page 7: Installation
I N S TA L L ATI O N Next, simply place the carrier onto the spindle. With that in place you can install the rest of the hardware into the hub. Start by putting the bearing into place, making sure that in this orientation the smaller end is again facing down. - Page 8 I NS TA LL ATI ON Next, install the pull pin. To do this, grease the metal part of the pin and screw it into the small round threaded hole just to the side of the hub. To prevent the pull pin from sticking, we recommend greasing it frequently. You will want to choose which grease you use and how frequently you use it based on your climate and activities.
- Page 9 I NS TA LL ATI ON With the carrier mounted you can install the latch. Start by mounting the small D shaped bracket onto the bumper using the 1/4”-20 x 1” hex head bolts, 1/4” washers and 1’4”-20 serr. flange nuts. The mounting slots for this bracket are located just below the carrier on the vertical face of the bumper.
- Page 10 I NS TA LL ATI ON Next, put the 2 rubber bumpers in the large holes in the latch mount and install it onto the carrier using the three 3/8”-16 x 1” bolts and 3/8”-16 serr. flange nuts. One bolt goes on the inside of the carrier through the bottom.
- Page 11 I NS TA L L AT I O N Finally, install the latch onto the latch mount using the 1/4”-20 x 3/4” button head bolts and 1/4”-20 serr. flange nuts. At this point you can adjust the positioning of all the latch components so that the small nut on the inside of the D shaped bracket sits roughly centered on the face of the latch when latched.


Need help?
Do you have a question about the ADVENTURE CARRIER and is the answer not in the manual?
Questions and answers