Table of Contents
Advertisement
Quick Links
Installation and Instruction Manual
1
Detached Motion Sensor with Remote Control
Tri-level Control & Daylight Harvest Sensor
1. Technical Specifications
HCD038
Operating voltage
Stand-by power
Load ratings
Warming-up
Operation temperature
Case temperature (Max.)
IP rating
EMC standard (EMC)
Safety standard (LVD)
Radio Equipment (RED)
Certification
PIR Sensor Propertie (HIR17 & HIR17/R)
Sensor principle
Operation voltage
Detection range *
Detection angle
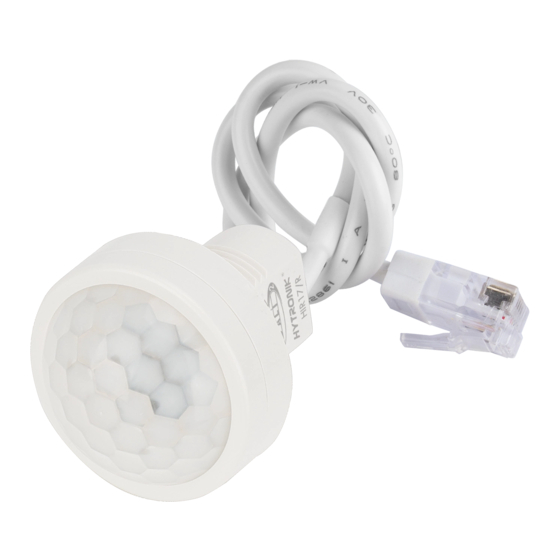
PIR sensor head (Model:HIR17 & HIR17/R)
HIR17
HIR17 with HA04
3
HIR17 with HA05
HIR17/R (IP65)
220~240VAC 50/60Hz
<0.5W
30mA (max. 15 devices)
20s
Ta: -20°C ~ +55°C
Tc: +75°C
IP20
EN55015, EN61000, EN61547
EN60669-1/-2-1,
AS/NZS60669-1/-2-1, IEC62386
EN300440, EN301489-1/-3/-17
EN62479, EN300328
Semko, CB, CE , EMC, RED, RCM,UKCA
PIR detection
5VDC
HIR17
Max installation height:3m (single person)
Max detection range (Ø):12m
HIR17/R
Max installation height:8m (single person)
Max installation height:12m (forklift)
Max detection range (Ø):14m
360°
52
68
HCD038+HIR17 & HIR17/R
2. Installation
Mechanical Structure & Dimensions
HCD038 (DALI output with 1 push)
RJ12 connector
21.7
21.7
21.7
DALI
Push
L
N
120
110.5
Installation hole
Installation hole
44.2±0.1
Installation hole
60±0.2
Installation hole
HCD038+HIR17 & HIR17/R-20220817-A0
Advertisement
Table of Contents

Related Manuals for Hytronik HCD038+HIR17


Summary of Contents for Hytronik HCD038+HIR17
- Page 1 Installation and Instruction Manual Detached Motion Sensor with Remote Control HCD038+HIR17 & HIR17/R Tri-level Control & Daylight Harvest Sensor 1. Technical Specifications 2. Installation Mechanical Structure & Dimensions HCD038 HCD038 (DALI output with 1 push) Operating voltage 220~240VAC 50/60Hz Stand-by power <0.5W...
- Page 2 Stand-by dinmming level:10%; Lux disabled Shift Button Press button “Shift”, the LED on the top left corner is on to indicate mode selection. All values / settings in RED are valid for 20 seconds. Subject to change without notice. HCD038+HIR17 & HIR17/R-20220817-A0...
- Page 3 Note: 1. To set hold-time at 30s / 5min / 15min / 30min, press “Shift” button first. 2. 2s is for testing purpose only, stand-by period and daylight sensor settings are disabled in this mode. *To exit from Test mode, press button “RESET” or any button in “Hold-time”. Subject to change without notice. HCD038+HIR17 & HIR17/R-20220817-A0...
- Page 4 5. Additional Information / Documents 1. Regarding precautions for PIR sensor installation and operation, please kindly refer to www.hytronik.com/download ->knowledge ->PIR Sensors - Precautions for Product Installation and Operation 2. Regarding precautions for Photodiode/Photocell Usages, please kindly refer to www.hytronik.com/download ->knowledge ->Precautions for Photodiode/Photocell Usages 3.
Need help?
Do you have a question about the HCD038+HIR17 and is the answer not in the manual?
Questions and answers