
Related Manuals for Faro mini eterfan


Summary of Contents for Faro mini eterfan
- Page 2 IMPORTANT!
- Page 3 Do not connect the fan directly to the power source. A wall controller is not available for this fan. Only use the remote control provided with the product. Contact the distributor if you need to replace the product. 1- Protection class I: The fitting has an earthing connection: The earth wire (yellow / green) has to be connected to the clip marked with 2- This fitting should only be installed in rooms where direct contact with water is impossible.
- Page 4 Verify you have all parts before beginning the installation. Check foam insert closely for missing parts. Remove motor from packing. To avoid damage to finish, assemble motor on soft padded surface or use the original foam inset in motor box. Do not lay fan on its side as this could result in shifting of motor in decorative enclosure.
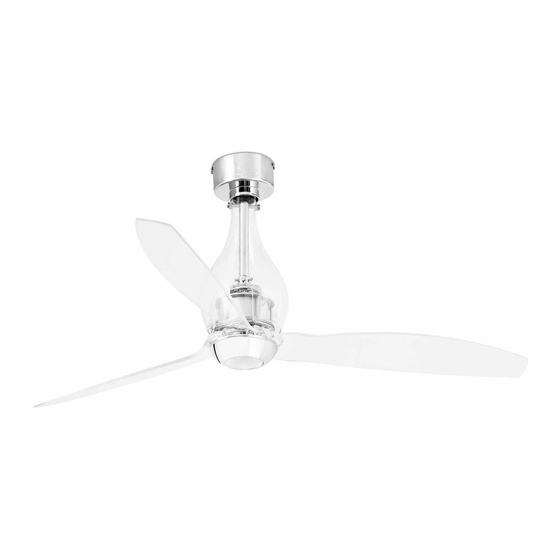
- Page 5 Mini Eter fan / Eter fan Remove the drop rod. Insert the pin and clevis. Pass the wires through the post. Tighten the screw holding the pin in place.
- Page 6 Assemble the glass and the cano- py. Reinsert the ball and pin. Make the hanger bracket installation. Ensure the screws are securely fastened to the ceiling. Place the fan.
- Page 7 Important: Fan can only be operated by the supplied remote. This fan can not work with a controller wall Ensure that the connections are correct. If in doubt consult a technician.
- Page 8 Just fan Make the hanger bracket installation. Ensure the screws are securely fastened to the ceiling. Place the fan.
- Page 9 Important: Fan can only be operated by the supplied remote. This fan can not work with a controller wall Make the hanger bracket installation. Ensure the screws are securely fastened to the ceiling. Place the fan. Ensure that the connections are correct. If in doubt consult a technician.
-
Page 11: Maintenance
The reversing switch for hot or cold weather depends on factors such as the size of the room, height of the ceiling, number of ceiling fans, etc. Hot weather/downward –The fan will turn in a counter clockwise direction. A downward air circulation creates a cooling. - Page 12 3. If using an optional light fitting, ensure the glass is properly fitted and / or the screws holding the glass are firm. 4. If a solid state speed control has been fitted this can cause noises in the motor do not use these control.
-
Page 13: Remote Control
Remote control Fan speeds (I low -- VI high) Light: not applicable for this model Note: when you turn on the fan the first time or switch the main power to the controller, you need star the fan on high speed first, and then choose a lower speed. A 120-150 seconds is required to allow the dc fan to respond to the remote each speed or fan direction selections, as dc fan incorporate a sensor control which controls the power to the motor. - Page 14 Remote control REMOTE CONTROL The DC brushless motor manual of general type remote control. THE MANUAL OF TRANSMITTER THE RECEIVED PROVIDES THE FUNCTION OF MULTIPLICABLE PROTECTION. 1- Lock position: the received has a built–in safety against obstruction during operation. The motor will be locked operation and disconnected after 30 seconds of interruption.
- Page 15 the power to the receiver of Ceiling Fan 1. - Now the transmitter should be paired with the receiver of ceiling fan 1. Turn ON/OFF or change the speed of ceiling fan 1 by the transmitter to check the operation. Setting DC Ceiling fan 2: - Turn off both ceiling fans 1 and 2 via the mains supply to the receiver.
- Page 16 This warranty policy is subject to the conditions set forth on the manufacturer’s website www.faro.es under ‘Warranty’. Do not install the product if it is damaged. This lighting was properly packed in such a way that its smaller parts could not get damaged during its transport.
- Page 17 All warranty periods mentioned are subject to a representative of the manufacturer being able to access the defective product or system to check such non-conformity. The warranty claims must be notified and sent to the manufacturer’s regional office within 30 days of such indication, and at least the following information must be specified (additional information may be requested): - Defective products.
Need help?
Do you have a question about the mini eterfan and is the answer not in the manual?
Questions and answers