
Related Manuals for GeoVision GV-PFER12800


Summary of Contents for GeoVision GV-PFER12800
- Page 1 Quick Start Guide GV-PFER12800 Before attempting to connect or operate this product, MFE-QG-A please read these instructions carefully and save this manual for future use.
- Page 2 GeoVision. Every effort has been made to ensure that the information in this manual is accurate. GeoVision, Inc. makes no expressed or implied warranty of any kind and assumes no responsibility for errors or omissions. No liability is assumed for incidental or consequential damages arising from the use of the information or products contained herein.
-
Page 3: Table Of Contents
Contents 1. Overview ......................1 2. Optional Installation ................... 2 2.1 Looking Up the Dynamic IP Address ............. 2 2.2 Configuring the IP Address ................4 3. The Web Interface ....................5 4. Upgrading System Firmware ................8 5. Restoring to Factory Default ................9... -
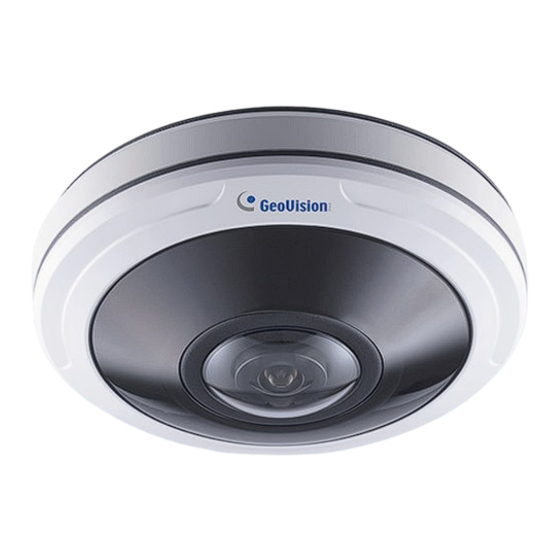
Page 4: Overview
1. Overview Note: The camera can be powered by DC 12V / PoE power supply. If the PoE switch is used to power the camera, DC 12V power supply is not required. To load default settings, press and hold the default button for 10 seconds. -
Page 5: Optional Installation
2. Optional Installation Looking Up the Dynamic IP Address By default, when the camera is connected to a LAN with the DHCP server, it is automatically assigned with a dynamic IP address. Follow the steps below to look up its IP address. - Page 6 6. Click on its IP address again and select Webpage to open its Web interface. 7. Type the set password on the login page and click Login.
-
Page 7: Configuring The Ip Address
Configuring the IP Address If the camera is connected to a LAN without the DHCP server, the default IP address will be 192.168.0.10. Follow the steps below to modify the IP address to avoid IP conflict with other GV-IP devices on the same LAN. 1. -
Page 8: The Web Interface
3. The Web Interface Once you log in the Web interface, you will see the live view as shown below. Item Parameter Description Click to select on-board dewarping mode. Hardware Dewarping Dewarping Rule Click to select client-side dewarping mode. Software Dewarping Click to select ceiling mounting. - Page 9 Select live view of original fisheye view. Select live view of 360° panoramic view. Select live view of two 180° panoramic views. Select live view of four regional views. Select live view of one original fisheye view and three regional views. 1O3R Select live view of one 360°...
- Page 10 Select live view of one 360° panoramic view 1P6R and six regional views. (Only for Software Dewarping) Display Select live view of one original fisheye 1O8R view and eight regional views. (Only for Software Dewarping) Click to play this channel on any window of live view.
-
Page 11: Upgrading System Firmware
4. Upgrading System Firmware GeoVision periodically releases updated firmware on the company website. To load the new firmware into the camera, follow the instructions below. 1. At the top, select System > Maintenance > System Maintenance. This page appears. 2. Click the button under System Upgrade to locate the firmware file saved at your local computer. -
Page 12: Restoring To Factory Default
5. Restoring to Factory Default If for any reason the camera is not responding correctly, you can restore the camera back to its factory default settings using the Web interface or the Load Default Button. On the Camera 1. Find the Default Button on the camera (see 1. Overview in the Quick Start Guide). 2.
Need help?
Do you have a question about the GV-PFER12800 and is the answer not in the manual?
Questions and answers