Advertisement
Quick Links
Advertisement

Related Manuals for ClearView FRIDGE CAGE CAGE-01


Summary of Contents for ClearView FRIDGE CAGE CAGE-01
- Page 1 CAGE-01 ASSEMBLY INSTRUCTIONS VERSION 2...
-
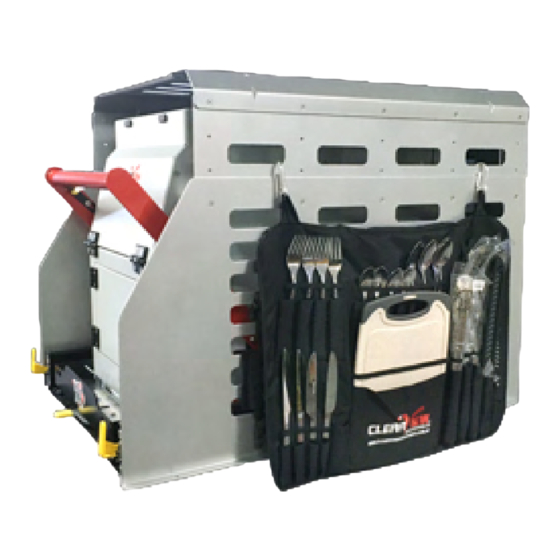
Page 2: Our Range
Phone: (03) 8351 9933 Email: info@clearviewaccessories.com.au Website: clearviewaccessories.com.au Find us on social media facebook.com/clearviewaccessories instagram.com/clearviewaccessories youtube.com/clearviewaccessories Due to Clearview's Continuous Improvement Program, information may change without notice. Clearview takes no responsibility for the result of incorrect use of these installation instructions. clearviewaccessories.com.au... -
Page 3: Table Of Contents
Contents Our Range Introduction Getting Started Before You Start Assembly Instructions Fridge Cage Maintenance Warranty clearviewaccessories.com.au... -
Page 4: Getting Started
Getting Started Store your gear safely around your fridge without restricting critical airflow What's in the box Number Part Quantity 1A-1B Bottom Side Panels 2A-2B Height Adjustable Side Panels 3A-3B Top Side Panels Bottom Back Panel Height Adjustable Back Panel Roof Panel Hex Head Cage Screws (2.5MM) Philips Head Cage Mounting Screws... -
Page 5: Before You Start
Before you Start Cautions | Warnings WARNING CAUTION Read through the fitting instructions before installation of Clearview Accessories. Always install the accessory following the fitting instructions. Failure to do so may cause damage to the vehicle or the accessory. Ensure all recyclable discarded vehicle accessory components and packaging are recycled following local recycling regulations. -
Page 6: Assembly Instructions
Assembly Instructions Clearview® Fridge Cage To suit ES-100PLUS & ES-150PLUS Easy Slides | CAGE-01 Number Part Quantity 1A-1B Bottom Side Panels 2A-2B Height Adjustable Side Panels 3A-3B Top Side Panels Bottom Back Panel Height Adjustable Back Panel Roof Panel Hex Head Cage Screws (2.5MM) Philips Head Cage Mounting Screws clearviewaccessories.com.au... - Page 7 Assembly Instructions Step 1 Measure Height of Your Fridge / Pantry Measure the height of your Fridge/Pantry. Ensure total height is taken into consideration if fridge has Insulation covering etc. Step 2 Attach Top Side Panels to Roof Panel Using the 2.5MM Hex Head screws, attach the Top Side Panels to the Roof Panel.
- Page 8 Assembly Instructions Step 4 Attach Adjustable Height Side Panels to Bottom Side Panels Keeping the same height preset as the back panel configuration, attach the adjustable side panels to the bottom side panels with the hex head screws. (1A-1B to 2A-2B) Step 5 Attach Built Side Panels to Built Back Panel Using the 2.5MM Hex Head screws, attach Built Side...
- Page 9 Assembly Instructions Step 7 Screw in Built Fridge Cage in Mounting Position in Vehicle Now that the Fridge Cage is built, screw in the Fridge Cage in position in your vehicle with the 6 Philips Head screws. Ensure that the base is screwed in securely and there is no moving vibration sounds.
-
Page 10: Fridge Cage Maintenance
Fridge Cage Maintenance Maintaining Powder Coated Surfaces Whilst powder coating is a lot more durable and longer lasting than paint, it can still be affected by dust, dirt, salt water, constant exposure to the weather, and collisions. Harsh chemicals and solvents can also damage powder coating. Once damaged, the surface is a lot more vulnerable to fading and failure. -
Page 11: Warranty
If your claim is accepted for defects in material or workmanship Clearview® will, at its discretion, offer to repair, replace parts, or return and refund. - Page 12 Clearview Accessories 3 Frog Court, Craigieburn VIC 3064 (03) 8351 9933 info@clearviewaccessories.com.au clearviewaccessories.com.au...
Need help?
Do you have a question about the FRIDGE CAGE CAGE-01 and is the answer not in the manual?
Questions and answers