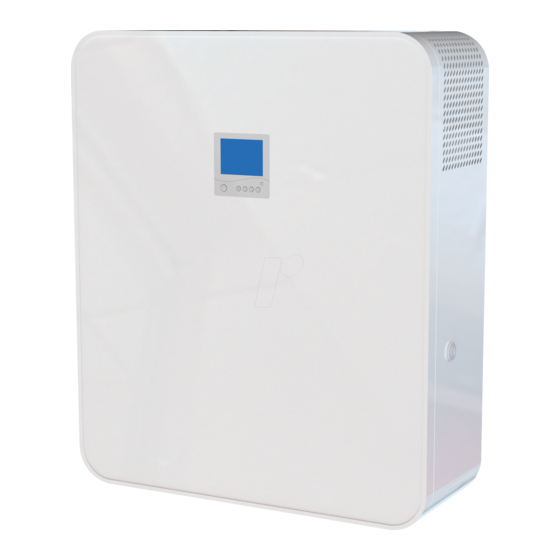
Vents MICRA 100 E User Manual
Hide thumbs
Also See for MICRA 100 E:
- User manual (22 pages) ,
- User manual (20 pages) ,
- User manual (28 pages)
Table of Contents
Advertisement
Quick Links
Advertisement
Table of Contents

Subscribe to Our Youtube Channel
Related Manuals for Vents MICRA 100 E


Summary of Contents for Vents MICRA 100 E
- Page 1 USER’S MANUAL MICRA 100 MICRA 100 Air handling unit with heat recovery...
-
Page 2: Table Of Contents
MICRA 100 CONTENTS Safety requirements ..................................2 Purpose ........................................ 4 Delivery set ......................................4 Designation key ....................................4 Technical data ....................................5 Unit design and operating principle ..........................6 Installation and set-up................................7 Connection to power mains ..............................11 Unit control ....................................... 12 Technical maintenance ................................ - Page 3 • Do not change the power cable length at your own discretion. Do not bend the power • Do not lay the power cable of the unit in cable. Avoid damaging the power cable. Do close proximity to heating equipment. not put any foreign objects on the power cable.
-
Page 4: Purpose
1 pc. 1 pc. Spigot 2 pcs. Packing box 1 pc. DESIGNATION KEY MICRA 100 E ERV Designation example Series Rated air capacity [m Heater _ — no heater E — electric heater for pre-heating E1 — electric heater for post-heating Heat exchanger type _ —... -
Page 5: Technical Data
Connected air duct diameter [mm] Ø 100 Weight [kg] 27.6 27.8 TECHNICAL DATA MICRA 100 ERV MICRA 100 E ERV MICRA 100 E1 ERV Maximum air capacity [m Unit voltage [V / 50 (60) Hz] 1~ 110-230 1~ 230 1~ 230... -
Page 6: Unit Design And Operating Principle
Exhaust spigot* Supply fan Supply air temperature sensor (MICRA 100 E1) End switch Extract filter G4 F8 supply filter (MICRA 100, MICRA 100 E) Lock Post-heater (MICRA 100 E1) Counter-flow heat exchanger Control unit Supply filter G4 Supply spigot Exhaust air duct... -
Page 7: Installation And Set-Up
• The heat exchanger overheating protection in unit models without a pre-heater is achieved by automatic supply fan speed reduction according to extract air sensor readings. • The extract fan runs at maximum speed. • Temperature differences between supply and extract air flows in the units with polystyrene heat exchangers lead to condensate formation. - Page 8 MICRA 100 Mounting template ADDITIONAL HOLE! DRILL UPON CUSTOMER’S REQUEST ONLY! ADDITIONAL HOLE! DRILL UPON CUSTOMER’S REQUEST ONLY! Ø 130 mm hole for Ø 100 mm air duct Hole for Ø 100 mm air duct Fill the gaps between the wall and Fill the gaps between the wall and the air ducts the air ducts with a mounting foam with a mounting foam...
- Page 9 2. Remove the mounting template and drill two through holes Ø 105 mm for round air ducts. When mounting the unit with an additional extract spigot prepare a hole in the wall for a connecting bend and for laying of a rectangular air duct. A connecting bend, rectangular and round air ducts are available separately.
- Page 10 MICRA 100 5. To install an additional extract spigot remove the plug on the rear part of the unit. Undo the screws, remove the plug and fix a spigot on its place using screws. 6. Insert the drain pipe and unit spigots into the corresponding wall-mounted air ducts.
-
Page 11: Connection To Power Mains
CONNECTION TO POWER MAINS DISCONNECT THE UNIT FROM POWER MAINS PRIOR TO ANY OPERATIONS. THE UNIT MUST BE CONNECTED TO POWER MAINS BY A QUALIFIED ELECTRICIAN. THE RATED ELECTRICAL PARAMETERS OF THE UNIT ARE SHOWN ON THE RATING PLATE. ANY TAMPERING WITH THE INTERNAL CONNECTIONS IS PROHIBITED AND WILL VOID THE WARRANTY. -
Page 12: Unit Control
MICRA 100 UNIT CONTROL The unit is controlled by means of the control panel on the unit casing and of the remote control. Control panel Remote control Unit On/O Fan speed up Heater O Heater On : 88 Fan speed down TIMER ON Speed 2 TIMER OFF... - Page 13 3. Timer. The timer is designed to switch the fans to maximum speed with subsequent automatic reset to a previous speed after a set time period, from 20 to 60 minutes. To turn the timer on/off: • From the control panel: press and hold , then press .
- Page 14 MICRA 100 To restore factory settings enter the Fan Speed Setting mode, synchronously press and hold for 3 seconds. Fan speed factory settings: • low speed – 30 % • medium speed – 60 % • high speed – 100 % 7.
- Page 15 11. Scheduled Operation mode setting. Each day of the week has four entries. Time of switching the unit to the set speed and turning the heater on or off can be set for each entry. • To enter the Scheduled Operation mode settings turn the unit off by pressing on the control panel or on the remote control.
-
Page 16: Technical Maintenance
MICRA 100 12. Alarms. In case of alarm the unit is turned off and the alarm indicators are displayed on the control panel. Temperature sensor Freeze protection malfunction sensor breakout ALARM INDICATION TROUBLESHOOTING Outdoor temperature sensor Contact the Seller for further malfunction information. -
Page 17: Troubleshooting
3. Fan maintenance (once a year). Even in case of regular maintenance of the filters, some dust may accumulate inside the fans and reduce the fan performance and supply air flow. Clean the fan with a cloth or a soft brush. Do not use water, aggressive solvents or sharp objects as they may damage the impeller. 4. -
Page 18: Manufacturer's Warranty
MICRA 100 MANUFACTURER’S WARRANTY The product is in compliance with EU norms and standards on low voltage guidelines and electromagnetic compatibility. We hereby declare that the product complies with the provisions of Electromagnetic Council Directive 2014/30/EU, Low Voltage Directive 2014/35/ EU and CE-marking Directive 93/68/EEC. -
Page 19: Certificate Of Acceptance
CERTIFICATE OF ACCEPTANCE Unit Type Heat recovery air handling unit Model MICRA 100 Serial Number Manufacture Date Quality Inspector’s Stamp SELLER INFORMATION Seller Address Phone Number E-mail Purchase Date This is to certify acceptance of the complete unit delivery with the user’s manual. The warranty terms are acknowledged and accepted. - Page 20 V73-4EN-04...
Need help?
Do you have a question about the MICRA 100 E and is the answer not in the manual?
Questions and answers