Advertisement
Available languages
Available languages
Table of Contents
H-10632, H-10633
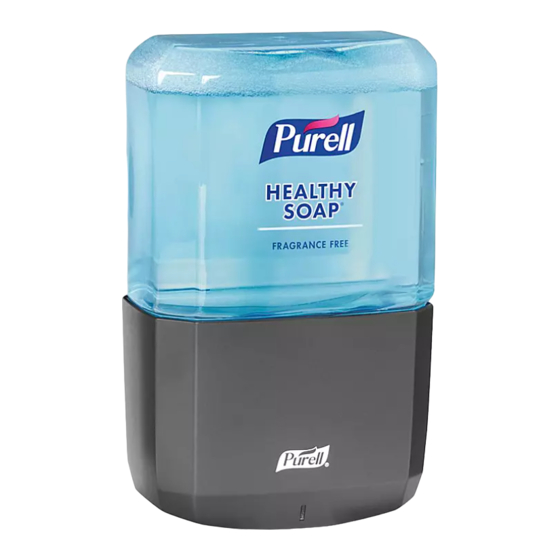
PURELL
ES6 AUTO
®
DISPENSER
TOOLS NEEDED
Drill
NOTE: Please read all instructions carefully
before installing and using the dispenser.
WARNING! Use dispenser only as directed.
WARNING! Do not use in areas where dispenser
may be exposed to wet environments such as
showers or outdoors.
1. Open dispenser by pressing release buttons on
side of dispenser and slide front cover down.
(See Figure 1)
NOTE: Install dispenser with at least 7" of free
space above counter top to allow for routine
service.
PAGE 1 OF 9
Phillips Screwdriver
Wall Anchor x 4
1-800-295-5510
uline.com
PARTS
#10 x 1" Screw x 4
SAFETY
WARNING! Do not install or use in extreme hot
or cold locations.
WARNING! Dispensed product intended for
external use only. Refer to refill for actions in
case of ingestion.
INSTALLATION
Figure 1
Para Español, vea páginas 4-6.
Pour le français, consulter les pages 7-9.
0623 IH-10632
Advertisement
Table of Contents

Related Manuals for U-Line PURELL ES6


Summary of Contents for U-Line PURELL ES6
- Page 1 Para Español, vea páginas 4-6. Pour le français, consulter les pages 7-9. H-10632, H-10633 1-800-295-5510 uline.com PURELL ES6 AUTO ® DISPENSER TOOLS NEEDED Drill Phillips Screwdriver PARTS Wall Anchor x 4 #10 x 1" Screw x 4 SAFETY NOTE: Please read all instructions carefully WARNING! Do not install or use in extreme hot before installing and using the dispenser.
- Page 2 INSTALLATION CONTINUED INSTALLING WITH WALL ANCHORS 2. Attach the back plate by pressing on the top two corners and the bottom middle section. Audible Use the dispenser as a template. Pierce the tape on the clicks will confirm proper installation. (See Figure 4) back plate to mark and drill four holes using 1/4"...
- Page 3 INSTALLATION CONTINUED 5. Check label inside dispenser before installing. 8. Close dispenser cover. The green status light will (See Figure 7) blink after closing, indicating the dispenser is ready to use. (See Figure 10) Figure 7 Figure 10 NOTE: ES6 SOAP = soap dispenser ES6 SAN = hand sanitizer dispenser 6.
-
Page 4: Herramientas Necesarias
H-10632, H-10633 800-295-5510 uline.mx PURELL ES6 DESPACHADOR ® AUTOMÁTICO HERRAMIENTAS NECESARIAS Taladro Desarmador de Cruz PARTES 4 Taquetes 4 Tornillos #10 x 1" SEGURIDAD NOTA: Antes de instalar y usar el despachador, ¡ADVERTENCIA! No lo instale en lugares de lea todas las instrucciones con cuidado. calor o frío extremos. - Page 5 CONTINUACIÓN DE INSTALACIÓN INSTALACIÓN CON SUJETADORES DE PARED 2. Fije la placa posterior presionando las dos esquinas superiores y la sección central de la parte inferior. Utilice el despachador como plantilla. Agujere la cinta Escuchará unos clics que confirmarán la instalación en la placa posterior para marcar y perforar cuatro adecuada.
- Page 6 CONTINUACIÓN DE INSTALACIÓN 5. Revise la etiqueta interior del despachador antes 8. Cierre la cubierta del despachador. La luz verde del de instalar. (Vea Diagrama 7) estado parpadea después de cerrarlo, indicando que el despachador está listo para su uso. (Vea Diagrama 10) Diagrama 7 Diagrama 10...
-
Page 7: Outils Requis
H-10632, H-10633 1-800-295-5510 uline.ca PURELL ES6 – DISTRIBUTEUR AUTOMATIQUE OUTILS REQUIS Perceuse Tournevis cruciforme PIÈCES Ancrage mural x 4 Vis n 10 x 1 po x 4 SÉCURITÉ REMARQUE : Veuillez lire attentivement toutes AVERTISSEMENT! N'installez pas ou n'utilisez pas ARRÊT les instructions avant d'installer et d'utiliser le le distributeur dans des endroits extrêmement distributeur. - Page 8 INSTALLATION SUITE INSTALLATION AVEC DES ANCRAGES 2. Fixez la plaque arrière en appuyant sur les deux coins supérieurs et sur la partie centrale inférieure. MURAUX Des clics sonores confirment que l'installation est adéquate. (Voir Figure 4) Utilisez le distributeur comme modèle. Percez le ruban adhésif sur la plaque arrière pour marquer et percer quatre trous à...
- Page 9 INSTALLATION SUITE 5. Consultez l'étiquette à l'intérieur du distributeur avant 8. Fermez le couvercle du distributeur. Le distributeur l'installation. (Voir Figure 7) est prêt à être utilisé quand le voyant d'état vert clignote après la fermeture du couvercle. (Voir Figure 10) Figure 7 Figure 10 REMARQUE : ES6 SOAP = distributeur de savon...
Need help?
Do you have a question about the PURELL ES6 and is the answer not in the manual?
Questions and answers