Advertisement
Available languages
Available languages
H-7682
RUBBERMAID
®
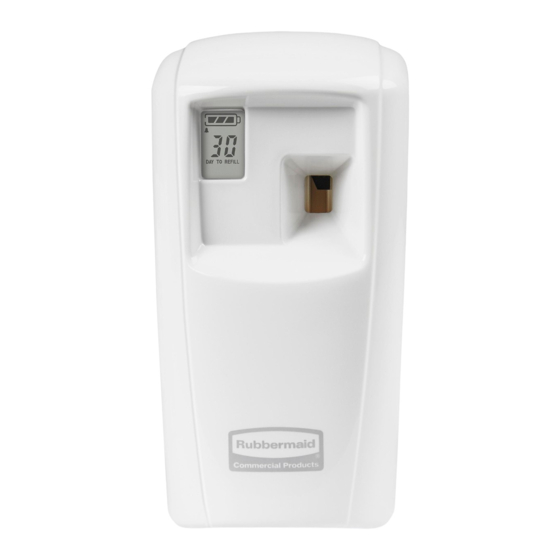
FRESHENER DISPENSER
TOOLS NEEDED
Electric Drill
Phillips Screwdriver Bit
Dispenser x 1
1.
Locate cover release button on right side of dispenser.
While holding in cover release button with one hand,
flip cover down with opposite hand. (See Figure 1)
Figure 1
2. Insert two "C" batteries (not included) with the "+"
side up into the battery compartment of dispenser.
(See Figure 2)
Figure 2
PAGE 1 OF 12
1-800-295-5510
uline.com
AIR
Screw x 2
2
1
PARTS
Wall Anchor x 2
SETUP
3. If nothing appears on the screen, push
on/off button. (See Figure 3)
Figure 3
4. Adjust settings using buttons inside dispenser.
(See Figure 4)
Figure 4
Para Español, vea páginas 5-8.
Pour le français, consulter les pages 9-12.
Alcohol Swab x 1
0321 IH-7682
Advertisement
Table of Contents

Related Manuals for U-Line RUBBERMAID Microburst 3000


Summary of Contents for U-Line RUBBERMAID Microburst 3000
- Page 1 Para Español, vea páginas 5-8. Pour le français, consulter les pages 9-12. H-7682 1-800-295-5510 uline.com RUBBERMAID ® FRESHENER DISPENSER TOOLS NEEDED Electric Drill Phillips Screwdriver Bit PARTS Dispenser x 1 Screw x 2 Wall Anchor x 2 Alcohol Swab x 1 SETUP Locate cover release button on right side of dispenser.
-
Page 2: Mode Settings
SETUP CONTINUED 5. If desired, turn beeping tone on or off by using the CHANGE CURRENT TIME TONE button. (See Figure 5) 1. To set current time, press MODE until the time screen is shown. Use ADJUST to set current time. When finished, press ENTER until home screen is displayed. - Page 3 SETUP CONTINUED SET CURRENT DAY OF THE WEEK SET TO WORK 5, 6 OR 7 DAYS PER WEEK 1. To select days on/off for dispenser, push MODE until 1. To select 5, 6 or 7 days per week operation, push second day screen appears.
- Page 4 SETUP CONTINUED MOUNTING 4. Press on/off button to turn dispenser off. 5. Insert refill can with spray nozzle facing out of the Use the alcohol swab to clean the area of the wall dispenser and away from wall. (See Figure 13) where dispenser will be placed.
-
Page 5: Herramientas Necesarias
H-7682 800-295-5510 uline.mx RUBBERMAID DESPACHADOR ® DE AROMATIZANTE HERRAMIENTAS NECESARIAS Taladro Eléctrico Broca de Punta de Cruz PARTES 1 Despachador 2 Tornillos 2 Anclajes de Pared 1 Hisopo con Alcohol CONFIGURACIÓN Localice el botón de liberación de la cubierta en el lado 3. - Page 6 CONTINUACIÓN DE CONFIGURACIÓN CAMBIAR LA HORA ACTUAL 5. Si lo desea, encienda o apague el tono de bip con el botón TONE. (Vea Diagrama 5) Para fijar la hora actual, presione MODE hasta que aparezca la pantalla de inicio. Utilice ADJUST para fijar la hora actual.
- Page 7 CONTINUACIÓN DE CONFIGURACIÓN FIJAR EL DÍA ACTUAL DE LA SEMANA FIJAR DE MODO QUE FUNCIONE 5, 6 O 7 DÍAS DE LA SEMANA. Para seleccionar los días de encendido/apagado del despachador, presione MODE hasta que Para fijar el funcionamiento 5, 6 o 7 días de la aparezca la pantalla del segundo día.
-
Page 8: Instalación
CONTINUACIÓN DE CONFIGURACIÓN INSTALACIÓN 4. Presione el botón on/off para apagar el despachador. Use el hisopo de alcohol para limpiar el área de la 5. Inserte la lata de repuesto con la boquilla rociadora pared donde se colocará el despachador. hacia afuera del despachador y en dirección 2. -
Page 9: Outils Requis
H-7682 1-800-295-5510 uline.ca RUBBERMAID – DISTRIBUTEUR D'ASSAINISSEUR D'AIR OUTILS REQUIS Perceuse électrique Mèche de tournevis cruciforme PIÈCES Distributeur x 1 Vis x 2 Ancrage mural x 2 Tampon d'alcool x 1 INSTALLATION Repérez le bouton de dégagement du couvercle sur 3. - Page 10 INSTALLATION SUITE CHANGER L'HEURE 5. Activez ou désactivez, à votre gré, le signal sonore à l'aide du bouton « TONE ». (Voir Figure 5) Pour changer l'heure, appuyez sur « MODE » jusqu'à ce que l'écran de l'heure apparaisse. Utilisez « ADJUST » pour régler l'heure.
- Page 11 INSTALLATION SUITE RÉGLER LE JOUR DE LA SEMAINE CHOISIR L'OPTION DE FONCTIONNEMENT DE 5, 6 OU 7 JOURS PAR SEMAINE Pour choisir les jours d'utilisation du distributeur, appuyez sur « MODE » jusqu'à ce que l'écran du Pour sélectionner 5, 6 ou 7 jours de fonctionnement deuxième jour s'affiche.
-
Page 12: Fixation Murale
INSTALLATION SUITE FIXATION MURALE 4. Appuyez sur le bouton « ON/OFF » pour éteindre le distributeur. Utilisez le tampon d'alcool pour nettoyer la zone sur 5. Insérez la recharge avec la buse de brumisation le mur où le distributeur sera installé. orientée vers l'extérieur du distributeur.
Need help?
Do you have a question about the RUBBERMAID Microburst 3000 and is the answer not in the manual?
Questions and answers