Table of Contents
Advertisement
Quick Links
Installing the Sensor
!WARNING!
Before performing service or maintenance operations on
the systems, turn OFF main power switches to the unit.
Electric shock can cause personal injury. Please read and
follow the wiring instructions precisely; miswiring may
cause permanent damage to the product
Basic Installation for Non-Display Units
1. Separate the case into its front and rear sections.
2. Secure the rear section of the case to the wall or junction box using
the supplied screws, and make necessary wire connections.
3. Mount the Controller on the base by aligning the top clips and then
securing to the bottom clips. Secure the Ventostat with the supplied
set screw. A one-minute stabilization warmup will take place.
Internal Label for Non-Display Units
(a)
0-10V 0-5 V
Jumper Settings for Non-Display (a) and Display (b)
Note:
Example b shows outputs of CO
V, humidity— 4-20 mA, and active temperature — 0-5 V.
Amphenol
Advanced Sensors
®
.
Jumper
Selections
(b)
Units
— 4-20 mA and CO
2
2
Amphenol Advanced Sensors
6860 Cortona Dr., Suite B
Goleta, CA 93117
www.amphenol-sensors.com
Basic Installation for Display Units
1. Separate the case into its front and rear sections.
2. Secure the rear section of the case to the wall or junction box using
the supplied screws, and make necessary wire connections.
3. Mount the Controller on the base by aligning the top clips and then
securing to the bottom clips. Secure the Ventostat with the supplied
set screw. A one-minute stabilization warmup will take place.
4. When fitting the T8300 /T8400 (pitot tube version), complete the
installation by screwing the tube connectors to the input ports on the
sensor. The tubing connectors can be attached to either input port. It
will not affect the performance of the sensor. (See page 3 for further
instructions.)
— 0-10
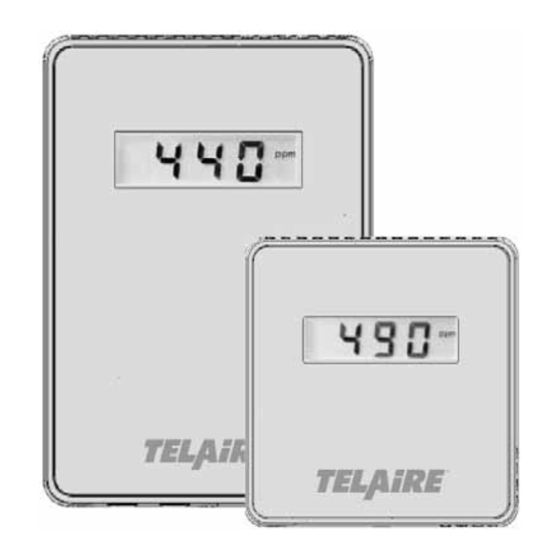
Telaire Ventostat™ 8000 Series
Internal Label for Display Units
CO
Sensor
2
User Instructions
Output
Jumper
Selections
T63216-008
September 2014
Page 1 of 4
Advertisement
Table of Contents

Subscribe to Our Youtube Channel
Related Manuals for Amphenol Telaire Ventostat 8000 Series


Summary of Contents for Amphenol Telaire Ventostat 8000 Series
- Page 1 OFF main power switches to the unit. Electric shock can cause personal injury. Please read and follow the wiring instructions precisely; miswiring may cause permanent damage to the product Amphenol Advanced Sensors 6860 Cortona Dr., Suite B Goleta, CA 93117 Basic Installation for Non-Display Units www.amphenol-sensors.com...
- Page 2 Ventostat Wiring Diagrams The Ventostat family of products has two basic configurations. One configuration provides three active outputs (CO , RH and temperature) and an independent thermistor. It has an output terminal block with pins #1, 2 and 3. The other configuration provides only CO outputs and an independent thermistor and has no terminal block with pins 1, 2, and 3 installed.
- Page 3 Sensing Duct CO Concentrations Accessory Enclosures Duct-Mounting the Enclosures Model T1508 Duct Mount Enclosure (Aspiration Box) Ventostat products can be installed inside the return air ductwork, if The T8100/T8200/T8300 units can be installed inside a Model 1508 needed. As an alternative, please consider the T8031 unit. When Duct Mount Enclosure.
- Page 4 5,592,147 / 6,255,653 / 6,250,133 / 6,285,290 Thermistor Type NTC 10 Kthermistor Warranty Repairs Amphenol Thermometrics, Inc. will repair Telaire product that fails to Thermistor Accuracy meet the terms provided for in the Return and Warranty Policy Statement (See, http://www.ge-mcs.com/en/services-and- ±1°C (15°...
- Page 5 T:+86 519 8831 8080 ext. 50087 13098-396 Campinas F:+86 519 8831 2601 Sao Paulo, Brazil Amphenol Advanced Sensors www.amphenol-sensors.com www.telaire.com ©2014 Amphenol Thermometrics, Inc. All rights reserved. Technical content subject to change without notice. Telaire Ventostat™ 8000 Series Page 5...
Need help?
Do you have a question about the Telaire Ventostat 8000 Series and is the answer not in the manual?
Questions and answers