
Related Manuals for Futech DISTY 40R


Summary of Contents for Futech DISTY 40R
- Page 1 USER EN ENGLISH MANUAL 202.40R DISTY 40R Manual 202.60G DISTY 60G in your language? 202.80R DISTY 80R Check the back cover...
- Page 2 OVERVIEW...
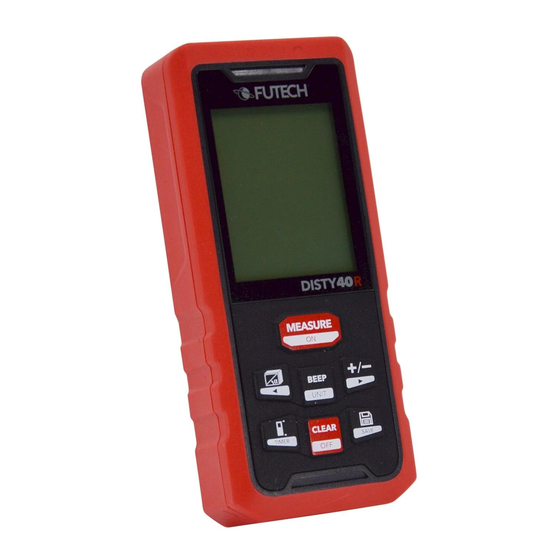
- Page 3 CASE SCREEN Screen Battery indicator Measure - ON button Function indicator Function - Back button Angle Beep - Unit button Maximum Addition/Subtraction – Next button Minimum Reference point – Timer button Major display Clear – OFF button Auxiliary display, line 1 Memory –...
-
Page 4: Safety And Warranty
SAFETY & WARRANTY remove the batteries to avoid battery corrosion inside the device. Read the complete safety and warranty instruc- tions provided together with the device before MAJOR SETTINGS using. While the product is in operation, be careful not TURN ON/OFF THE INSTRUMENT to expose your eyes to the emitting laser beam. -
Page 5: Sound On/Off
(For every change you need to release and hold countdown. The device will measure when the the Beep - Unit button [4] for another 3 seconds.) countdown reaches the 0. CHANGING THE REFERENCE POINT BACKLIGHT Press the Reference point – Timer button [6] The backlight will turn ON/OFF automatically. -
Page 6: Continuous Measuring
CONTINUOUS MEASURING VOLUME MEASUREMENT Hold the Measure – ON button [2] and a con- Press the Function – Back button [3] twice to tinuous measuring mode will be activated. The enter the volume measurement mode. A rectan- minimum and maximum measuring results will gular shape will appear on the top of the screen. - Page 7 measure the height of the first wall. Press 4x on the Function – Back button [3], when the hypothenuse (a) of the triangle is blinking. Press the Measure – ON button [2] to measure Press the Measure – ON button [2] to measure the bottom edge of the first wall.
-
Page 8: Addition/ Subtraction
Press the Measure – ON button [2] again to meas- Press the Function – Back button [3] 7x till the hy- ure the length of the other leg (b). potenuse of the triangle is blinking on the screen. Press the Measure – ON button [2] to measure The device will calculate the length of hypoth- enuse (x). -
Page 9: Memory Function
urement and the result of the cumulation will be the summation result of the two areas. This result showed on the screen. is showed in PIC3. Press the Addition/ Subtraction – Next button [5] MEMORY FUNCTION again and a “-“ shows in the major display. The – shows that the regressive mode is activated. -
Page 10: Self-Calibration
SELF-CALIBRATION TIPS This function ensures that the precision of the You may get some warning information as below: device is maintained. INFO CAUSE SOLUTION Power off and press the Clear – OFF button MESSAGE [7] and the Measure – ON button [2] till “ CAL” Out of distance Use the device within the appears. -
Page 11: Technical Specifications
TECHNICAL SPECIFICATIONS DISTY 40R DISTY 60G DISTY 80R Working range Distance measurement precision ±2mm (*) Continuous measurement function Area measurement function Volume measurement function Pythagorean proposition measurement function Full mode Painter function Angle function Add and subtract measurement function Min/max value... - Page 12 USER MANUAL other languages: DANSK ITALIANO DEUTSCH NEDERLANDS ESPAÑOL NORSK EESTI KEEL PORTUGUÊS SUOMEN KIELI SL SLOVENŠČINA FRANÇAIS SVENSKA ÍSLENSKA Facebook @futechtools LinkedIn futechtools World Wide Web futech-tools.com YouTube @futechtools...
Need help?
Do you have a question about the DISTY 40R and is the answer not in the manual?
Questions and answers