
Subscribe to Our Youtube Channel
Related Manuals for Futech DISTY 120RC


Summary of Contents for Futech DISTY 120RC
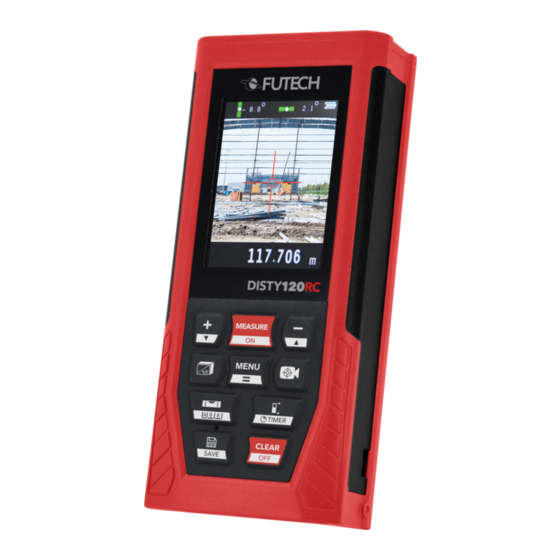
- Page 1 USER EN ENGLISH MANUAL 250.120RC DISTY 120RC Manual in your language? Check the back cover...
- Page 2 OVERVIEW g³ f³ g² f² g¹ f¹...
- Page 3 CASE SCREEN Battery compartment Reference point setting Micro USB socket Laser indicator Measure / ON Measuring mode Plus / Up Tilt angle Minus / Down Power supply Menu/Equal Measuring mode: dimension Measuring modes Auxiliary display area: value + unit Camera Major display area Digital bubble / Staking-out Unit of the major display...
-
Page 4: First Use
SAFETY (micro-)USB cable you can charge the recharche- able Ni-MH batteries. Don’t use the micro-USB Please read the complete safety instructions in socket [2] in combination with Alkaline batteries! the booklet delivered with this device. Switch on the device by holding the Measure / Use extreme caution when the laser beam is ON button [3] for 1 second. - Page 5 Backlight In 1/32 0’ 00” 1/32 Determine how long the display remains 0.000 fully lit after the last touch. After this time, 0.00 the display will dim. 0.00 ft 5 seconds ~ 60 seconds Angle Unit Laser Lasting Choose the preferred unit to display angles. Determine how long the laser is activated °...
-
Page 6: Measuring Modes
USAGE We recommend to mount the instrument on a tripod with tilting head to increase the accuracy of your measurement. REFERENCE POINT DISTANCE MEASUREMENT (SINGLE / CONTINUOUS) Single measurement For a single measurement: press the Measure / ON button [3] and focus on the target. Four different reference points can be used. -
Page 7: Volume Measurement
Press the Measure / On button [3] again to end the continuous measuring. VOLUME MEASUREMENT You can read the maximum measured distance in Press the Measuring modes button [7] that num- the auxiliary display area [g ], the minimum actu- ber of times needed until the Volume Measure- al distance in the auxiliary display area [g ]. - Page 8 The Major display Area [h] and it’s unit [i] shows the updated result of the area PAINTER FUNCTION calculation. (m (height x wall )+(height x wall This function can be used for example to know the total area of all the walls in one room. You can repeat this last step and continue meas- uring additional walls for as long as necessary.
- Page 9 The angel (α) appears on auxiliary display The length of the hypotenuse (c) appears area [g on the auxiliary display area. [g Length of Hypothenuse (c) appears on Press the Measure / ON button [3] a second auxiliary display area [g time to measure the length of one side (a).
- Page 10 The length of side (a) appears on the The length of side (a) appears on the auxiliary display area. [g auxiliary display area. [g Press the Measure / ON button [3] a Press the Measure / ON button [3] a second time to measure the second second time to measure the horizontal length, side (b).
- Page 11 The device uses your measurements c, l and a symbol appears on the measuring mode area [c] (respectively) to determine the height l on the screen. Press the Measure / ON button [3] to measure the length of the hypothenuse (c).
-
Page 12: Calculation Options
➙ To add / subtract additional measurements, NOTE: just continue with the next measurement. “ERR 5” will be displayed in the event that a measurement contradicts the characteristics of a triangle (e.g. c is shorter than b). The meas- You can switch between Addition and Subtrac- urement must be redone. - Page 13 ments, just continue with the next measurement. To add a measurement To subtract a meas- ➙ Option 2: To see the result of all added / to this result, press urement to this result, subtracted area measurements, press the Menu / the Plus / Up button press the Minus / Down Equal button [6].
-
Page 14: Other Options
The delay time is shown on the top of the screen (in seconds). This value can be adjusted using You can switch between Addition and Subtrac- Plus / Up [4] or Minus / Down [5] button. Delay tion by pressing the Plus / Up button [4] (to add times between 3 and 60 seconds can be chosen. - Page 15 Hold the Digital bubble / Staking-out button [9]. The staking out symbol appears as measuring mode [c]. Use the Plus / Up [4] and Minus / Down [5] button to set value a. To exit the Staking out function, press the Clear / Confi rm with the Measure / ON button [3].
- Page 16 Single distance measuring Press the measuring / ON button [3] to acti- vate the measuring tool, press the measuring Press the Camera button [8] to turn on the / ON button [3] a second time to measure the camera in single measuring mode. distance.
- Page 17 You may get some warning information. TIPS The device can be used with AAA batteries, MESSAGE MEANING SOLUTION alkaline of NiMh rechargeable batteries. ERR 1 Received signal Chose a surface ONLY IN CASE NiMH BATTERIES ARE USED, is too weak with a stronger reflectance or use you may charge this batteries using the Micro...
-
Page 18: Specifications
SPECIFICATIONS 250.120RC DISTY 120RC Working range ≤ 120 m Smallest unit displayed 0,001 m Measurement accuracy ± 0,002 m Note: use a reflector to increase the measurement range in case of too much light/poor reflective area. Laser Class 2: 635 nm, < 1mW Continuous distance measuring (tracking) Area/Volume/Pythagoras (simple &... - Page 19 250.120RC DISTY 120RC Batteries 3 x 1,2V AAA NiMH batteries (rechargeable) or 3 x 1,5V AAA Alkaline batteries Dimensions 130 x 56 x 29 mm Weight 0,15 kg Tripod connector ¼” Dust-/waterproofness IP54 Typical Tolerance: ±2mm, when reflectivity 100% (white surface), environment light <2000 LUX. 25 °C Tolerance is usually affected by the distance, reflectivity, and environment light etc.
- Page 20 USER MANUAL other languages: DANSK ITALIANO DEUTSCH NEDERLANDS ESPAÑOL NORSK EESTI KEEL PORTUGUÊS SUOMEN KIELI SL SLOVENŠČINA FRANÇAIS SVENSKA ÍSLENSKA Facebook @futechtools LinkedIn futechtools World Wide Web futech-tools.com YouTube @futechtools...
Need help?
Do you have a question about the DISTY 120RC and is the answer not in the manual?
Questions and answers