
Related Manuals for Xterra SU139-43


Summary of Contents for Xterra SU139-43
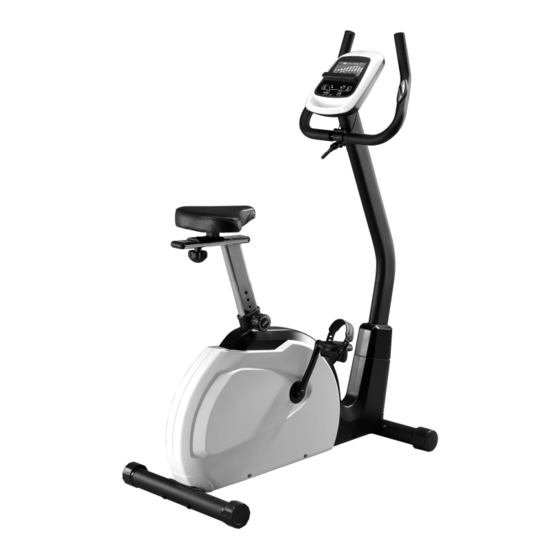
- Page 1 SU139-43 FITNESS BIKE OWNER’S MANUAL PLEASE CAREFULLY READ THIS ENTIRE MANUAL BEFORE OPERATING YOUR NEW FITNESS BIKE...
-
Page 2: Safety Hints
Wear proper shoes. High heels, dress shoes, sandals or bare feet are not ■ suitable for use on your upright. Quality athletic shoes are recommended to avoid leg fatigue. SAVE THESE INSTRUCTIONS - THINK SAFETY! CAUTION!! Please be careful when un-packing the carton. SU139-43 _1407B (Xterra) -
Page 3: Assembly Pack Check List
Assembly Pack Check List STEP 1. #33-5/16" #34- 5/16" Flat Washer (4pcs) Curved Washer (1pc) #35- 5/16"X1.5T #32- 5/16" × 3/4" Socket Split Washer (5pcs) Head Cap Bolt (5pcs) #96-3 /8"Curved #98- 3/8" Washer (4pcs) Cap Nut (4pcs) #95- 3/8" × 2-3/4" Carriage Bolt (4pc) - Page 4 STEP 2. #41- M5 × 12 mm Phillips Head Screw (4pcs) #72- 3/8” Flat Washer (1pc) #71- 3/8" × 1-1/2" Carriage Bolt (1pc) TOOLS. open end #79- 14&15mm Wrench (1pc) #108- 13&14mm open end Wrench (1pc) #43- Combination M5 Allen #87- 6mm Allen Wrench &...
- Page 5 Assembly Instructions STEP 1: 1. Locate the Console Mast (2) and slide on the Console Mast Cover (107). Make sure the cover is facing the correct direction, as shown below, before sliding onto mast. Install the wiring harness (80) into the bottom of the mast and out the top. Be careful when installing the console mast to the mainframe so as not to pinch or cut the wiring harness, damage to the console may occur.
- Page 6 STEP 2: 1. Install Handle Bar (3) on Console Mast (2) and lock with Quick Release lever (19). Install the Hand Pulse Cable (82) through the console mounting plate as shown below. 2. Connect Computer Cable (80) and Hand Pulse Sensor Cable (82) to the Console (48) and assemble on the Console Mast (2) using Phillips Head Screw Driver (43) to tighten 4pcs of M5 ×...
-
Page 7: Key Functions
Console Key Functions START/STOP: 1. Start & Pauses workouts. 2. Start body fat measurement. 3. Holding key for 3 seconds will reset all function value to be zero. DOWN: Decrease value of selected workout parameter: TIME, DISTANCE, etc. During the workout, it will decrease the resistance load. UP : Increases value of selected workout parameter. -
Page 8: Workout Parameters
Functions: SPEED: Display current training speed. Maximum speed is 99.9 KM/H or MILE/H. RPM: Display current rotation per minute. TIME: Accumulate the workout time from 00:00 to 99:59. Or users can preset the target time they want. DIST: Accumulate the workout distance form 0.00 up to 999.9 KM or Mile. Or users can preset the target distance they wan to reach. -
Page 9: Program Operation
More About Workout Parameters Default Increment/ Field Setting Range Description Value Decrement 1.When display is 0:00, Time Time will count up. 0:00~ 99:00 00:00 ± 1:00 2.When time is 1:00-99:00, It will count down to 0. 1.When display is 0.0, Distance ±1.0 Distance will count up. - Page 10 Pre-programs (P2~P13) Program profile ROLLING VALLEY FAT BURN RAMP STEPS OBSTACLE INTERVALS PLATEAU CLIMBING OFF ROAD HILL FARTLEK There are 12 program profiles ready for use R OLLING, VALLEY, FAT BURN, : : : : RAMP, STEPS, OBSTACLE, INTERVALS, PLATEAU, CLIMBING, OFF ROAD, HILL and FARTLEK.
-
Page 11: Body Fat Program
Setting Parameters for Pre-programs Selecting one of pre-programs using UP OR DOWN KEY then pressing ENTER KEY. parameter “Time” will flash so value can be adjusted using UP OR DOWN KEY .Press ENTER KEY to save value & move to next parameter to be adjusted. -
Page 12: Target Heart Rate Program
Setting Data for Body Fat Selecting “BODY FAT Program ” using UP OR DOWN KEY then pressing ENTER. “Male” will flash so Gender can be adjusted using UP OR DWON KEY, press ENTER to save gender & move to next data. “... -
Page 13: Heart Rate Control Program
HEART RATE CONTROL Program Program profile There are 4 selection for target pulse: HRC- 55% TARGET H.R= 55% of (220-AGE) HRC - 65% TARGET H.R= 65% of (220-AGE) HRC - 75% TARGET H.R= 75% of (220-AGE) HRC - 85% TARGET H.R= 85% of (220-AGE) Setting Parameters for HEART RATE CONTROL Selecting “One of Heart Rate Control Program .”... - Page 14 Wearing The Chest Strap (Sold Separately) Attach the transmitter to the elastic strap using the locking parts. Adjust the strap as tightly as possible as long as the strap is not too tight to remain comfortable. Position the transmitter with the logo centered in the middle of your torso facing away from your chest (some people must position the transmitter slightly left of center).
- Page 15 User Program Program profile 4 User program allow user to set their own program that can be used immediately. Setting Parameters for User Program Selecting user using UP OR DOWN KEY then pressing ENTER KEY. parameter “Time” will flash so value can be adjusted using UP OR DOWN KEY .Press ENTER KEY to save value &...
Need help?
Do you have a question about the SU139-43 and is the answer not in the manual?
Questions and answers