
Related Manuals for Xterra SB250


Summary of Contents for Xterra SB250
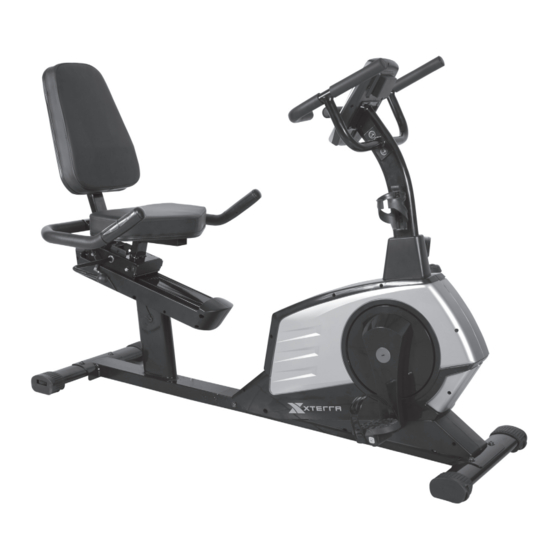
- Page 1 FITNESS SB250 RECUMBENT BIKE OWNER’S MANUAL PLEASE CAREFULLY READ THIS ENTIRE MANUAL BEFORE OPERATING YOUR NEW RECUMBENT...
-
Page 2: Table Of Contents
Congratulations On Your New Bike and Welcome to the XTERRA Fitness Family! Thank you for your purchase of this quality fitness bike from XTERRA Fitness. Your new fitness bike has been manufactured by one of the leading fitness manufacturers in the world. -
Page 3: Product Registration
Serial Number Register Your Purchase The self-addressed product registration card must be completed in full and returned to XTERRA Fitness. You can also go to www.xterrafitness.com/warrantyreg.html to register online. Power This product uses an external power supply. The adapter must be plugged into the power jack, located on the front of the unit near the stabilizer tube. -
Page 4: Important Safety Instructions
Failure to follow all guidelines may compromise the effectiveness of the exercise experience, expose yourself (and possibly others) to injury, and reduce the longevity of the equipment. SAVE THESE INSTRUCTIONS - THINK SAFETY! CAUTION!! Please be careful when unpacking the carton. SB250 Recumbent Bike... -
Page 5: Before You Begin
Before you begin Thank you for selecting our revolutionary Xterra SB250 Fitness Bike. Cycling is an effective exercise for increasing cardiovascular fitness, building endurance, and toning the body. Our fitness bike provides an impressive selection of features designed to make your workouts at home more effective and enjoyable. -
Page 6: Sb250 Assembly Instructions
SB250 Pre-Assembly Check List PART NO. DESCRIPTION Q’TY Main frame Front Stabilizer Rear Stablizer Front post Stationary handlebar L Stationary handlebar R 6/86 Computer/ Audio Wire Rear Support Tube Cover for Front Post 19L/R Left/Right Pedal 23L/R Left/Right Cover for Sliding tube... - Page 7 SB250 Assembly Pack Checklist Part No. Description Q’ty Allen Screw M8*16 Curved Washer Φ8*20 Flat Washer Φ8*Φ17 Allen Screw M8*20 Leveling pad Ball End Cap Carriage Bolt M8*45 Domed Nut M8 Box Wrench Allen key 6mm Note: Above parts are all the parts needed to assemble this machine. Before you start to assemble, please check the hardware packing to make sure they are included.
-
Page 8: Main Frame
SB250 Assembly Instructions Front Stabilizer Hardware Step 1 2 Allen Screws (#21) 2 Curved Washers (#15) 1. Attach the front stabilizer (2) to the main frame (1), securing with two allen screws (21), and two curved washers (15). SB250 Recumbent Bike... - Page 9 3. Attach the rear support tube (7) to the main frame (1). Secure using six allen screws (14) and six flat washers (16). 4. Attach the leveling pad (25) to the bottom of main frame (1). Tip: Avoid pinching the Extension Wires SB250 Recumbent Bike...
-
Page 10: Front Post
SB250 Assembly Instructions Console and Upright Hardware Step 3 2 Curved Washers (#15) 8 Allen Screws (#14) 2 Flat Washers (#16) 1. Insert front post (4) into the front post cover (8). 2. Connect the extension computer wire (9) to the lower computer wire (18). -
Page 11: Rear Support Tube
5. Secure using three screws (28) which are pre-assembled on the rear support tube (7). 6. Attach the bottle holder (97) to the front post (4). Secure using two self tapping screws (55) which are pre-assembled on the front post (4). SB250 Recumbent Bike... -
Page 12: Seat Cushion
SB250 Assembly Instructions Rear Handlebar Assembly Hardware Step 5 8 Allen Screws (#14) 2 Carriage Bolts (#43) 2 Curved Washers (#15) 2 Domed Nuts (#44) 1. Connect the rear extension hand pulse wire (22) to the hand pulse wire (42). - Page 13 2. Connect left pedal (19L) to the left crank arm (48) on the left hand side of the cycle as you sit on it. Repeat for the right pedal (19R). Note that the right pedal should be threaded on clockwise and the left pedal on counterclockwise. SB250 Recumbent Bike...
- Page 14 SB250 Assembly Instructions Power Adapter and MP3 1. To listen to an MP3 during your workout, connect the MP3 with the computer (6) by using the audio wire (86) 2. Plug adapter into the power receptacle. SB250 Recumbent Bike...
-
Page 15: Operation Of Your Console
Press and hold for four seconds to reset all values to zero when the unit is stopped. Body Fat: Press to have your body fat measurement. Pulse RECOVERY: Press to have the recovery grade of F1 to F6 SB250 Recumbent Bike... - Page 16 Note: If no pulse signal input then the computer will show “P” on the PULSE window. If the computer shows “ERR” on the message window, please re-press the PULSE RECOVERY key and please make sure your hands are keeping well on the grips or the chest transmitter is attached wel SB250 Recumbent Bike...
- Page 17 You will need to start pedaling before 30 seconds to keep your inputted data. To listen to an MP3 during your workout, connect the MP3 with the computer (6) by using the audio wire (86). SB250 Recumbent Bike...
-
Page 18: Program Operation
Program 14 to 17 is the user setting program. Users are free to create the values in the order of TIME, DISTANCE, CALORIES and the resistance level in 10 columns. The values and profiles will be stored in SB250 Recumbent Bike... -
Page 19: Heart Rate Control Program
4. At program 22, the TARGET PULSE will flash and you can press UP or DOWN keys to set your TARGET PULSE between 80 to 180. The default TARGET PULSE is 120. 5. The TIME will flash and you can press UP or DOWN keys to set your exercise TIME. Press SB250 Recumbent Bike... - Page 20 Then press the START/STOP key again to begin body fat measurement. 8. After finishing your measurement, the computer will show the values of FAT PERCENT on the LCD display. 9. Press START/STOP key to begin exercise. SB250 Recumbent Bike...
- Page 21 SB250 Recumbent Bike...
- Page 22 SB250 Recumbent Bike...
- Page 23 Screen will beep and turn on. Press the enter button until the miles or km is flashing. Press the up button to change to km Press enter button until the monitor resets. Your cycle is now in km. SB250 Recumbent Bike...
-
Page 24: Trouble Shooting
EEPROM has problem (EEPROM cannot interface with the Replace monitor is installed incorrect) IC chip. The gear motor cannot read the signal change from the level one Replace gear motor within 4 seconds after press the start button. SB250 Recumbent Bike... - Page 25 • Should a part become defective, replace it immediately. Do not allow use of the equipment until it has been repaired. Cleaning A damp cloth is sufficient to clean most surfaces of this unit. Be careful not to drip water on the monitor. A mild liquid soap may be added if needed. SB250 Recumbent Bike...
-
Page 26: Manufacturer's Limited Warranty
Effective June 6, 2016 - BIKE LIMITED WARRANTY XTERRA Fitness Inc. warrants all its home use bike parts for a period of time listed below, from the date of retail sale, as determined by a sales receipt or in the absence of a sales receipt, eighteen (18) months from the original factory shipping date. XTERRA Fitness’s responsibilities include providing new or remanufactured parts, at XTERRA Fitness’s option, and technical support to our independent... - Page 27 3000 Nestle Road Jonesboro, AR 72401 - Phone:870-333-5500 - Fax:870-935-7611 www.xterrafitness.com ©2016 All Rights Reserved. SB250 Owner’s Manual SB250 Recumbent Bike...
Need help?
Do you have a question about the SB250 and is the answer not in the manual?
Questions and answers