Advertisement
Item No. 2721897, -898, -900 / M21039LC, -40LC, -41LC
**TO AVOID POTENTIAL SCRATCHING TO PARTS BY ROUGH GROUND SURFACE, COVER GROUND
WITH SOFT SMOOTH PROTECTIVE MATERIAL ON WHICH TO PLACE PARTS DURING ASSEMBLY. **
Step 1: Remove protective wrapping and lay all parts on floor. Identify all parts packed in carton against the parts
list.
Step 2: To assemble seat bucket, attach Right Arm / Left Arm (B, C ) to Chair Seat (A) as shown in Diagram 1, using
Bolt (F) and Small Washer (G). Then attach Chair Back (D) to Right/Left Arm (B,C) as shown in Diagram 2, using Bolt
(F) and Small Washer (G). Use Small Hex Wrench(M) to tighten the bolts securely.
Step 3: The threaded ends of the Base's (E) two coiled springs need to be inserted through the double loop
openings on the bottom sides of the assembled seat bucket. To make this easier to do, lay seat bucket upside down
on surface first. Take Base (E) and maneuver it to insert the threaded ends of the coiled springs through the loops.
Then secure it in place with Nut (J), Spring Washer (I), and Large Washer (H).
Step 4: Make sure all bolts are aligned properly and tightened sufficiently. Then place Bolt Covers (L) and Nut
Covers (K) over nuts and bolts.
NOTE: IT IS USER'S RESPONSIBILITY TO MAKE SURE ALL PARTS ARE ASSEMBLED AND TIGHTENED PROPERLY
AND SECURELY.
B
G
A
Diagram 1
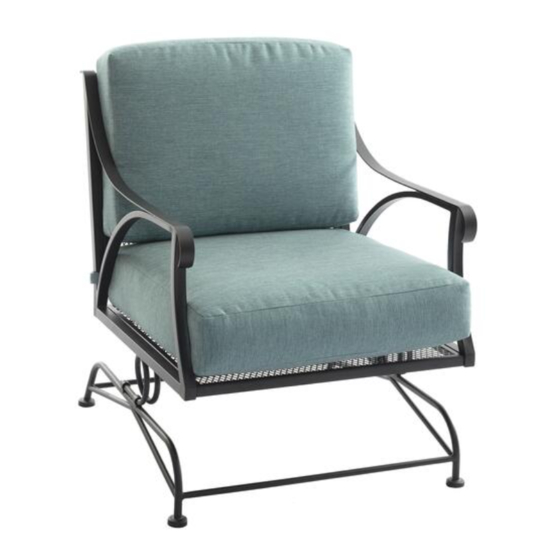
Oceanside Lounge Chair Rocker
Assembly Instructions
L
F
C
1 of 2
D
Diagram 2
Advertisement
Table of Contents

Subscribe to Our Youtube Channel
Related Manuals for Backyard Creations 2721897


Summary of Contents for Backyard Creations 2721897
- Page 1 Oceanside Lounge Chair Rocker Item No. 2721897, -898, -900 / M21039LC, -40LC, -41LC Assembly Instructions **TO AVOID POTENTIAL SCRATCHING TO PARTS BY ROUGH GROUND SURFACE, COVER GROUND WITH SOFT SMOOTH PROTECTIVE MATERIAL ON WHICH TO PLACE PARTS DURING ASSEMBLY. ** Step 1: Remove protective wrapping and lay all parts on floor.
- Page 2 Diagram 3 Diagram 4 PARTS LIST Part Name Part Image Qty Ref Part Name Part Image Chair Seat Right Arm Left Arm Chair Back Bolt Chair Base (M6) Small Large Nut Washer (M6) Cover (M8) Small Bolt Large Cover Washer (M8) (M6) Small Hex Spring...
Need help?
Do you have a question about the 2721897 and is the answer not in the manual?
Questions and answers