CODELOCKS CL5000 Installation Instructions Manual
Hide thumbs
Also See for CL5000:
- Getting started manual (20 pages) ,
- Programming & operating instructions manual (12 pages) ,
- Installation instructions manual (11 pages)

Subscribe to Our Youtube Channel
Related Manuals for CODELOCKS CL5000


Summary of Contents for CODELOCKS CL5000
- Page 1 CL 5000AT II.U.S.version 8PP_Layout 1 20/09/2013 10:44 Page 1 INSTALLATION INSTRUCTIONS US Version...
- Page 2 CL 5000AT II.U.S.version 8PP_Layout 1 20/09/2013 10:44 Page 2 Box Contents Please check the contents of the box are correct Key Description Front Plate Back Plate Lever Handles Gasket x 2 Sprung Spindle Fire Cup 1.5v AA Batteries (x4) Mortice Latch, Strike and 4 Screws Fixing Bolts x 4 (Inc spare) 10 Cable Tube and Ring Nut and Cap 11 Alignment Insert...
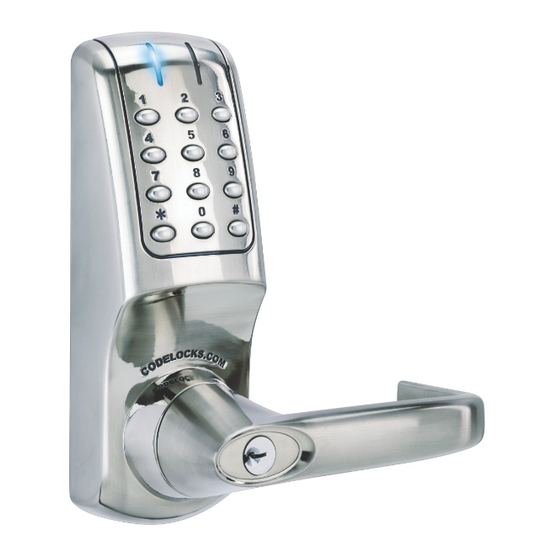
- Page 3 CL 5000AT II.U.S.version 8PP_Layout 1 20/09/2013 10:44 Page 3 CL5210 LATCH FUNCTION Outside handle turns freely without operating the latchbolt. When the code is entered the Blue LED flashes, and the handle will retract the latchbolt. The latch automatically locks the door when closed.
- Page 4 CL 5000AT II.U.S.version 8PP_Layout 1 20/09/2013 10:44 Page 4 OPERATIONS CHECK SPECIAL FIXING NOTE AUDIT TRAIL OPTION You should familiarise yourself with the operation of the lock If the CL5210AT is ordered, it will be supplied with parts 18,19, 20 and 21 and check that all parts work properly.
- Page 5 CL 5000AT II.U.S.version 8PP_Layout 1 20/09/2013 10:44 Page 5 INSTALLATION OF CL5210 LOCK Take time to be precise 1 Lightly mark a height line on the edge and both faces of the door to indicate the top of the lock when fitted. and finish the job Crease the template along one of the dotted lines (60mm (2 ”) or 70mm (2...
- Page 6 CL 5000AT II.U.S.version 8PP_Layout 1 20/09/2013 10:44 Page 6 INSTALLATION OF CL5210 LOCK CONTINUED 5 Reinsert the latch and fix the screws, with the bevel towards the door 9 Remove the 4 socket head bolts from the back plate (2 are found frame.
- Page 7 CL 5000AT II.U.S.version 8PP_Layout 1 20/09/2013 10:44 Page 7 14 Connect the cables, storing any excess cable within the door. Screw end cap onto cable tube. Then install the batteries. 15 Fit the back plate over the fixing plate using the 4 socket head screws.
- Page 8 CL 5000AT II.U.S.version 8PP_Layout 1 20/09/2013 10:44 Page 8 ANSI/BHMA A156 2 A156 25 CODELOCKS LTD UK Tel: +44 (0) 1635 239645 Fax: +44 (0) 1635 239644 sales@codelocks.co.uk Helpline, service & spares FREEPHONE 0800 393 405 CODELOCKS INC US Tel: +1 714 979 2900 Fax: +1 714 979 2902 sales@codelocks.us...
Need help?
Do you have a question about the CL5000 and is the answer not in the manual?
Questions and answers