Table of Contents

Related Manuals for Almost Heaven Saunas Phoenix


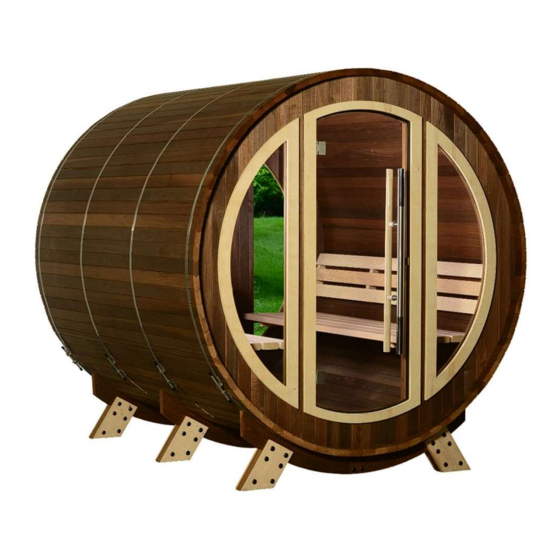
Summary of Contents for Almost Heaven Saunas Phoenix
- Page 1 Phoenix Barrel Sauna Installation & Owner’s Manual In addition to reading this manual through to the end before proceeding with assembly you may find our instruction video helpful. You can find it at: youtube.com/user/almostheavensauna...
-
Page 2: Electrical Requirements
Because the traditional sauna experience involves a heating-cooling-resting regimen, it is important to plan ahead before installing your sauna. Our method of construction allows you to place your barrel sauna in a wide variety of settings. Page | 2 PHOENIX BARREL SAUNA INSTALLATION MANUAL... -
Page 3: Basic Tools
4”-5” (2-4). Note: When installing screws on drain stave, try to position them so they are between the two sets of bolts in the cradle. (5). Figure 1 Figure 2 Figure 3 Figure 5 Figure 4 Page | 3 PHOENIX BARREL SAUNA INSTALLATION MANUAL... - Page 4 You will find it helpful to place a temporary stave at the top, connecting the two ends. This will align and stabilize the two ends while you continue adding staves to your sauna. Figure 9 Figure 10 Page | 4 PHOENIX BARREL SAUNA INSTALLATION MANUAL...
-
Page 5: Room Assembly
Periodically set the level on the staves to check that they are level (14). Stop using nails about halfway up the sides (15-16). Figure 14 Figure 13 Page | 5 PHOENIX BARREL SAUNA INSTALLATION MANUAL... - Page 6 In other words, the radius of that the staves create will actually be slightly larger than the radius of the barrel end panels. This will ensure the tightest seal possible when the bands are tightened. Page | 6 PHOENIX BARREL SAUNA INSTALLATION MANUAL...
-
Page 7: Band Assembly
(23-24). Place middle two bands following the same procedure. Space them evenly between the outer two bands, approximately 32” from stave ends (25). Figure 21 Figure 22 Figure 23 Figure 24 Figure 25 Page | 7 PHOENIX BARREL SAUNA INSTALLATION MANUAL... - Page 8 (31). Bolts may need slight tap from rubber mallet to go through wood and brackets. Once bolts are through the holes in the bracket, apply a washer then fully tighten the nut (32). Figure 26 Figure 27 Figure 28 Figure 29 Figure 30 Figure 31 Figure 32 Page | 8 PHOENIX BARREL SAUNA INSTALLATION MANUAL...
- Page 9 Back Rest Mount the backrests at the level most comfortable to you, typically 8-12” above the bench. Use a level while fastening to ensure an even installation (38-39). Figure 38 Figure 39 Page | 9 PHOENIX BARREL SAUNA INSTALLATION MANUAL...
- Page 10 (46). Repeat for light bar under second bench. Plug the power source into a standard 110V outlet either directly or with an extension cord. You may also wish to have your electrician hardwire the light to a 110V circuit. Figure 46 Figure 45 Page | 10 PHOENIX BARREL SAUNA INSTALLATION MANUAL...
- Page 11 (54). Partially tighten bottom screw; make sure handle is straight from top to bottom and finish tightening screws to complete installation (55). Figure 47 Figure 48 Figure 49 Figure 50 Figure 51 Figure 52 Figure 53 Figure 54 Figure 55 Page | 11 PHOENIX BARREL SAUNA INSTALLATION MANUAL...
- Page 12 • Prepare to feel refreshed for the day or to have an amazing night’s sleep! Whatever your sauna routine, it is imperative that you STAY HYDRATED! Optional accessories for your sauna, including a back rest, robe hook and much more are available at almostheaven.com/sauna-accessories/. Page | 12 PHOENIX BARREL SAUNA INSTALLATION MANUAL...
Need help?
Do you have a question about the Phoenix and is the answer not in the manual?
Questions and answers