Advertisement
Quick Links
Almost Heaven Saunas
®
T H E A U T H E N T I C S A U N A E X P E R I E N C E
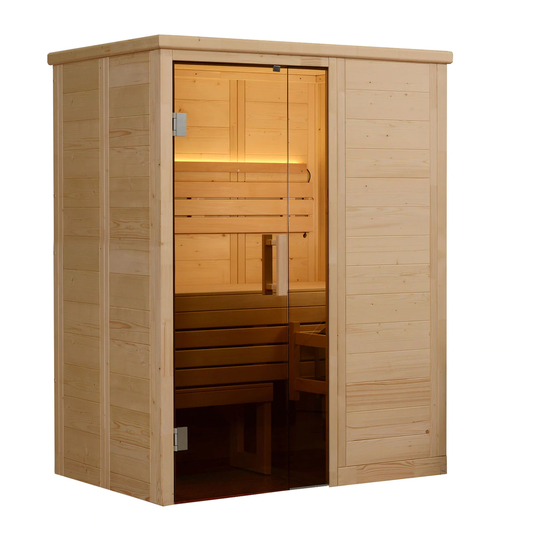
Hillsboro Sauna
Installation &
Owner's Manual
In addition to reading this manual through to the end before proceeding with assembly
you may find our instruction video helpful.
You can find it at: youtube.com/user/almostheavensauna
Advertisement

Related Manuals for Almost Heaven Saunas Hillsboro Sauna


Summary of Contents for Almost Heaven Saunas Hillsboro Sauna
- Page 1 Almost Heaven Saunas ® T H E A U T H E N T I C S A U N A E X P E R I E N C E Hillsboro Sauna Installation & Owner’s Manual In addition to reading this manual through to the end before proceeding with assembly you may find our instruction video helpful.
-
Page 2: Electrical Requirements
It is suggested that you lay out all of the components so that it is easy to identify the pieces once you get started with assembly. You will need the following tools to assemble your Hillsboro Sauna: Rubber mallet... - Page 3 Step 1 Locate the (4) bottom rails and position as shown. Overlap the corner joints and be sure the rails are square to each other. Step 2 Screw a single 5x70 screw into each of the 3 corners. NOTE: You will hear the wood “crack”...
- Page 4 Step 5 Place two additional 19” wall sections on the back wall of the sauna. There will be no screws used in these sections, but be sure the wall sections are placed firmly to the bottom rail so that the flat top sec- tions are flush with each other.
- Page 5 Step 9 Place the 19” wall section with black plastic clips on one side onto the left hand side of the sauna with the clips facing the front of the sauna. Plastic Clips Step 10 Find the vertical piece with the window groove on one side.
- Page 6 Step 13 Find the glass window section and position into the groove of the vertical wall section post. Then, position the header for the door so that the groove goes over the top portion of the glass window. Insure that the top of the header is flush with the tops of the wall sections and screw into place us- ing 4x70 screws inserted on an angle.
- Page 7 Step 17 Find the two vertical bench supports. Position the right and left vertical bench supports so that they butt up against the bottom and front edge of the horizontal bench supports as shown. Screw into place using (2) 5x70 screws each. Step 18 Find the vertical bench section and position in front of the vertical bench supports.
- Page 8 Step 21 Locate the vent cover and position over the wall opening. Attach with (4) 3.5x40 screws. Note: if the vent cover is stiff, you can force it off with a mallet or sand it. Step 22 Find the (2) roof sections and place over the roof support rails. Be sure the tongue and groove sections are facing in as shown so that the smooth edges are around the perimeter.
- Page 9 Step 25 Find 4 pieces of roof trim. Place the long piece with the two 45° angles on the front, and the two short pieces on the sides. Attach to the sauna using 3.5x40 screws, (4) in each long piece and (2) in each short piece.
- Page 10 Install the handle on the door using the screws provided. Refer to the separate installation guide for the LED light bar and heater installation. Almost Heaven Saunas ® T H E A U T H E N T I C S A U N A E X P E R I E N C E...
-
Page 11: Operation
Dress only after you have cooled down completely. NOTE: Whatever your sauna regimen, it is important that you keep yourself hydrated by drinking plenty of water! Almost Heaven Saunas ®...
Need help?
Do you have a question about the Hillsboro Sauna and is the answer not in the manual?
Questions and answers