
Subscribe to Our Youtube Channel
Related Manuals for Almost Heaven Saunas Spectrum Series


Summary of Contents for Almost Heaven Saunas Spectrum Series
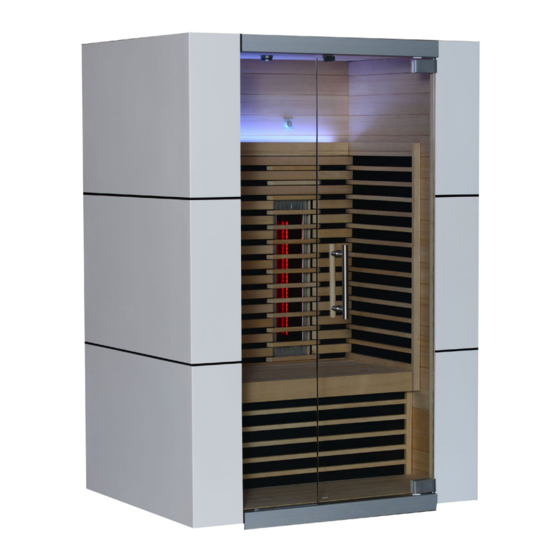
- Page 1 Almost Heaven Saunas ® T H E A U T H E N T I C S A U N A E X P E R I E N C E Spectrum Series Infrared Installation & Owner’s Manual...
- Page 2 SPECTRUM SERIES INSTALLATION & OWNER’S MANUAL Thank you for your purchase of your Spectrum Series Sauna. Should you have any questions during assembly, please feel free to give us a call at 888.355.3050, or email sales@almostheaven.com. Regular business hours are 9-5 EST, M-F.
- Page 3 3b. Now remove the original pre-installed Veegee plate located just above the quartz heater housing and replace it with the power indicator plate included in your hardware kit using the provided screws (Images 6 & 7). Image 6 Image 7 3c.
- Page 4 Step 5: Install Back Heating Panel and Benches 5a. Locate the back heating panel and orient it so the LED light is facing up (Image 20). Line up the back heating panel such that its uppermost slat sits in the uppermost groove of the side heating panels (Image 21). Connect LED (Image 22) and heater plugs (Image 23) and push flush against the back panel (Image 24) so that the magnets on the back heating panel secure to the metal plates on the back panel (Image 25).
- Page 5 Step 6: Attach Front Panels Locate the front panels noting which one is labeled for right and left. To install, push each one flush against its corresponding side panel and secure them using the 5x50 fasteners through the predrilled holes. (Images 33 & 34) Image 33 Image 34 Step 7: Install Ceiling Panel...
- Page 6 Note: For the Spectrum V2000 model install the side window with optional rubber gaskets before moving on to step 8. Slide the window into the grooves of the header and footer (Images 45, 46, & 47). Optional gaskets have been provided to cushion the window as it sits in the grooves. Simply fit gaskets into the grooves of the header and footer, and slide the window into the gaskets.
- Page 7 9b. Place the clear rubber gasket onto the flat side of all four hinge components, being sure the holes of the gasket line up with the holes for the bolts (Images 54 & 55). Image 54 Image 55 Rest the lower hinge on the lower pivot (Images 56 & 57) With a helper holding the door, align the lower holes in the glass up to the lower hinge, position the back plate over the glass and join the three components by lightly tightening the bolts into the hinge (Images 58 &...
- Page 8 9d. Step inside the sauna and have your helper close the door. If the door catches on the hinge pivots or the exterior panels, pull on the door handle to slide the glass as necessary so that it closes unhindered. Now, from the inside of the sauna, completely tighten the hinge bolts to secure the door position (Images 65 &...
-
Page 9: Operating Instructions
OPERATING INSTRUCTIONS Control Panel Most functions of the Spectrum Series will be controlled from the control panel. When the sauna is assembled, the control panel is located in the interior of the sauna on the left wall. Powering Up the Heaters Press the POWER button until the control panel beeps.
Need help?
Do you have a question about the Spectrum Series and is the answer not in the manual?
Questions and answers