Advertisement
Quick Links
®
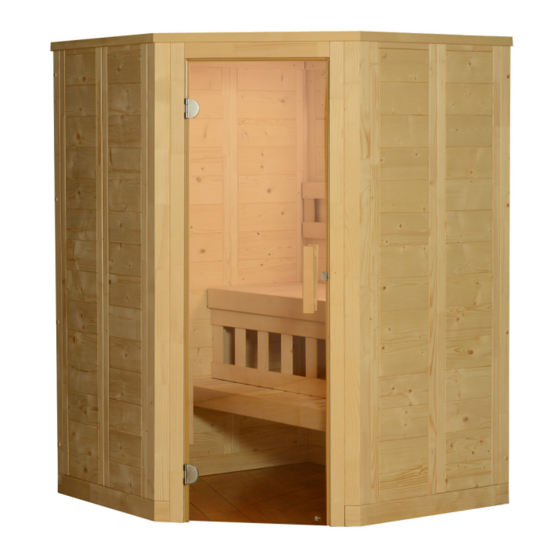
Sutton Sauna
Installation & Owner's Manual
Thank you for your purchase of your Sutton sauna! Should you have any questions during assembly,
please feel free to call us at 888.355.3050, or email sales@almostheaven.com.
Regular business hours are 9-5 EST, M-F.
Advertisement

Subscribe to Our Youtube Channel
Related Manuals for Almost Heaven Saunas Sutton


Summary of Contents for Almost Heaven Saunas Sutton
- Page 1 Sutton Sauna Installation & Owner’s Manual Thank you for your purchase of your Sutton sauna! Should you have any questions during assembly, please feel free to call us at 888.355.3050, or email sales@almostheaven.com. Regular business hours are 9-5 EST, M-F.
-
Page 2: Electrical Requirements
It is suggested that you lay out all of the components so that it is easy to identify the pieces once you get started with assembly. You will need the following tools to assemble your Sutton Sauna: Rubber mallet... - Page 3 Finally, position the 14” wall sections with plastic clips against the 14” wall sections without plastic clips on both front rails. Orient these wall sections so the tapered side of the clip points upward. page 2 Image 6 Image 7 SUTTON SAUNA INSTALLATION MANUAL...
- Page 4 Finally, secure the 10” vertical bench-cover mounting slat perpendicular to the upper slat, being sure the center of the mounting slat sits at the edge of the 22” support. Repeat for the opposite side. 31 5/8” 14 1/2” Image 16 Image 17 page 3 SUTTON SAUNA INSTALLATION MANUAL...
- Page 5 Position them so the bottom of the supports measure 3” from the top edge of the wall panels. Lay the roof sections on the supports. There is no need to secure the roof panels to the supports, but you may if you wish. Image 23 Image 24 Image 25 Image 26 Image 27 Image 28 page 4 SUTTON SAUNA INSTALLATION MANUAL...
- Page 6 Locate the roof trim pieces. Starting with the trim piece above the door, begin installing the trim pieces around the upper rim of your sauna us- ing 3x40mm screws. NOTE: The longer trim pieces will have to be cut to size. Image 37 Image 38 Image 39 page 5 SUTTON SAUNA INSTALLATION MANUAL...
- Page 7 Gently tap in the provided screw hole covers over the exposed screw holes on the exterior of the sauna. Image 41 Step 15 Install the vent cover over the vent hole. Insert the sliding door. Image 42 page 6 SUTTON SAUNA INSTALLATION MANUAL...
- Page 8 SUTTON FLOOR PLAN page 7 SUTTON SAUNA INSTALLATION MANUAL...
-
Page 9: Operation
OPERATION After the sauna has been installed, sweep down the inside to remove any sawdust and wood shavings, and then vacuum com- pletely. Using a damp cloth and warm water, wipe down the entire sauna including the benches to remove any remaining dirt, dust and debris.
Need help?
Do you have a question about the Sutton and is the answer not in the manual?
Questions and answers