evoheat Evo Ultra 64 Installation & Operation Manual
Commercial hot water heat pump
Hide thumbs
Also See for Evo Ultra 64:
- Installation & operation manual (22 pages) ,
- Installation & operation manual (21 pages)
Table of Contents
Advertisement
Quick Links
Advertisement
Table of Contents

Related Manuals for evoheat Evo Ultra 64


Summary of Contents for evoheat Evo Ultra 64
-
Page 2: Table Of Contents
5.2.6 Settings ............................8 6. Troubleshooting ............................11 6.1 Fault Table ............................11 7. Appendix ..............................14 7.1 Cable Specifications .......................... 14 7.2 Wiring Diagram ..........................15 8. Maintenance ............................16 9. Warranty ..............................17 info@evoheat.com.au 1300 859 933 www.evoheat.com.au... -
Page 3: Introduction
EvoHeat unit. Instructions in this manual must always be followed. Failure to comply with these recommendations will invalidate the warranty. Should you have any questions or require technical support, call the EvoHeat office on 1300 859 933 to speak to our team. -
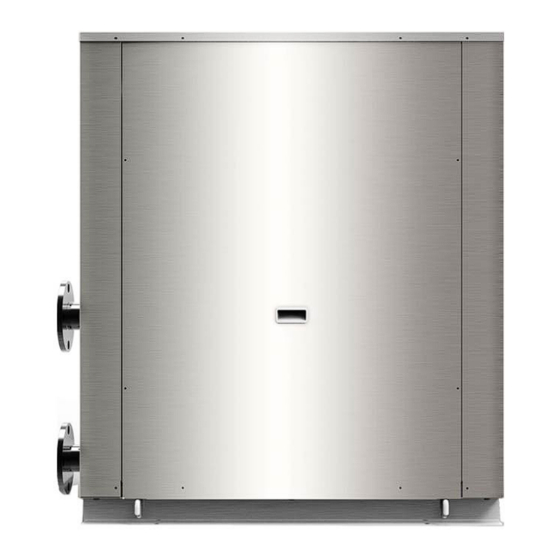
Page 4: Unit Dimensions
Hot Water Outlet DN80 Hot Water Inlet DN80 Cold Water Inlet DN80 Cold Water Outlet DN80 Unit: mm A (L) B (W) C (H) Evo Ultra 64 1172 1365 Evo Ultra 129 1600 1130 1500 1080 1050 1000 Evo Ultra 240 2030... -
Page 5: Safety Instructions
Do not install the unit near flammable gas or spray flammable substances near it. • • Ensure the heat pump is installed on a strong and stable platform. If the supply cord is damaged, it must be replaced. • Use genuine standard spare parts only. • info@evoheat.com.au 1300 859 933 www.evoheat.com.au... -
Page 6: Installation
Thermometer and water pressure gauge should be equipped at the units water inlet and outlet port for checking. User side water should be tap water and the hardness should be less than 20. If not, install an electric hydro treater at the tap water side info@evoheat.com.au 1300 859 933 www.evoheat.com.au... -
Page 7: Electrical Connection
Adjust the valved on the water loop to make sure that the hot (cool) water supply to each door is good and meets the requirements of heating (or cooling). • Review whether the outlet water temperature is stable. • The parameters of the controller are set by the factory, the user cannot change these themselves. info@evoheat.com.au 1300 859 933 www.evoheat.com.au... -
Page 8: Operation
When the screen is locked a small lock symbol will appear on the top right of the main menu. To unlock the screen, press the ‘Lock’ button again and enter the password 22 which will unlock the screen and remove the lock symbol. info@evoheat.com.au 1300 859 933 www.evoheat.com.au... -
Page 9: Setting A Timer
Press Status (30) to choose from Running Status or Unit Status. Running Status See below image. Unit Status Enter the password 22 to inquire the unit status parameter. Press one of the 4 buttons to inquire relevant parameters. Running Status Screen Unit Status Screen info@evoheat.com.au 1300 859 933 www.evoheat.com.au... - Page 10 Temperature curve record is provided with power off memory function; in the case of a disturbed curve recording • and display, when the unit is next powered on the wire controller will automatically clear the history curve record and the curve recording function will restore to a normal state. info@evoheat.com.au 1300 859 933 www.evoheat.com.au...
- Page 11 Click the screen in the bottom left corner over 10 times within 4 seconds to bring up the display calibration interface. Click the blank squares to check whether there are bad spots within the screen. Green spots are normal. To exit, click the screen in the bottom right corner. info@evoheat.com.au 1300 859 933 www.evoheat.com.au...
-
Page 12: Troubleshooting
Syst1: Low Pressure Prot. 3+ system is disconnected for any failure The low-voltage switch of the Inspect System 2 voltage switch and refrigerating circuit Syst2: Low Pressure Prot. 3+ system is disconnected for any failure info@evoheat.com.au 1300 859 933 www.evoheat.com.au... - Page 13 The sensor is open or short Check and replace the system 1 high pressure PP12 Fault circuited sensor Syst2: High Pressure Sensor The sensor is open or short Check and replace the system 2 high pressure PP22 Fault circuited sensor info@evoheat.com.au 1300 859 933 www.evoheat.com.au...
- Page 14 E133 System 1 compressor failed to stop Syst2: Comp. Stop Fault E233 System 2 compressor failed to stop Automatic recovery after 3 minutes of Power Down Memory Loss of power when power on power on info@evoheat.com.au 1300 859 933 www.evoheat.com.au...
-
Page 15: Appendix
280A If the unit is installed outdoors, use a UV resistant cable. The above specification is for reference only. For specific wire and breaker models please check the corresponding factory standard and actual installation requirement info@evoheat.com.au 1300 859 933 www.evoheat.com.au... -
Page 16: Wiring Diagram
Page 15 Evo Ultra Manual 7.2 Wiring Diagram info@evoheat.com.au 1300 859 933 www.evoheat.com.au... -
Page 17: Maintenance
Evo Ultra Manual 8. Maintenance It is recommended that you get your EvoHeat unit serviced once a year by your local certified air conditioning or refrigeration technician. If your unit is located in a coastal area, more frequent maintenance may be necessary. During the service,... -
Page 18: Warranty
REGISTER YOUR WARRANTY EvoHeat highly recommend customers complete their warranty details online to ensure efficient warranty claim processing. To register your warranty, scan our QR Code or head to our website and fill in the Warranty Registration Form: https://evoheat.com.au/warranty-registration/...
Need help?
Do you have a question about the Evo Ultra 64 and is the answer not in the manual?
Questions and answers