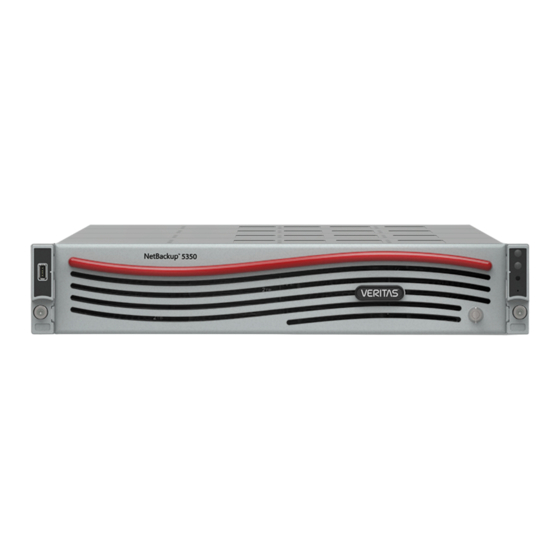
VERITAS 5350 Quick Start Manual
Hide thumbs
Also See for 5350:
- Hardware installation manual (120 pages) ,
- Product description manual (78 pages) ,
- Hardware service procedure (32 pages)
Advertisement
Veritas
Quick Start Guide
Components for installing the storage shelves
Storage shelf (x1 to 4)
Long screws
Flat washers
(4 per storage shelf)
(4 per storage shelf)
STEP 1: INSTALL STORAGE SHELF RAILS
1.1
The storage shelf rails are extended to full
length in the shipping container. Use the
four adjuster screws on the inside of the
rail to increase or decrease the rail length.
1.4
Extend the rail assembly to enable the rear
rail pins to engage. Verify that the pins are
fully seated in the holes in the rack posts.
Secure the four adjuster screws as needed.
5350 Appliance
™
Bezels
(2 per storage shelf)
(2 per storage shelf)
Lock washers
Small screws
(4 per storage shelf)
(2 per storage shelf)
1.2
Left front
Identify the left and the right rails which are
labeled LH (left-hand) and RH (right-hand)
on the front inside of the rail.
1.5
Left front
Repeat the process for the right rail. Verify
that the left rails and the right rails use the
same rack holes and are parallel.
Components for installing the rack rails and the node
Storage rails
Node (x1 to 2)
Medium screws
Bezel (1 per node)
(6 per storage shelf)
Right front
5
4
3
2
1
Right front
Node rails (2 per node)
1.3
Front
Locate the pins on the front and the rear of
the rails. Start with the left rail. Place the
rail pins inside the front of the rack.
1.6
Front
The front of the rail requires one medium
screw in the center hole of the center RU.
The rear of the rail requires two clamping
screws in the middle hole in the first and the
fifth RU. Tighten the four adjuster screws
on the inside of the rails to fix the rails.
Medium
screws
Rear
02-03-23
Advertisement
Table of Contents

Related Manuals for VERITAS 5350


Summary of Contents for VERITAS 5350
- Page 1 Veritas 5350 Appliance ™ Quick Start Guide Components for installing the storage shelves Components for installing the rack rails and the node Storage rails Node (x1 to 2) Storage shelf (x1 to 4) Bezels (2 per storage shelf) (2 per storage shelf)
- Page 2 Slide the lock clicks into place. the rail forward until the pins click into the rack holes. Copyright © 2023 Veritas Technologies LLC. All rights reserved. 32370 02-03-23...
- Page 3 Cabling guide to connect the hardware. chassis. Rotate the key counter-clockwise until it stops, which is past the “lock” icon in the 11 o’clock position Copyright © 2023 Veritas Technologies LLC. All rights reserved. 32370 02-03-23...
Need help?
Do you have a question about the 5350 and is the answer not in the manual?
Questions and answers