VERITAS NetBackup 5330 Hardware Service Procedure
Hide thumbs
Also See for NetBackup 5330:
- Installation manual (102 pages) ,
- Appliance hardware installation manual (90 pages) ,
- Configuration manual (63 pages)
Table of Contents
Advertisement
Quick Links
Veritas Appliance
Hardware Service Procedure
Power Canister Replacement: NetBackup 5330 Primary Storage
Shelf or Expansion Storage Shelf
Document Number: 136
Version: 3.1 (6/14/16)
Purpose
This document describes the process for replacing a power canister in a NetBackup 5330 Primary
Storage Shelf or an Expansion Storage Shelf.
Affected Models
Veritas NetBackup 5330 Appliance Storage Shelf
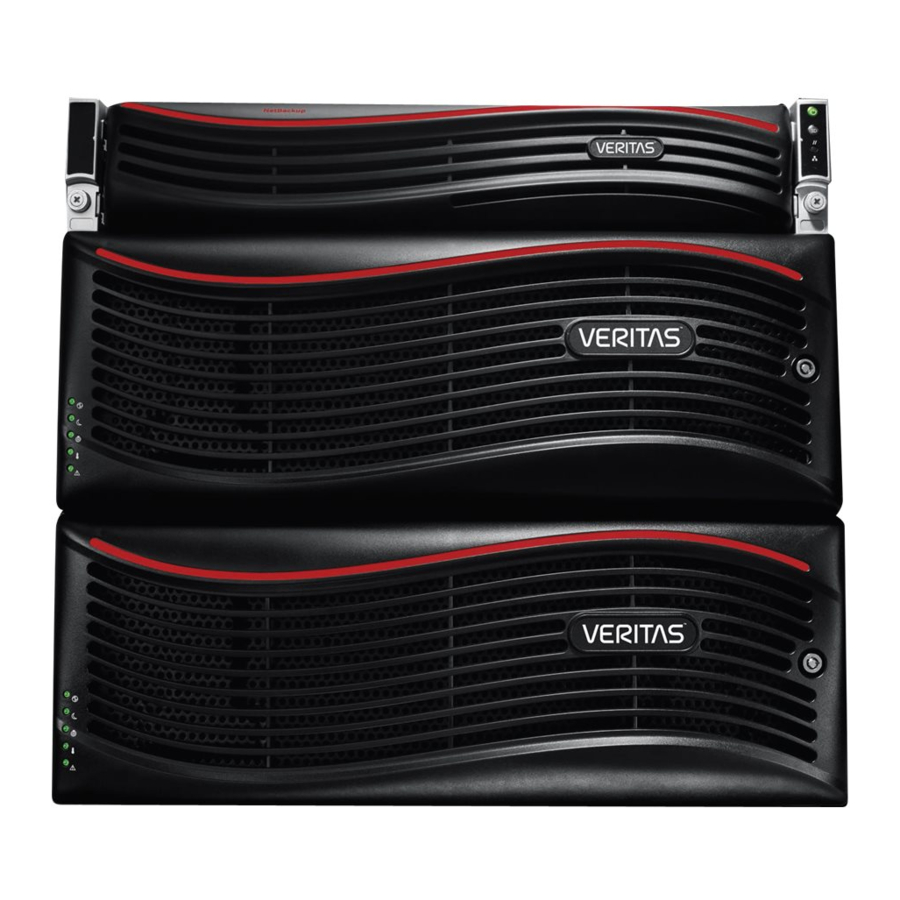
The NetBackup 5330 Appliance Primary Storage Shelf and Expansion Storage Shelf each contain
60 SAS hard disk drives. The front panel of the Primary Storage Shelf and Expansion Storage Shelf
contain five drawers, which are numbered 1-5, starting with the top drawer. Each drawer contains 12
disk drives, numbered 1 - 12, starting at the front left corner. The front panels of both systems are
physically and functionally the same, as seen in the following diagram.
The following diagram shows the front panel LEDs. The table identifies the components.
1
Advertisement
Table of Contents

Related Manuals for VERITAS NetBackup 5330


Summary of Contents for VERITAS NetBackup 5330
- Page 1 Shelf or Expansion Storage Shelf Document Number: 136 Version: 3.1 (6/14/16) Purpose This document describes the process for replacing a power canister in a NetBackup 5330 Primary Storage Shelf or an Expansion Storage Shelf. Affected Models Veritas NetBackup 5330 Appliance Storage Shelf The NetBackup 5330 Appliance Primary Storage Shelf and Expansion Storage Shelf each contain 60 SAS hard disk drives.
- Page 2 HSP 136 Power Canister Replacement The following table describes the LED status definitions. Number Definition Color Power LED Green Standby LED Green Locate LED White Over-temperature LED Amber Over-temperature LED Amber Each drawer in a storage shelf contains slots for 12 disks. The disks are numbered as shown in the following diagram.
- Page 3 Hardware part replacement procedure Removing and replacing a power canister Before you start to replace a power canister in the NetBackup 5330 Primary Shelf or Expansion Shelf, gather antistatic protection and a replacement power canister. Warning: If you perform this procedure with the power turned on, you must complete it within 15 minutes to prevent the possibility of overheating the equipment.
- Page 4 Standby power If the Service Allowed LED is not blue, access the appliance shell menu. Use the Support > command to turn on the blue light. If you cannot turn on the light, contact Veritas ServiceAllowed Support. Turn off the Power switch on the power canister that has failed.
- Page 5 HSP 136 Power Canister Replacement Remove the plastic strain relief from the power cord. Unplug the power cord from the failed power canister. Rotate the two power canister levers outward to disengage the power canister. Use the power canister levers as handles to pull the power canister out of the storage shelf chassis.
- Page 6 14 If the Input AC Power LED is off, or the Power Service Action Required LED is on, check that the power canister is installed correctly. Reinstall the power canister if needed. 15 If the LEDs are still not correct, contact Veritas Support.
Need help?
Do you have a question about the NetBackup 5330 and is the answer not in the manual?
Questions and answers