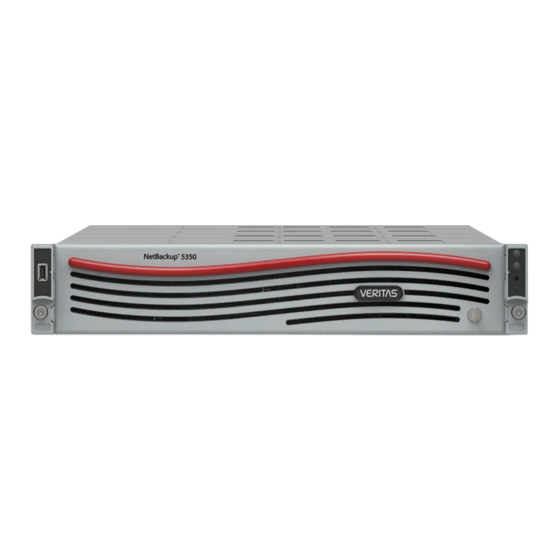
VERITAS 3340 Hardware Service Procedure
Hide thumbs
Also See for 3340:
- Command reference manual (110 pages) ,
- Appliance product description (78 pages) ,
- Installation manual (77 pages)
Advertisement
Quick Links
Veritas Appliance
Hardware Service Procedure
Replacing a disk drive carrier in a Veritas 5U84 Storage Shelf
Document Number: 210
Version: 1.4 (05/01/2021)
Purpose
This document describes the process for replacing a 4-TB/8-TB/10-TB disk drive carrier in a Veritas
5U84 Storage Shelf.
Affected appliance models
•
3340 Appliance
•
5340/5340 HA Appliance
•
5350/5350 HA Appliance
Electrical Safety
The static discharged by human bodies can damage static-sensitive components on the boards.
When installing and maintaining the equipment, observe appropriate electrostatic safety precautions
to prevent personnel injuries or device damage.
When operating a device in an electrostatic sensitive area, you must take electrostatic-discharge
(ESD)-preventive measures. These include wearing ESD-preventive gloves, an ESD-preventive wrist
strap, and ESD-preventive clothes to avoid personnel injury or device damage.
To prevent damage to the device, pay attention to the following during operations:
•
Do not touch devices with bare hands because ESD from the human body may damage the
electrostatically sensitive elements on a board.
•
When dealing with the server or any of the internal components, wear an ESD-preventive wrist
strap, ESD-preventive gloves, and ESD-preventive suit.
High availability (HA) appliance service considerations
Attention: A HA or multi-node appliance is serviced in the same manner as a single node appliance.
1
Advertisement

Summary of Contents for VERITAS 3340
- Page 1 Replacing a disk drive carrier in a Veritas 5U84 Storage Shelf Document Number: 210 Version: 1.4 (05/01/2021) Purpose This document describes the process for replacing a 4-TB/8-TB/10-TB disk drive carrier in a Veritas 5U84 Storage Shelf. Affected appliance models •...
- Page 2 Use the following steps to locate the appliance with the faulty component. To locate the appliance with the faulty component Contact the Veritas Field Service Coordinators to let them know that you have arrived at the customer site. Have the customer take you to the unit with the faulty component.
- Page 3 If the work order provides the 5U84 Storage Shelf serial number, verify that the serial number on the work order matches the serial number on the storage shelf. The Veritas Serial Number label is located in the lower right-hand corner of the shelf’s rear panel under the power supply. Do not use the label in the upper left-hand corner for the Veritas Serial Number.
- Page 4 HSP 210: Disk Drive Carrier replacement: Veritas 5U84 Storage Shelf If the drive number is known, the drive location mapping can be used.
- Page 5 HSP 210: Disk Drive Carrier replacement: Veritas 5U84 Storage Shelf Unlock the drawer anti-tamper locks. Make sure the drawer anti-tamper locks are not engaged. The red arrows on the locks point inwards if the locks are disengaged. Unlock them if necessary by rotating them counterclockwise using a screwdriver with a Torx T20...
- Page 6 HSP 210: Disk Drive Carrier replacement: Veritas 5U84 Storage Shelf Push the drawer latches inward and hold them.
- Page 7 Caution: Incorrectly disconnecting the drive can cause data loss or data corruption. Therefore, if the drive status LED is not solid amber, contact the Veritas Field Service Coordinators before you proceed. Slide the release button and the disk drive carrier pops up slightly from the slot.
- Page 8 HSP 210: Disk Drive Carrier replacement: Veritas 5U84 Storage Shelf Lift the drive out of the slot approximately 1 inch (25mm), and then wait 30 seconds, allowing the drive to spin down. Caution: Damage can occur to a drive if it is removed while it is still spinning. Make sure that the drive has stopped prior to removal.
- Page 9 Caution: Verify that the capacity of the drive is the same as the capacity of the drive that is being replaced. Veritas does not support populating the 5340/5350 storage shelf's individual disk drive drawers with both 4-TB and 8-TB disk drives.
- Page 10 HSP 210: Disk Drive Carrier replacement: Veritas 5U84 Storage Shelf Close the drawer by pressing and holding both latches located on the sides of the drawer. Push the drawer all the way back into the enclosure, making sure it clicks home.
- Page 11 HSP 210: Disk Drive Carrier replacement: Veritas 5U84 Storage Shelf If faults appear, contact Veritas Technical Support.


Need help?
Do you have a question about the 3340 and is the answer not in the manual?
Questions and answers