Advertisement
Quick Links
Advertisement

Related Manuals for saunalife Ergo E7 Series


Summary of Contents for saunalife Ergo E7 Series
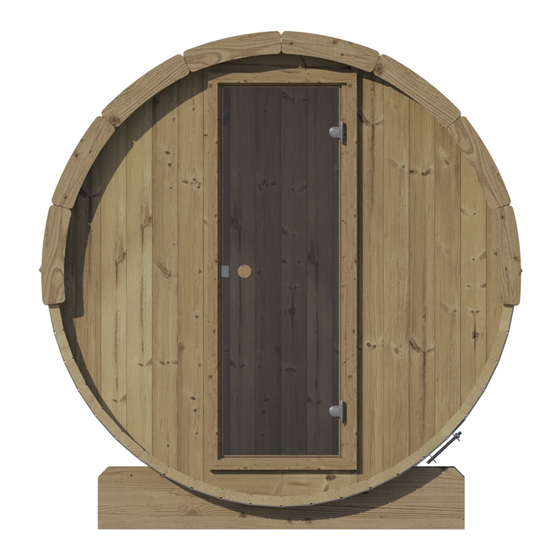
- Page 1 Ergo-Series E7 Barrel Sauna 71D" x 81H" Note: Please read manual before construction Rev 4/2023...
- Page 2 Front & Back Walls...
- Page 3 E7 Barrel Sauna 71D" x 81H" Details list. (x2) (x1) (x1) (x2) (x1) (x1) (x2) (x1) (x2) (x2) (x2) x2 drain set (x2) (x2) (x2) (x2) (x2) (x4) (x1) (x38/50/62) (x4) (x5/7/8) (x2) (x2) (x2) (x1) Bit PH2 (x4) Torx bits (x16) T10 T15 (x2)
-
Page 4: Tools Needed
Tools needed Measuring tape Marker pen Circular saw Water level Hammer Extra hands Silicone gun Ratchet strap (Only glass-wall models) Drill Cresent wrench Utility knife Rubber mallet... - Page 5 Wooden front wall installation Details 16x J DET U Fix it diagonally to make wall more rigid during the installation. 2x I...
- Page 6 Wooden back wall installation Details DET U 2x H 4x I Pre-drill holes 5/32" before screws. Brackets inside.
- Page 7 E7 Barrel Sauna 71D" x 81H" Diagonal measurements should be equal 4x M DET 1 63" 2xDET A 4x M DET 1...
- Page 8 E7 Barrel Sauna 71D" x 81H" 8x DET 3 Center stave 2 on cradle 1 Position cradles inside grooves of stave 2 2x M inch=inch DET 2...
- Page 9 E7 Barrel Sauna 71D" x 81H" 16x M...
- Page 10 E7 Barrel Sauna 71D" x 81H" Drill 4 holes Ø1/2" through DET 2 outside 90° 6x H Brackets inside 3xDET 3 4x H Fix temporarily to support walls. ~1/4" IMPORTANT! Be sure to leave a Use waterlevel 1/4”gap when tightening screws to leave room for adjustment when the outer bands (B) are installed.
- Page 11 E7 Barrel Sauna 71D" x 81H" Remove temporary bracing ~1/4 Important! Leave space IMPORTANT! Be sure to leave a 1/4” gap when tightening screws to leave room for adjustment when the outer bands (B) are installed. DET 3 See the next page. Strap Use strap to support DET 3...
- Page 12 E7 Barrel Sauna 71D" x 81H" DET 6 Join two boards together (as shown in If needed, trim the flat edge of the diagram II) that will bridge the width of board to create the desired width. the "A" gap. It is recommended that the combined boards are approximately 1/4"...
- Page 13 E7 Barrel Sauna 71D" x 81H" DET B1 DET B1 ~9⁷ /₁₆" DET B DET B Remove strap 2x DET B Place the bands around the barrel on the outer side of the cradle.
- Page 14 E7 Barrel Sauna 71D" x 81H" Remove all temporary braces 1x DET G 6x K Upper vent 3x DET F Lower vent 6x K 2x DET 10a 2x H Pre-drill holes Ø5/32" before screws. 2x DET 10 72" and 88" Saunas with front-glass wall NB! If Your sauna equipped with front-glass have 4 pc.
- Page 15 E7 Barrel Sauna 71D" x 81H" 10x I Pre-drill holes 1/8" Use level for installation of benches 10x I 2x H 72" & 88" Saunas with front-glass walls have 2x DET 11 four pieces of 10c. Under the benches 6x M 4x H 2x DET 10c...
- Page 16 E7 Barrel Sauna 71D" x 81H" 2x J 2x DET 15a 2x H 2x DET 15b If needed - To accommodate the size of your heater, trim 15A on the end that meets the back wall, before adding 2x DET 15c part H Mount sauna heater before installing safety rail, per...
- Page 17 E7 Barrel Sauna 71D" x 81H" X= Front wall thickness Wooden front wall 1⅛" Glass front wall 1⅝" 2x M 1x DET 20 2x DET 20c 2x DET 20d 2x M 18x H Ensure door frame is pressed tightly against the wall and fasten from inside 2x DET 20a 2x DET 20b...
- Page 18 E7 Barrel Sauna 71D" x 81H" DET N See the installation manual inside the shingles package Overlap shingles on top ~⅜" Check also roof shingles installation manual inside package. Cut DET N into three equal segments DET N DET O Cut and use other end.
- Page 19 E7 Barrel Sauna 71D" x 81H" 8xDET 25 8xDET 25 16x H 16x H Remove DET A...
Need help?
Do you have a question about the Ergo E7 Series and is the answer not in the manual?
Questions and answers