Advertisement
- 1 Included in the Box
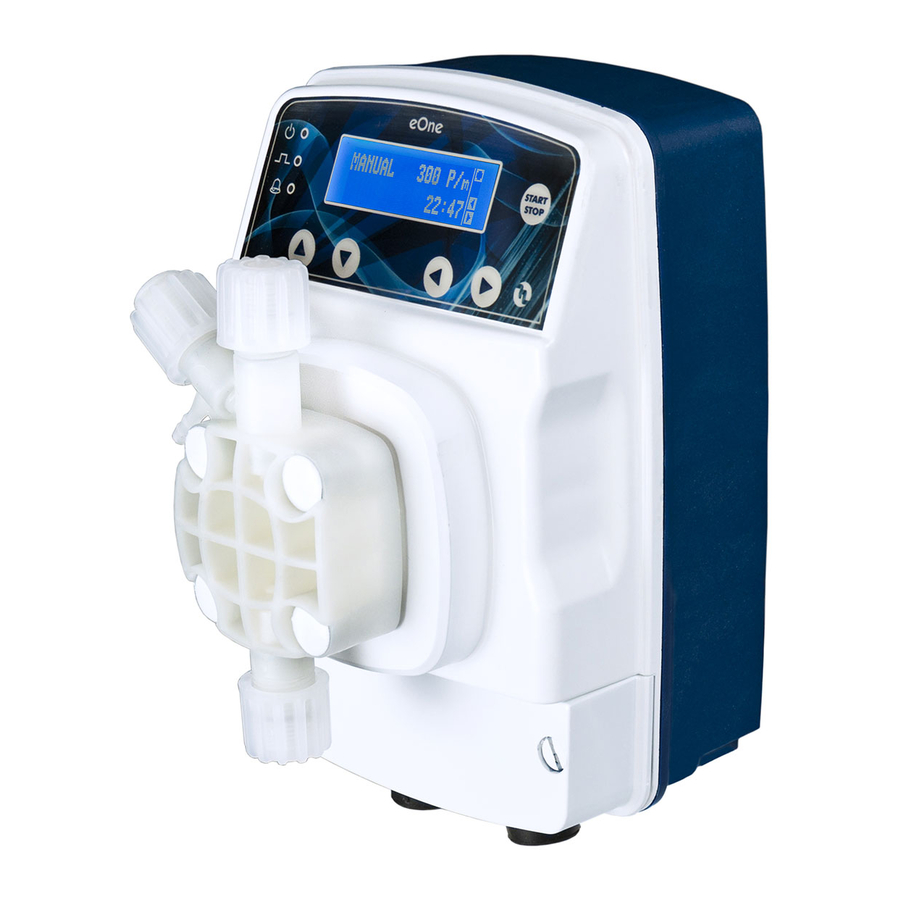
- 2 Parts description
- 3 Part A: Attaching the opaque tubing to the injection valves
- 4 Part B: Attaching suction & foot filter tubing
- 5 Part C: Connecting the Water Meter Tools needed: punch, small and standard size flat head screwdriver
- 6 Part D: Priming the pump
- 7 Part E: Programing the pump 1xN(M) MODE
- 8 eOne Installation
- 9 Documents / Resources
Included in the Box
- eOne MF pump
- Bracket Mounting Kit
- Operating instructions and maintenance manual
- Allen Wrench (to remove solenoid head when needed)
- Hose Packet
- Opaque, Rigid PE Tubing for the Discharge
- Clear, Flexible, PVC Suction Tube
- Injection Valve
- Foot Filter
 NOTE: Remove safety labels before installing and remember pumps may hold water inside.
Parts description

Part A: Attaching the opaque tubing to the injection valves
- Remove the top discharge valve nut.

- Remove the protective cap from the nut and discard.

- Insert the opaque tubing through the nut. Slide the locking collar and insert the hose nozzle over the tube creating a compression fitting.

- Screw the nut back onto the discharge valve. Hand tighten.

- Attach other end of tubing to the injection stem, follow steps 3 and 4. Install injection stem into the water line.


Injection stem has 1/2", 3/8" and M10 MPT thread options.
Cut to your specifications. Insert into water line so that the end of injection valve is midway in the pipe.
Part B: Attaching suction & foot filter tubing
- Cut clear tubing in two pieces that are the correct size for your application.

- Attach one of the two clear PVC tubes to the suction valve following steps 2 - 5 in part A.

- Attach the foot filter (using same process as above), to other end of clear PVC tubing. Place into the stock tank.
![]()
- Slide the second clear PVC tube onto the priming barb, and place into the stock tank.


Part C: Connecting the Water Meter Tools needed: punch, small and standard size flat head screwdriver
- Remove bottom front cover using a standard flat head screw driver.

- Remove the rubber cap on the left.

- Using a punch tool, punch a small hole through the rubber cap.

- Insert the Water Meter wires through the hole in the cap.

- Run the wires back through the hole in the front cover. Reinsert the rubber cap.

- Insert wires on 3rd and 4th holes from left. Push button and insert wires using small screwdriver. Make sure they are connected properly.


Priming Instructions
Part D: Priming the pump
- Plug the pump, this will put you in SET UP mode.

- Press the arrow to the right twice and select MF.

- Click START button twice. Screen shows Operating Mode/ Manual Mode. Pump will begin to prime.


Part E: Programing the pump 1xN(M) MODE
- Press the right arrow twice, display will read 1XN(M). This means pump will stroke N times with every impulse from the Water Meter with memory function.
 MODE - Step 1")
N = Number of pulses
- Arrow down once and you have the option to input the PULSES NUM:
 MODE - Step 2")
- Arrow right to input number of pulses. Example image shows 15 Pulse/ Strokes has been entered.
 MODE - Step 3")
- Arrow down.
 MODE - Step 4")
- Click START.
 MODE - Step 5")
- Screen changes reflecting what you programmed: 1xNM 15 will display in upper left corner.
 MODE - Step 6")
 MODE - Step 1")
 MODE - Step 2")
 MODE - Step 3")
 MODE - Step 4")
 MODE - Step 5")
 MODE - Step 6")
NOTE: Your pump will run upon receiving a pulse from the Water Meter. On the second signal the pump will dose slower, spacing out the pulses over time.
NEED HELP?
CALL 1-800-451-6628
The pump is ready to receive signals from the Water Meter.
eOne Installation


See operating manual for complete instructions and safety standards. When connecting a metering pump either to a public water supply or to its own water source, you must respect the regulations in force concerning protection of the source i.e. backflow prevention, etc.
NOTE: Installation illustrations are to be used as a reference guide only.
| Water Meter Options | ||
 | WM34-1PPG | One pulse/gallon |
| WM34-10PPG | One pulse/10 gallons | |

Documents / ResourcesDownload manual
Here you can download full pdf version of manual, it may contain additional safety instructions, warranty information, FCC rules, etc.
Download Etatron eOne MF 0110 - Dilution SOLUTION Quick Start Guide
Advertisement


Need help?
Do you have a question about the eOne MF 0110 and is the answer not in the manual?
Questions and answers