Subscribe to Our Youtube Channel
Summary of Contents for Reolink TrackMix LTE
- Page 1 Q S G 1 _ A _ E N Quick Start Guide Apply to: Reolink TrackMix LTE @ R e o l i n kTe c h h t t p s ://re o l i n k . c o m...
-
Page 2: Table Of Contents
Contents What's in the Box What's in the Box Camera Introduction Set up the Camera Camera USB Cable Mounting Hole Set up the Camera Template Charge the Camera Install the Camera Safety Instructions of Battery Usage Troubleshooting Quick Start Guide Surveillance Sign Pack of Screws Specification... -
Page 3: Camera Introduction
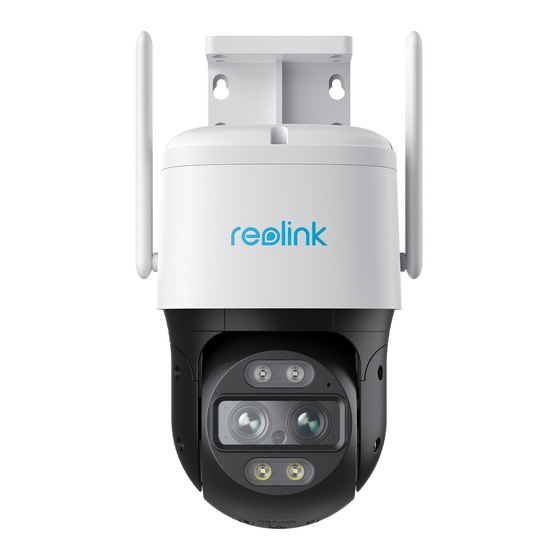
Camera Introduction Mount Nano SIM Card Slot Reset Button (Press the reset button with a pin to restore factory settings.) Power Switch Antenna Spotlight lnfrared Light Built-in Mic Speaker Status LED Micro SD Card Slot Lens Daylight Sensor PIR Sensor Power Port English English... -
Page 4: Set Up The Camera
Set up the Camera Activate SIM Card for the Camera • Choose a Nano SIM card that supports WCDMA and FDD LTE. • Some SIM cards have a PIN code. You may use your smartphone to disable the PIN first. NOTE: Do not insert the IoT or M2M SIM into your smartphone. Insert the SIM Card Insert a SIM-eject tool into the hole beside the SIM tray and push it in to pop open the tray. - Page 5 Set up the Camera Register the SIM Card Step 1 Scan to download the Reolink App from the App Store or Google Play store. Devices Cloud With the SIM card inserted, you can turn on the camera. Wait a few seconds and a red light You haven't added any device.
- Page 6 3. Check if you are using the correct version of the camera. Step 1 Download and install the Reolink Client: Go to https://reolink.com > Support > App & Client. Camera fails to “Network connection...
-
Page 7: Charge The Camera
It’s recommended to fully charge the battery before mounting the camera outdoors. Charge the battery with a power adapter (not included). vice. Please click ht corner to add Charge the battery with the Reolink Solar Panel (not included if you only purchase the camera). English English... -
Page 8: Install The Camera
Install the Camera Installation Tips • Do not face the camera towards any light sources. • Install the camera 2-3 meters (7-10 ft) above the ground. This height • Do not point the camera towards a glass window. Otherwise, it may maximizes the detection range of the PIR motion sensor. - Page 9 2. Install the mount base with screws included in the package. 3. To adjust the camera direction, you may control the camera to pan and tilt via Reolink App or Client. NOTE: Use the drywall anchors included in the package if needed.
-
Page 10: Safety Instructions Of Battery Usage
1. The battery is built-in, so do not remove it from the camera. 2. Charge the rechargeable battery with a standard and high-quality DC 5V/9V battery charger or Reolink solar panel. Do not charge the battery with solar panels from any other brands. -
Page 11: Troubleshooting
Internet. PIR Sensor Fails to Trigger Alarm • Make sure you’ve enabled Allow Notifications on your phone. Go to the System Settings on your phone and allow Reolink App to send push If the PIR sensor fails to trigger any kind of alarm within the covered notifications. -
Page 12: Specification
Specification NOTE: This equipment has been tested and found to comply with the limits for a Class B digital device, pursuant to Part 15 of the FCC Rules. These limits are designed to provide reasonable protection Hardware Features against harmful interference in aresidential installation. This equipment generates, uses and can radiate radio frequency energy and, if not Infrared Night Vision: Up to 15 Meters installed and used in accordance with the instructions, may cause... - Page 13 End User License Agreement Correct Disposal of This Product By using the Product Software that is embedded on the Reolink product, you agree to the terms of this End User License Agreement (“EULA”) This marking indicates that this product should not be disposed with between you and Reolink.
- Page 14 Technical Support If you need any technical help, please visit our official support site and contact our support team before returning the products, https://support.reolink.com. English English...


Need help?
Do you have a question about the TrackMix LTE and is the answer not in the manual?
Questions and answers