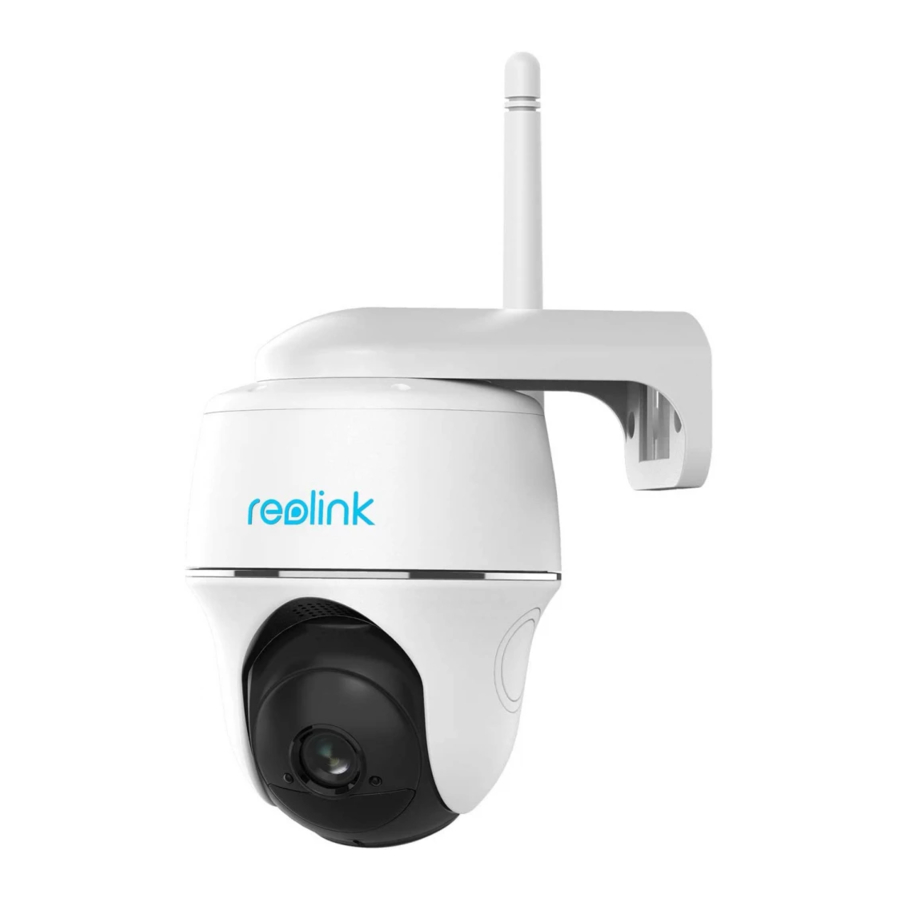
Reolink Argus PT Quick Start Manual
Hide thumbs
Also See for Argus PT:
- User manual ,
- Operational instruction (44 pages) ,
- Quick start manual (9 pages)
Summary of Contents for Reolink Argus PT
- Page 1 J u l y 2 02 1 Q S G 2 _ B _ E N Reolink Argus PT / Reolink Argus PT Pro Quick Start Guide @ R e o l i n kTe c h h t t p s ://re o l i n k . c o m...
-
Page 2: What's In The Box
Content What's in the Box What's in the Box Camera Introduction Set up the Camera Charge the Camera Install the Camera Camera Camera Bracket Micro USB Cable Antenna Reset Needle Safety Instructions of Battery Usage Troubleshooting Specification Notification of Compliance Quick Start Guide Surveillance Sign Pack of Screws Mounting... -
Page 3: Camera Introduction
Set up the Camera Status LED Set up the Camera Using a Smartphone Lens Built-in PIR Sensor Step 1 Scan to download the Reolink App from the App Store or Google Play store. Daylight Sensor Built-in Mic Speaker Reset Hole * Press the reset button with a pin to restore camera to factory settings. -
Page 4: Charge The Camera
Orange LED: Charing Green LED: Fully charged Set up the Camera on PC (Optional) Step 1 Download and install the Reolink Client: Go to https://reolink.com > Support > App&Client. For better weatherproof performance, please always cover the USB charging port with the Step 2 Launch the Reolink Client, click the “... -
Page 5: Install The Camera
Install the Camera Mount the Camera • For outdoor use, the camera MUST be installed upside Drill holes in accordance with the down for better waterproof mounting hole template and screw the performance and better PIR security mount to the wall. motion sensor’s efficiency. - Page 6 Mount the Camera to Ceiling Install the Camera with Loop Strap You are allowed to strap the camera to a tree with both the security mount and ceiling bracket. Thread the provided strap to the plate and fasten it to a tree. Next, attach the camera to the plate and you are good to go.
-
Page 7: Troubleshooting
2. Charge the rechargeable battery with a standard and high-quality DC 5V/9V battery charger or the battery is fully charged Reolink solar panel. Do not charge the battery with solar panels from any other brands. • Ensure that you have entered the correct WiFi password. -
Page 8: Specification
NOTE: We hope that you enjoy the new instructions, may cause harmful interference Reolink declares that this device is in purchase. But if you are not satisfied with to radio communications. However, there is the product and plan to return, we strongly... - Page 9 SD (the maximum transmitted power) card before returning. 2412MHz—2472MHz (18dBm) Terms and Privacy 5GHz (For Argus PT Pro Only): Use of the product is subject to your 5180-5240MHz(16.09dBm) agreement to the Terms of Service and 5745-5825MHz(14.47dBm) Privacy Policy at reolink.com.


Need help?
Do you have a question about the Argus PT and is the answer not in the manual?
Questions and answers