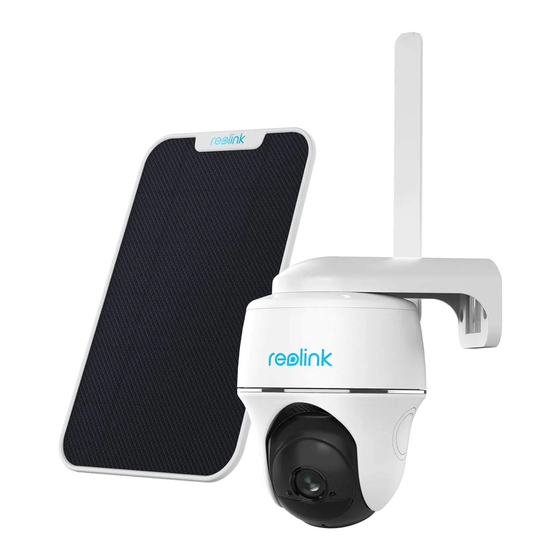
Reolink Go PT Quick Start Manual
Hide thumbs
Also See for Go PT:
- User manual ,
- Operational instruction (49 pages) ,
- Quick start manual (12 pages)
Subscribe to Our Youtube Channel
Summary of Contents for Reolink Go PT
- Page 1 J u l y 2 02 1 Q S G 1 _ B _ E N Reolink Go PT / Reolink Go PT Plus Quick Start Guide @ R e o l i n kTe c h h t t p s ://re o l i n k . c o m...
-
Page 2: What's In The Box
Content What's in the Box What's in the Box Camera Introduction Set up the Camera Charge the Camera Install the Camera Camera Camera Bracket Micro USB Cable Antenna Reset Needle Safety Instructions of Battery Usage Troubleshooting Specifications Notification of Compliance Quick Start Guide Surveillance Sign Pack of Screws Mounting... -
Page 3: Camera Introduction
Camera Introduction Set up the Camera Status LED Activate SIM Card for the Camera Lens Nano SIM • Choose a Nano SIM card that supports WCDMA and FDD LTE. Built-in PIR Sensor • Some SIM cards have a PIN code. You may use your smartphone to disable the PIN first. MicroSD Daylight Sensor NOTE: Do not insert the IoT or M2M SIM into your smartphone. Built-in Mic Nano SIM Card Slot Insert the SIM Card... - Page 4 Register the SIM Card Insert the SIM card. With these done, press the rubber cover firmly for better waterproof performance. With the SIM card inserted, you can turn on Wait a few seconds and a red light will the camera. be on and solid for a couple of seconds. * The SIM card slot is above the SD card slot.
- Page 5 Step 3 Launch the Reolink App, click the “ ” button in the top right corner to add the camera. Scan the QR code on the device and follow the onscreen instructions to finish initial setup. Step 1 Scan to download the Reolink App from the App Store or Google Play store. Devices Cloud You haven't added any device. Please click the"+"button in the top right corner to add...
-
Page 6: Charge The Camera
Please disable it” 1. Check whether your card is activated or not. If not, Charge the battery with a power adapter. Charge the battery with the Reolink Solar Panel please call your operator “Not registered on (not included) (not included if you only purchase the camera). -
Page 7: Install The Camera
Install the Camera Mount the Camera to Wall • For outdoor use, the camera MUST be installed upside down for better Drill holes in accordance with the waterproof performance and better PIR mounting hole template and screw the motion sensor’s efficiency. security mount to the wall. • Install the camera 2-3 meters (7-10 ft) NOTE: Use the drywall anchors included in above the ground. - Page 8 Mount the Camera to Ceiling Install the Camera with Loop Strap You are allowed to strap the camera to a tree with both the security mount and ceiling bracket. Thread the provided strap to the plate and fasten it to a tree. Next, attach the camera to the plate and you are good to go.
-
Page 9: Troubleshooting
2. Charge the rechargeable battery with a standard and high-quality DC 5V/9V battery charger or when motion is detected, try the following adapter. When the green light is on, the Reolink solar panel. Do not charge the battery with solar panels from any other brands. solutions: battery is fully charged. -
Page 10: Specifications
FCC Compliance Statement If these won’t work, please contact Reolink user is encouraged to try to correct the Correct Disposal of This Product Support. interference by one or more of the following This device complies with Part 15 of the FCC measures: Rules. - Page 11 Keep out of reach of children. End User License Agreement By using the Product Software that is embedded on the Reolink product, you agree to the terms of this End User License Agreement (“EULA”) between you and Reolink. Learn more: https://reolink.com/eula/.


Need help?
Do you have a question about the Go PT and is the answer not in the manual?
Questions and answers