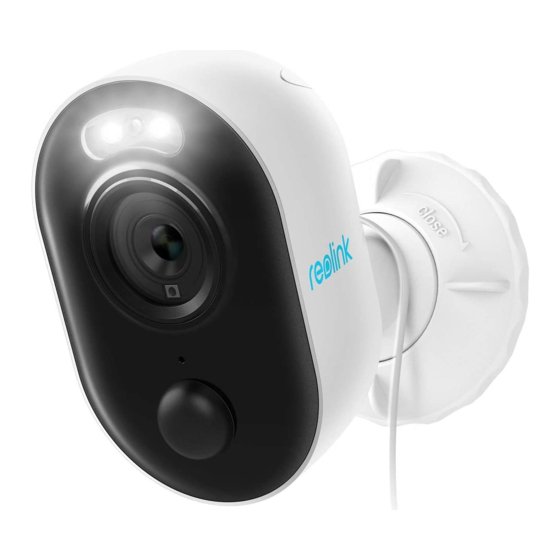
Reolink Lumus Quick Start Manual
Hide thumbs
Also See for Lumus:
- User manual ,
- Operational instruction (31 pages) ,
- Operating instructions manual (21 pages)
Summary of Contents for Reolink Lumus
- Page 1 D e c emb er 20 2 0 Q SG 2 _B_EN Reolink Lumus Quick Start Guide @ReolinkTech https://reolink.com 5 8.0 3 .0 0 1 .0 1 60...
- Page 2 Contents What’s in the Box What’s in the Box Camera Introduction Set up the Camera Installation Guide Reolink Lumus Power Adapter Camera Bracket Mounting Template Troubleshooting Specifications Notification of Compliance Reset Needle Surveillance Sign Quick Start Guide Pack of Screws...
-
Page 3: Camera Introduction
Camera Introduction Set up the Camera Download and Launch the Reolink App or Client software, and follow the onscreen instructions Speaker to finish initial setup. Power Cable • On Smartphone Spotlight Scan to download the Reolink App. Status LED Blinking:... - Page 4 Installation Guide Mount the Camera • Install the camera 2-3 meters (7-10 ft) above the ground. This height maximizes the detection range of the PIR motion sensor. • For better motion detection performance, please install the camera angularly. NOTE: If a moving object approaches the PIR sensor vertically, the camera may fail to detect motion.
- Page 5 Important Notes on Reducing False Alarms Adjust the camera angle to get the best field of view. • Do not face the camera towards any objects with bright lights, including sunshine, bright lamp lights, etc. • Do not place camera near any outlets, including the air conditioner vents, humidifier outlets, the heat transfer vents of projectors, etc.
-
Page 6: Troubleshooting
Power: 5V/2A • Try to scan the QR code under sufficient WiFi Frequency: 2.4 GHz IP Cameras Is Not Powering on lighting. If these won't work, please contact Reolink Operating Temperature: Support https://support.reolink.com -10°C to 55°C (14°F to 131°F) If these won't work, please contact Reolink... - Page 7 Reolink product, you agree environment. This equipment shall be installed product was purchased. They can take this particular installation.
- Page 8 The device has been evaluated to meet team before returning the products, general RF exposure requirements. The device https://support.reolink.com can be used in mobile exposure conditions. The min separation distance is 20cm. Déclaration d'exposition aux radiofréquences...


Need help?
Do you have a question about the Lumus and is the answer not in the manual?
Questions and answers