Advertisement
Quick Links
Note: These instructions explain basic installation of
rail kits and legs to worksurfaces. For safety purpos-
es, it is recommended that more than one person be
used to move worksurfaces and/or assembled tables.
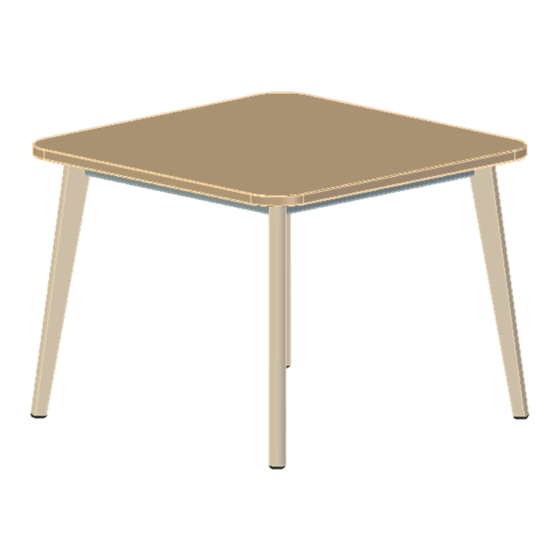
1
Unpack the worksurface and place it face down on a
smooth, hard surface. Take care not to damage the
worksurface.
Prep legs for assembly to the rail:
2
Insert leg pin (Figure A) into top of the leg *If needed, lightly tap in* Use flat
head screw driver to turn the pin into the correct position. (Figure B) Insert
glide (Figure C) into bottom of the leg. (Figure D) *If this is a mobile table,
Casters will be used in place of glide.*
Figure A
Figure C
Proper product installation, in accordance with these instructions, is the responsibility of the installing agent.
Figure B
Figure D
Assembly Instruction
Grin Occasional and
Grin Worksurface
Height Tables
Package Contents
Component....................................Qty
Apron Rails
Corner Brackets
Machine Screw M8x110
Flake Board Screw 10X1
Leg Pin
Leg
Tools Required
Allen Wrench
Drill
Screw driver
Level
Kimball International, Inc.
1600 Royal Street
Jasper, IN 47546
800.482.1616
kimballinternational.com
Part # 3521021
4
4
8
8-28
4
4
Advertisement

Subscribe to Our Youtube Channel
Related Manuals for Kimball Grin Occasional


Summary of Contents for Kimball Grin Occasional
- Page 1 Note: These instructions explain basic installation of Assembly Instruction rail kits and legs to worksurfaces. For safety purpos- es, it is recommended that more than one person be Grin Occasional and used to move worksurfaces and/or assembled tables. Grin Worksurface Height Tables Unpack the worksurface and place it face down on a smooth, hard surface.
- Page 2 Assembly Instruction Grin Occasional and Assembling Rails, Legs and Corner Brackets: Grin Worksurface 1. Mock up the rails into their positions. (Figure E) Height Tables 2. Take two of the rails and attach together with a corner bracket. (Figure F) 3.
- Page 3 Assembly Instruction Grin Occasional and Final Assembly: Grin Worksurface 1. Place worksurface upside down, on a study flat surface. (Figure J) Height Tables 2. Place Rail & Leg assembly upside down on worksurface. (Figure K) 3. Line up the mounting holes on the rails, with the pilot holes on the worksurface.
Need help?
Do you have a question about the Grin Occasional and is the answer not in the manual?
Questions and answers