Table of Contents
Advertisement
Available languages
Available languages
Quick Links
Sega circolare portatile
ISTRUZIONI D'USO
Istruzioni originali
Portable circular saw
OPERATING INSTRUCTIONS
Translation of the original instructions
ATTENZIONE! Prima di usare la macchina, leggete e comprendete le istruzioni di sicurezza e le istruzioni d'uso fornite
WARNING! Before using the machine, read and understand the supplied safety instructions and operating instructions
Final dimension: A5
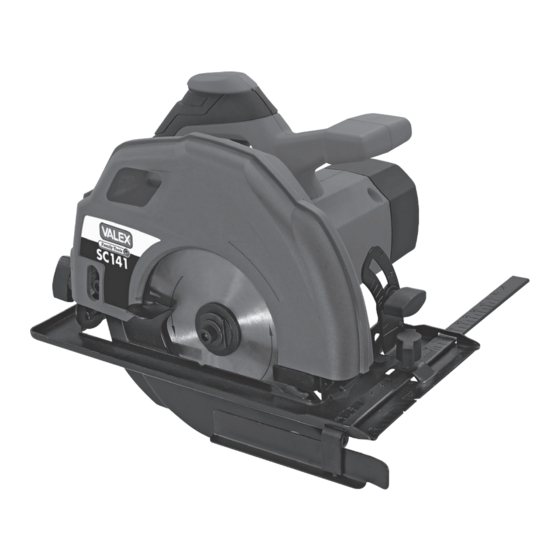
SC141
S410230
15.01.2018
Advertisement
Table of Contents

Summary of Contents for Valex SC141
- Page 1 Final dimension: A5 S410230 15.01.2018 SC141 Sega circolare portatile ISTRUZIONI D’USO Istruzioni originali Portable circular saw OPERATING INSTRUCTIONS Translation of the original instructions ATTENZIONE! Prima di usare la macchina, leggete e comprendete le istruzioni di sicurezza e le istruzioni d’uso fornite...
- Page 2 - 2 -...
- Page 3 - 3 -...
- Page 4 - 4 -...
-
Page 5: Dati Tecnici
è conforme ai requisiti essenziali di sicurezza e file is in salute contenuti nelle seguenti direttive europee: 2006/42/CE, 2014/35/CE, 2014/30/CE, 2011/65/CE Valex SpA - Via Lago Maggiore, 24 DECLARATION OF CONFORMITY 36015 Schio (VI) - Italy The firm indicated on the label declares, under 01.2018... -
Page 6: Installazione
COMPONENTI Fare riferimento alla fig.A e seguenti, allegate alle presenti istruzioni. ATTENZIONE! La sega circolare è idonea 1 Corpo motore a tagliare pannelli di legno. E’ vietato il taglio 2 Volantino regolazione inclinazione taglio di materiali pericolosi, metalli, plastica e 3 Piastra di guida l’utilizzo in ambienti con pericolo di incendio/ 4 Impugnatura anteriore... -
Page 7: Messa In Servizio
MESSA IN SERVIZIO ATTENZIONE! Il motore e la lama conti- Nel luogo che utilizzerete l’utensile elettrico è nuano a girare per alcuni secondi dopo aver opportuno considerare: spento l’utensile. Durante la fase di arresto - che la zona non sia umida e sia al riparo dagli queste parti non devono essere toccate, peri- agenti atmosferici. - Page 8 Sbloccate il volantino regolazione altezza di taglio in modo da non cadere una volta tagliato con (pos.17) e spostate la piastra di guida (pos.3) pericolo per l’operatore. Non tagliate pezzi verso il basso per diminuire la profondità di ta- a sez. circolare, legni vecchi o fragili, legni glio, verso l’alto per aumentarla.
-
Page 9: Manutenzione
il senso di rotazione. SOSTITUZIONE DELLA LAMA (fig. E) - Il numero di giri e le dimensioni sono elementi ATTENZIONE! Prima di effettuare le se- basilari per la scelta. Il suo numero di giri deve guenti operazioni assicuratevi che la spina essere sempre maggiore o uguale a quello ri- sia scollegata dalla rete elettrica. - Page 10 nei valori indicati fig.F. ATTENZIONE! Se dopo aver eseguito gli in- terventi sopra descritti l’utensile elettrico non ATTENZIONE! Il coltello guidalama è un ele- funziona correttamente o in caso di anomalie mento importante per la vostra sicurezza. Non diverse da quelle indicate, portatelo presso un rimuovetelo per nessun motivo.
-
Page 11: Garanzia
GARANZIA Il prodotto è tutelato a norma di legge contro non conformità rispetto alle caratteristiche dichiarate purché sia stato utilizzato esclusivamente nel modo descritto dalle istruzioni, non sia stato manomesso in alcun modo, sia stato conser- vato correttamente, sia stato riparato da tecnici autorizzati e, ove previsto, siano stati utilizzati solo ricambi originali. -
Page 12: Installation
COMPONENTS Refer to fig. A and the following figures, attached to these instructions. IMPORTANT! The circular saw is suitable 1 Motor body for cutting wooden panels. It is prohibited to 2 Cutting inclination adjustment handwheel cut dangerous materials, metals, plastics or 3 Guide panel to use the tool in environments with risk of 4 Front hand grip... -
Page 13: Starting And Stopping
- that the place is not damp and is protected Before starting the machine check the integrity from the elements. of all the components and that all the bolts and - that there should be a large operational area couplings are tight. free from obstacles. -
Page 14: Performing The Cut
lower measurement than the height of the teeth. Carefully fix the piece to be cut, perform all the adjustments to the tool and always connect up CUTTING INCLINATION ADJUSTMENT the vacuum system pipe. This is obtained by putting the guide panel on a Plug the tool into the mains and grip it firmly slope in relation to the blade. -
Page 15: Maintenance
blades suitable for your machine, which you other to unscrew the screw. can buy from your retailer. 4) Remove the outside flange (pos.15) and extract the blade (the inside flange must stay assembled on the motor shaft) To facilitate the operation turn the mobile guard (pos.10) MAINTENANCE through half a turn and keep it open. -
Page 16: Problems, Causes And Solutions
PROBLEMS, CAUSES AND SOLUTIONS DISPOSAL In order to protect the environment, proceed PROBLEM CAUSES SOLUTIONS according to the local laws in force. Contact the relevant authorities for more information. The electrical Power supply Check the electric When the machine is not longer useable or re- tool fails to line discon- power supply line...


Need help?
Do you have a question about the SC141 and is the answer not in the manual?
Questions and answers