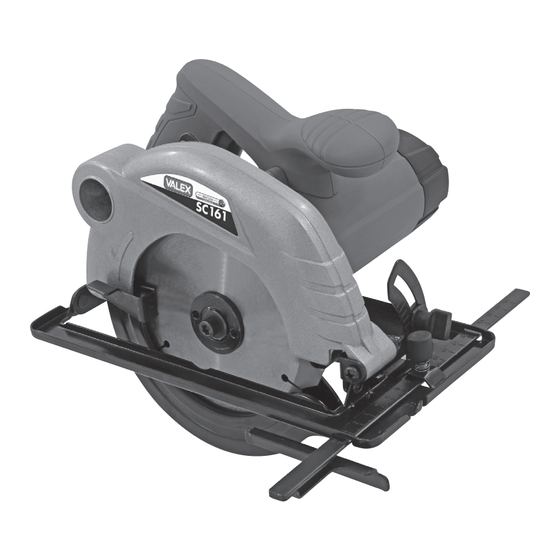
Table of Contents
Advertisement
Available languages
Available languages
Quick Links
Sega circolare portatile
ISTRUZIONI D'USO
Istruzioni originali
Portable circular saw
OPERATING INSTRUCTIONS
Translation of the original instructions
ATTENZIONE! Prima di usare la macchina, leggete e comprendete le istruzioni di sicurezza e le istruzioni d'uso fornite
WARNING! Before using the machine, read and understand the supplied safety instructions and operating instructions
Final dimension: A5
SC161
S410231
11.10.2017
Advertisement
Table of Contents

Summary of Contents for Valex SC161
- Page 1 Final dimension: A5 S410231 11.10.2017 SC161 Sega circolare portatile ISTRUZIONI D’USO Istruzioni originali Portable circular saw OPERATING INSTRUCTIONS Translation of the original instructions ATTENZIONE! Prima di usare la macchina, leggete e comprendete le istruzioni di sicurezza e le istruzioni d’uso fornite...
- Page 2 - 2 -...
- Page 3 - 3 -...
- Page 4 - 4 -...
- Page 5 - 5 -...
-
Page 6: Dati Tecnici
è conforme ai requisiti essenziali di sicurezza e file is in salute contenuti nelle seguenti direttive europee: 2006/42/CE, 2014/35/CE, 2014/30/CE, 2011/65/CE Valex SpA - Via Lago Maggiore, 24 DECLARATION OF CONFORMITY 36015 Schio (VI) - Italy The firm indicated on the label declares, under 09.2017... - Page 7 - 7 -...
-
Page 8: Installazione
COMPONENTI Fare riferimento alla fig.A e seguenti, allegate alle presenti istruzioni. ATTENZIONE! La sega circolare è idonea 1 Corpo motore a tagliare pannelli di legno. E’ vietato il taglio 2 Volantino anteriore per regolazione inclina- di materiali pericolosi, metalli, plastica e zione taglio l’utilizzo in ambienti con pericolo di incendio/ 3 Piastra di guida... -
Page 9: Messa In Servizio
2 Posizionate la macchina sopra una superficie - che sia presente un aspiratore di trucioli con piana e stabile tubazione flessibile. 3 Posizionare la flangia inferiore prestando attenzione nel mantenere rivolta verso l’alto REGOLAZIONE SQUADRA DI GUIDA (pos.11) la sede di centraggio per la lama (fig.E1) Inserire la squadra di guida nella piastra di guida 4 Aprire la protezione mobile e inserire la lama (pos.3) e serrate con il volantino (pos.12). - Page 10 elettrica (pos.8). REGOLAZIONE INCLINAZIONE DI TAGLIO 2) Impugnate saldamente l’impugnatura po- Si ottiene inclinando la piastra di guida rispetto steriore (pos.5) e anteriore (pos.4) senza alla lama. premere l’interruttore (fig.C). Allentate volantino anteriore (pos. 2) e inclinate 3) Premete in sequenza il pulsante di sicurezza la piastra di guida per ottenere l’angolo di taglio (pos.7) e il pulsante dell’interruttore (pos.6).
-
Page 11: Manutenzione
guite tutte le regolazioni all’utensile e collegate deve presentare deformazioni, rotture, danni sempre il tubo dell’impianto di aspirazione. o ruggine. Attaccate la spina alla presa di corrente e im- La nostra azienda fornisce una serie completa di pugnate saldamente l’utensile con entrambe le lame adatte alla vostra macchina, che possono mani (Fig.C);... -
Page 12: Problemi, Cause E Rimedi
di seguito indicato. L’operazione deve essere PROBLEMI, CAUSE E RIMEDI fatta da una persona esperta; in caso di dubbio PROBLEMA CAUSE RIMEDI rivolgetevi ad un centro assistenza autorizzato. 1) Staccate la spina dalla presa elettrica L’utensile elettri- Linea di Verificate la linea 2) Per eseguire correttamente il successivo co non si avvia alimentazione... -
Page 13: Garanzia
IMMAGAZZINAMENTO Effettuate una accurata pulizia di tutto l’utensile e sue parti accessorie (vedi paragrafo Manuten- zione). Proteggete le parti non verniciate con un olio protettivo ed utilizzate l’imballo originale o la valigetta (se presente) per proteggerla. Riponete la macchina lontano dalla portata dei bambini, in posizione stabile e sicura. -
Page 14: Installation
COMPONENTS Refer to fig. A and the following figures, attached to these instructions. IMPORTANT! The circular saw is suitable 1 Motor body for cutting wooden panels. It is prohibited to 2 Front cutting inclination adjustment han- cut dangerous materials, metals, plastics or dwheel to use the tool in environments with risk of 3 Guide panel... -
Page 15: Starting And Stopping
to holding the centering seat for the blade Adjust the distance by observing the graduated upward (fig. E1) scale on it. 4 Open the protective cover and insert the For cutting wide panels do not assemble the blade, paying attention to the direction of guide set square but use a set square made with rotation (fig. -
Page 16: Adjusting The Cutting Depth
Stopping USING THE GUIDE SET SQUARE (Fig.A and To stop release the switch button (pos.6) holding Fig.D) the machine firmly. The guide set square (pos.11) is used for making parallel cuts to the edge of the panel. We recommend repeating these operations To adjust the distance of the cut from the edge several times before starting work, in order to of the panel, loosen the handwheel (pos.12) and... -
Page 17: Maintenance
tain the right moving speed to ensure that there stant and meticulous maintenance. is no reduction in the number of revolutions. Take good care of your electrical tool and clean it Excessive moving speeds can cause the blade regularly. In this way its efficiency will be ensured or the electrical tool to break. -
Page 18: Motor Brushes
the shaped shaft of the motor STORAGE 8) Tighten the screw with washer well without Clean the tool and all its accessories thoroughly hitting the key with a hammer or other tool (see Maintenance section). Protect the unpainted 9) Carefully check that the blade guard goes parts with protective oil and use the original back into rest position and that it works packaging or case (where fitted) to protect it. - Page 19 - 19 -...


Need help?
Do you have a question about the SC161 and is the answer not in the manual?
Questions and answers