Table of Contents
Advertisement
Quick Links
Advertisement
Table of Contents

Related Manuals for Torque X-GYM XG-OPT-101


Summary of Contents for Torque X-GYM XG-OPT-101
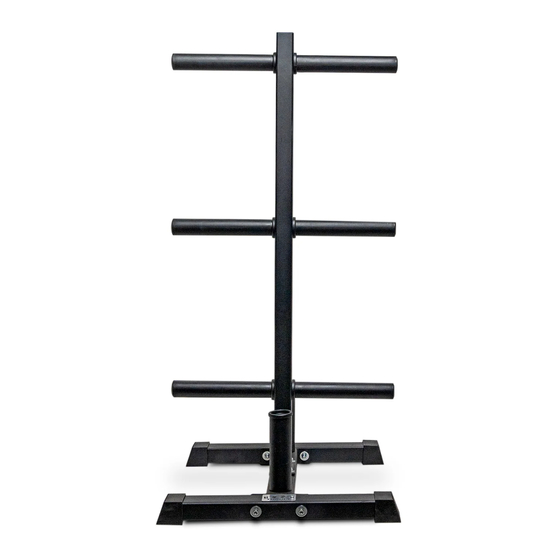
- Page 1 X-GYM OLYMPIC PLATE TREE ASSEMBLY GUIDE VERSION: XG-OPT-101 PART #: 5884001-A...
-
Page 2: Table Of Contents
TABLE OF CONTENTS General Notes: • Unpacking equipment: Page 3 • Tools Required: Page 3 • Assembly tips: Page 3 • Obtaining service: Page 3 Parts List: Page 4 Assembly Instructions: Pages 5 - 9 Maintenance: Page 10... -
Page 3: General Notes
In a continual effort to improve our correct. hardware item as listed in the parts list on the next products, specifications are subject to page. If any items are missing, contact Torque Fitness change. • Insert all bolts in the direction indicated in Customer service at: 763-754-7533 (8:30 am - 5:00 pm the instructions. -
Page 4: Parts List
ITEM NO. PART NUMBER DESCRIPTION QTY. 5883601 WLDMT, PLATE TREE BASE CONNECTOR 58838PA PTD ASSY, PLATE TREE BASE WITH LOGO 5883901 PTD ASSY, PLATE TREE BASE 58835PA PTD ASSY, BAR STORAGE TUBE 58837PA PTD ASSY, PLATE TREE UPRIGHT 5882601 SHAFT, PLATE TREE WEIGHT HORN 58827PA PTD ASSY, WEIGHT HORN COVER 2042202... -
Page 5: Assembly Instructions: Pages
STEP 1 M10 X 75 MM BOLT (4) M10 FLAT WASHER (2) SECURELY tighten all bolt connections in this step... - Page 6 STEP 2 M10 FLAT WASHER (8) M10 X 75 MM BOLT (4) M10 LOCK NUT (4) SECURELY tighten all bolt connections in this step...
- Page 7 STEP 3 M10 LOCK NUT (4) M10 FLAT WASHER (8) M10 X 100 MM BOLT (4) SECURELY tighten all bolt connections in this step...
- Page 8 STEP 4 USING A 5MM ALLEN WRENCH. LOOSEN BUT DO CENTER THE SHAFTS THROUGH THE NOT REMOVE SCREWS UPRIGHT. DO NOT TIGHTEN SCREWS IN THIS STEP. REPEAT FOR ALL 3 SHAFTS.
- Page 9 STEP 5 CENTER THE WEIGHT HORN COVERS ON BOTH SIDES OF THE UPRIGHT. USING A 4MM ALLEN WRENCH. SECURELY TIGHTEN SET SCREW FOR BOTH SIDES. ONCE THE WEIGHT HORN COVERS ARE CENTERED AND TIGHTENED. USING A 5MM ALLEN WRENCH SECURELY REPEAT STEPS FOR ALL 6 TIGHTEN BOLTS.
-
Page 10: Maintenance
STEP 6 MAINTENANCE: NUTS/BOLTS: Tighten and/or adjust as needed. FRAME: Wipe down with a damp cloth For customer service contact Torque Fitness Customer service at: 763-754- 7533 (8:30 am - 5:00 pm CST). www.service@torquefitness.com WARNING! ALWAYS USE CAUTION WHEN LOADING AND UNLOADING WEIGHT PLATES AND BARS.
Need help?
Do you have a question about the X-GYM XG-OPT-101 and is the answer not in the manual?
Questions and answers