Advertisement
Quick Links
DANGER!
The Elite arm contains high
pressure gas springs. The fol-
lowing cautions MUST be ob-
served to avoid serious injury.
1) Do not attempt to adjust your Elite arm un-
til everything you intend to mount to the arm is
mounted.
2) Arm must be completely horizontal (extended)
before adjusting the arms' tension. Failure to do
so will damage the arm and void the warranty.
3) Never loosen or remove any
of the shoulder bolts. Doing so
will cause the arm to immedi-
ately come apart with tremen-
dous force, and could cause
serious injury.
4) If equipment requiring AC power is mounted
to this unit, have a certified electrician inspect the
installation.
5) Failure to install this unit according to these
instructions will void all ICW warranties. If in-
stalled incorrectly, ICW is not liable for any dam-
age or injury caused by the unit.
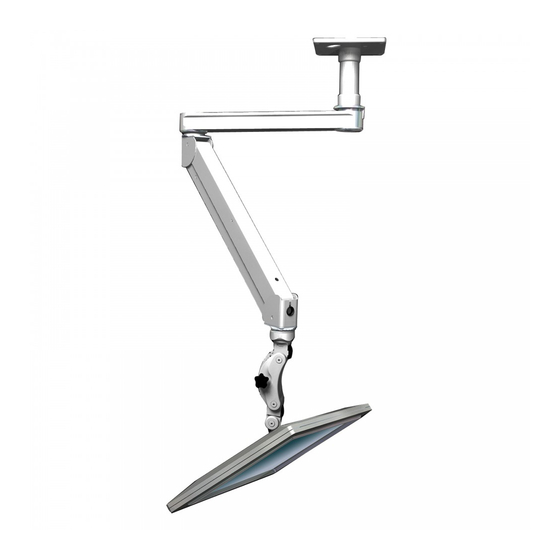
Elite Wall Mount Installation
Shoulder bolt
Note: The wall mount is shipped with
the bearings wrapped and it is recom-
mended that you leave the wrapping on
until later in the installation process.
Wall Mount
1
Locate a stud in the wall you intend to mount
your arm on and remove the wall mount from
the box. Mark the top hole, drill 11/64 pilot hole and
insert an ICW provided #14 screw and tighten slight-
ly. Using a level, mark the two lower holes and drill
pilot holes, insert the last two #14 screws and, with
the mount level, tighten all screws securely.
Note: ICW supplies #14 wood screws. If installing
onto metal studs you will need to replace with proper
metal stud fasteners. All hardware used to secure wall
mount must have a properly countersunk head.
2
Remove the four covers as shown.
Remove the center
cover by unscrewing
the 4 10-24 flathead
screws using the 1/8
hex key.
Remove the long arm
covers by unscrewing
the 2 6-32 flathead
screws using a philps
head screwdriver.
Remove the end
cover by unscrew-
ing the 2 10-24
screws using the
1/8 hexkey.
Advertisement

Subscribe to Our Youtube Channel
Related Manuals for ICW Elite


Summary of Contents for ICW Elite
- Page 1 All hardware used to secure wall served to avoid serious injury. mount must have a properly countersunk head. 1) Do not attempt to adjust your Elite arm un- til everything you intend to mount to the arm is mounted.
- Page 2 9/16 wrench and 5 mil hex key. Steel race Remove wrapping from bearing and place the end of the Elite arm on the wall mount. Note: Keep the arm folded while installing. Extend the arm straight out and lay all of the cables for your monitor, keyboard, and mouse in the channel on top of the arm.
- Page 3 Feed cord through the plastic bushing in the Wire tie your cables together with the hub mount assembly. The plastic bushing can be between them. Wire ties are supplied in the removed, opened and slipped over cord, if necessary. hardware bag. Cable Add the wire clips to secure the cables.
- Page 4 Use the T-handle provided to adjust the arm’s resistance. Note: Before adjusting the tension on your Elite arm, place everything you are going to mount on it in place, including the monitor, keyboard, mouse, and mouse pad.
- Page 5 Adjustment screw Hex key Thank you for your purchase of an ICW Elite arm. Your arm is now ready to use. Any questions? Please contact ICW at 1-800-558-4435. elite double arm wall mount rev 6/26/07 dw...
Need help?
Do you have a question about the Elite and is the answer not in the manual?
Questions and answers