Advertisement
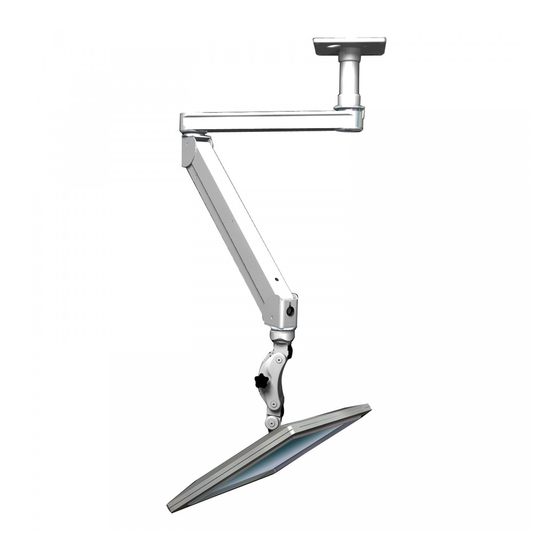
ICW Elite wallmount installation
DANGER!
The Elite arm contains high pressure gas springs.
The following cautions MUST be observed to
avoid serious injury.
1) Do not attempt to adjust your Elite arm until everything you intend to mount to
the arm is mounted.
2) Arm must be completely horizontal (extended) before adjusting the arms tension.
Failure to do so will damage the arm and void the warranty.
3) Never loosen or remove any of the shoulder bolts. Doing so will cause the
arm to immediately come apart with tremendous force, and could cause seri-
ous injury.
4) If equipment requiring AC power is mounted to this unit, have a certified electri-
cian inspect the installation.
5) Failure to install this unit according to these instructions will void all ICW warran-
ties. If installed incorrectly, ICW is not liable for any damage or injury caused by
the unit.
Shoulder bolt
Advertisement
Table of Contents

Related Manuals for ICW Elite


Summary of Contents for ICW Elite
- Page 1 The following cautions MUST be observed to avoid serious injury. 1) Do not attempt to adjust your Elite arm until everything you intend to mount to the arm is mounted. 2) Arm must be completely horizontal (extended) before adjusting the arms tension.
- Page 2 Note: ICW supplies #14 wood screws, if installing onto metal studs you will need to replace with proper metal stud fasteners. All hardware used to secure wall mount must have a proper...
- Page 3 2 10-24 screws using the 1/8 hexkey. Nylock Steel race Find the 3/8 bolt assembly in your hardware bag. Remove wrapping from bearing and place the end of the Elite arm on the wall mount.
- Page 4 Pass the 3/8 bolt with the bearing assembly through the wall mount and the arm from underneath. Place the Elite arm mounted on wall steel race over the bolt inside the arm as shown Keep the arm folded and secure firmly with while installing.
- Page 5 Wire tie your cables together with the hub between them. Add the wire clip to the Wire ties are found in your hardware bag. end of arm. Cable Add the wire clips to secure the cables. Wire clips are found in your hardware bag. Wire clips Feed cord through the plastic bushing in the mount assembly.
- Page 6 Use the provided 1/4” wrench to open Secure your monitor to the the plastic slider mount and insert the VESA plate using the 4 provided ball on the VESA Plate. Tighten firmly. 4mm screws. Be sure to tighten both bolts together - not one side and then the other.
- Page 7 Attach the optional large handle to the end of the slider by screwing together the two halves. Use the slider handle to adjust the monitor up and down. Use the push buttons to pivot the monitor forward and back. Lift gently on the monitor to release the weight off the buttons.
- Page 8 Adjust the arm closest to the monitor first. Use the T-handle provided to adjust the arms resistance. Thank you for your purchase of an ICW Elite arm, your arm is now ready to use. Any questions please contact ICW at: 1-800-558-4435.
Need help?
Do you have a question about the Elite and is the answer not in the manual?
Questions and answers