
Related Manuals for Concept Pro CVP9324DN-IP4M


Summary of Contents for Concept Pro CVP9324DN-IP4M
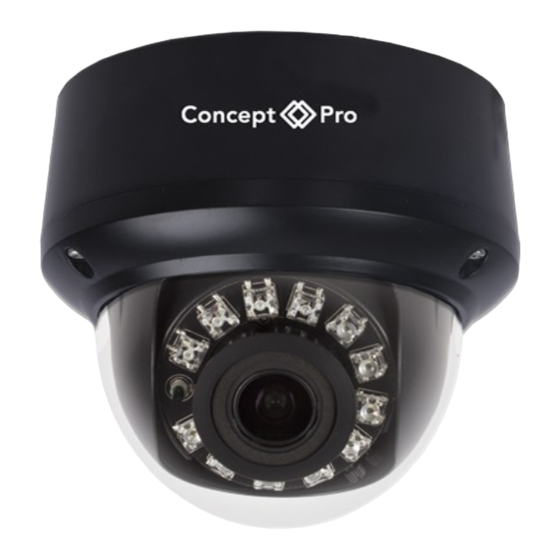
- Page 1 CVP9324DN-IP4M CVP9324DNIR-IP4M CVP9324DNIR-IP4M-G CVP9324DNIR-IP4M-Z External Dome Camera USER MANUAL...
- Page 2 CAUTION This installation should be made by a qualified service person and should abide to all local codes. Avoid installation on a surface subjected to frequent vibration or shocks. Do not operate the camera beyond its temperature range or power source ratings. Should any damage or suspected damage occur, shutdown the power source, unplug and contact your service provider.
- Page 3 DIMENSIONS CVP9324 IP4M Series 97.0mm 3.82in 55.5mm 2.19in 112mm 4.4in 3/4” - 14 40 mm NPS thread 1.57in 5.1” 130mm 3.4” 87 mm Ø 0.1” 3.5 mm 3.9” 100.0mm Image example shows IR model...
- Page 4 CONNECTION CONNECTION Network Cable (RJ45) Audio Input Audio Output Power connector Check the power supply is the correct rating and connect it to the power port on the camera. Connect the RJ45 connector to your network switch. If you are using a PoE (Power over Ethernet) remove the power supply to the camera as it is not required.
-
Page 5: Finding The Camera's Ip Address
Use the steps below to find the camera’s IP address and connect to the camera over the local area network (LAN) using Concept Pro Lite, UPnP on Windows®7 or Bonjour in Mac OS® 1. Finding the camera IP using BNC Test Cable When the BNC test cable is connected to the camera, the IP address is shown on the test monitor. - Page 6 Bookmarks button Bonjour Double-click the camera’s IP address 4. Under User Name and Password, enter the camera’s User Name (default: admin) and Password (default: admin) and click Login. Enter Camera User Name (default: admin) Enter Camera Password (default: admin) Click ARROW BUTTON to log in Note: Some firmware versions may have enhanced security enabled.
- Page 7 VANDAL RESISTANT DOME INSTALLATION All installation methods Loosen the three tamper screws using the provided allen key. List the dome cover. NOTE: If you plan to use conduit fitting, remove conduit cap using the provided conduit key. Method 1 - Surface Mount Use the included mounting template (installation option 2) to mark and pre-drill the required holes.
-
Page 8: Specification
SPECIFICATION CVP9324DN-IP4M 1/3” Progressive Scan CMOS IMAGE SENSOR Colour 0.05 Lux; B/W 0 Lux MIN. ILLUMINATION DAY & NIGHT 1/5-1/20000 SHUTTER SPEED AUTO IRIS Fixed WIDE DYNAMIC RANGE WDR>120dB DIGITAL NOISE REDUCTION 2D/3D LENS 2.8-12mm Varifocal FIELD OF VIEW 90° to 35°... - Page 9 SPECIFICATION CVP9324DNIR-IP4M / CVP9324DNIR-IP4M-G CVP9324DNIR-IP4M-Z IMAGE SENSOR 1/3” Progressive Scan CMOS MIN. ILLUMINATION Colour 0.05Lux; IR ON 0 Lux DAY & NIGHT SHUTTER SPEED 1/5-1/20000 AUTO IRIS Fixed WIDE DYNAMIC RANGE WDR>120dB DIGITAL NOISE REDUCTION 2D/3D 2.8-12mm Varifocal 2.8-12mm Motorised Zoom LENS FIELD OF VIEW 90°...
-
Page 10: Packing Contents
CVP9324 IP4M PACKING CONTENTS Mounting Template Manual Wall Plugs Fitting Screws RJ45 Coupler Software CD Allen Key Conduit Key... -
Page 11: Troubleshooting
TROUBLESHOOTING Can’t find the camera IP address using Concept Pro Lite or other software: • Make sure Ethernet and/or DC power cables are correctly connected to the camera. • Make sure the PoE switch or DC power source meets the camera’s power requirements (class 3 PoE / 450mA / 5.4W /12V). - Page 12 NOTES Can’t find the camera IP address using Concept Pro Lite or other software: • Make sure Ethernet and/or DC power cables are correctly connected to the camera. • Make sure the PoE switch or DC power source meets the camera’s power requirements (class 3 PoE / 450mA / 5.4W /12V).
- Page 13 Plate Capture installations. Simply follow the instructions below to tweak the settings and the Number Plate Capture camera will be ready to go. 1. Please connect the Concept Pro IP camera to a POE switch and PC. Navigate to the IP cameras web interface.
- Page 14 3. To alter the Sensor Setting, select Debug mode. 4. Select Exposure Tab and apply these settings; • Mode > Manual • Meter Area > Whole • Fix shutter > 1/20000 • Fixed Gain > 50* • Iris > Auto* •...
- Page 15 5. Select DayNight Tab and apply these settings; • D/N Setting > Night Mode • IR > fixed @ 50%* *This setting may need adjusting depending on the environment, please test and adjust for optimal performance. 6. Select Enhanced Image Tab and apply these settings; •...
- Page 16 Design and specification are subject to change without notice. 02-17 - REV. 2...
Need help?
Do you have a question about the CVP9324DN-IP4M and is the answer not in the manual?
Questions and answers