
Subscribe to Our Youtube Channel
Related Manuals for Concept Pro CPL-MVIR-IP2M/2.8


Summary of Contents for Concept Pro CPL-MVIR-IP2M/2.8
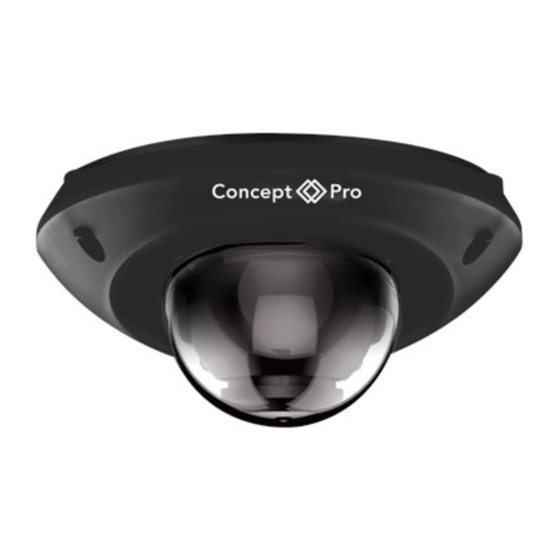
- Page 1 CPL-MVIR-IP2M/2.8 CPL-MVIR-IP2M/2.8G Mini IR Vandal Dome IP Camera QUICK START GUIDE IP CAMERA QUICK START GUIDE...
- Page 2 WHAT’S IN THE BOX? Packaging Contents IP Camera x1 Torx Wrench x1 Mounting Template x 1 Quick Start Guide x1 Screw & Plastic Anchor x2 RJ45 Waterproof Connector Kit x1 INSTALLATION Install the IP Camera in 3 Steps 1. Use the included mounting template sheet to drill holes in the mounting surface. 2.
- Page 3 CONFIGURING THE CAMERA Camera Connections Net Status Indicator Reset Button Micro SD Card Slot Built-in Microphone 3-axis Adjustment Screw DC 12v Power Input uction schamatic drawing D78- interface introduction CONNECTING VIA INTERNET EXPLORER How to connect and operate the camera via IE Default IP Address: http://192.168.1.10 User Name: admin...
- Page 4 CONNECTING VIA INTERNET EXPLORER How to connect and operate the camera via IE To connect this product to a NVR, please make sure the NVR and IP camera are on the same network segment. Monitor Connect to NVR This product has a built-in microphone audio input and supports up to 128GB MicroSD card.
- Page 5 Select and download DeviceManager.exe. Install the Device Manager tool and open the program. Click the IP Search button to find all CPL-MVIR-IP2M/2.8(G) cameras on the same network as the PC. Select a camera to modify, input any desired IP Address, Subnet Mask, Gateway, HTTP Port, and TCP Port settings, then click the Modify button.
- Page 6 TROUBLESHOOTING Common issues answered Can’t find the camera IP address using Device Manager tool or default IP address: ‹ Make sure Ethernet and/or DC power cables are correctly connected to the camera. ‹ Make sure the PoE switch or DC power source meets the camera power requirements.
- Page 7 CAUTION Safety precautions This installation should be performed by qualified service personnel and must abide by all local codes. Avoid installation on a surface subjected to frequent vibration or shocks. Do not operate the camera beyond its specified temperature/humidity range or power ratings.
- Page 8 Scan the QR Code above to access downloadable files for this camera. IP CAMERA QUICK START GUIDE...
Need help?
Do you have a question about the CPL-MVIR-IP2M/2.8 and is the answer not in the manual?
Questions and answers