Advertisement
Advertisement
Table of Contents

Related Manuals for Concept Pro CBP360-IP12M


Summary of Contents for Concept Pro CBP360-IP12M
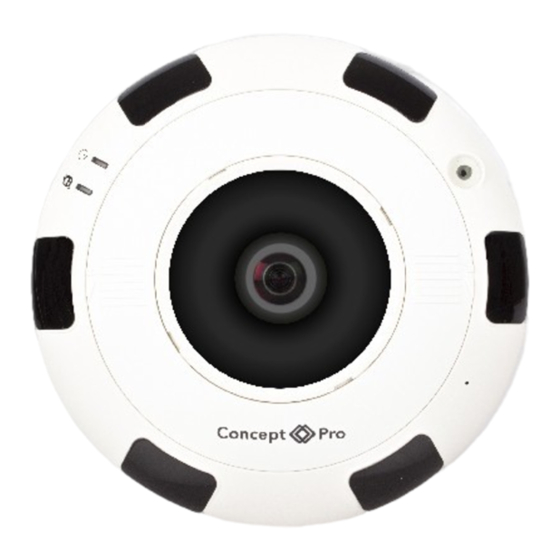
- Page 1 CBP360-IP12M IP Fisheye Camera USER MANUAL IP CAMERA USER MANUAL...
- Page 2 CAUTION This installation should be made by a qualified service person and should abide to all local codes. Avoid installation on a surface subjected to frequent vibration or shocks. Do not operate the camera beyond its temperature range or power source ratings. Should any damage or suspected damage occur, shutdown the power source, unplug and contact your service provider.
-
Page 3: Packing Contents
PACKING CONTENTS Wall Plugs Fitting Screws Mounting Template Quick Start Guide Terminal Blocks Software CD RJ45 Coupler Allen Key INSTALLATION Installation Procedure Take out the camera, keep the dome cover down, rotate and remove the cover, shown in Figure 1-1. Figure 1-1 Use the Allen key in the accessory package to unscrew the four star screws, remove the... - Page 4 INSTALLATION Fix the installation bracket Get the mounting template from the accessory package, remove the paper from the label, and stick the label to the place where the camera is to be installed. Figure 1-3 Fix the installation bracket Use a drill with a diameter of 5.5mm to drill four round holes with a depth of 40mm.
- Page 5 DIMENSIONS IP CAMERA QUICK START GUIDE...
- Page 6 CONNECTION Power connector SWITCH Network Cable (RJ45) MODEM PC/Laptop • Check the power supply is the correct level and connect your power supply into the power port on the camera • Connect the RJ45 connector to your network switch. If you are using PoE Switch (Power over Ethernet) Please Remove the power supply to the camera, as this is not required.
-
Page 7: Finding The Camera's Ip Address
FINDING THE CAMERA’S IP ADDRESS Use the steps below to find the camera’s IP address and connect to the camera over the local area network (LAN) using NVMS, UPnP on Windows®7 or Bonjour in Mac OS® 1. Finding the camera IP using BNC Test Cable When the BNC test cable is connected to the camera, the IP address is shown on the test monitor. - Page 8 FINDING THE CAMERA’S IP ADDRESS (continued) Click on a camera IP address in Enter Camera User Device List to login. (default: admin) Under User Name, enter the user name for the camera (default: admin) Under Password, enter the password for the camera (default: admin) Click Continue.
- Page 9 FINDING THE CAMERA’S IP ADDRESS USING UPNP IN WINDOWS® 7. NOTE: To use this method, your router must support UPnP and the camera and computer must be on the same network. UPnP is enabled in the camera by default, and can be enabled/disabled using NVMS (Check the NVMS manual for details).
-
Page 10: Finding The Camera's Ip Address Using Bonjour® In Mac Os
FINDING THE CAMERA’S IP ADDRESS USING BONJOUR® IN MAC OS®. NOTE: To use this method, the camera computer must be on the same network. Bonjour® is enabled by default, and can be enabled/disabled using NVMS (check the NVMS manual for details). Open Safari®... -
Page 11: Viewing Angles
VIEWING ANGLES Full 360º view screen Full 360º & 3 camera PTZ view IP CAMERA QUICK START GUIDE... -
Page 12: Troubleshooting
TROUBLESHOOTING Can’t find the camera IP address using NVMS or other software: • Make sure Ethernet and/or DC power cables are correctly connected to the camera. • Make sure the PoE switch or DC power source meets the camera’s power requirements (class 3 PoE / 450mA / 5.4W /12V). If using PoE, make sure the PoE switch is powered on. - Page 13 TROUBLESHOOTING Can’t connect to camera on a web browser using a DDNS address: • Port forwarding not set up. Make sure the HTTP port (default: 80) and Control port (default: 30001)are forwarded on your router to the camera’s local IP address. •...
- Page 14 NOTES IP CAMERA QUICK START GUIDE...
- Page 15 NOTES IP CAMERA QUICK START GUIDE...
Need help?
Do you have a question about the CBP360-IP12M and is the answer not in the manual?
Questions and answers