
Subscribe to Our Youtube Channel
Related Manuals for Concept Pro CVP9324DN-IP


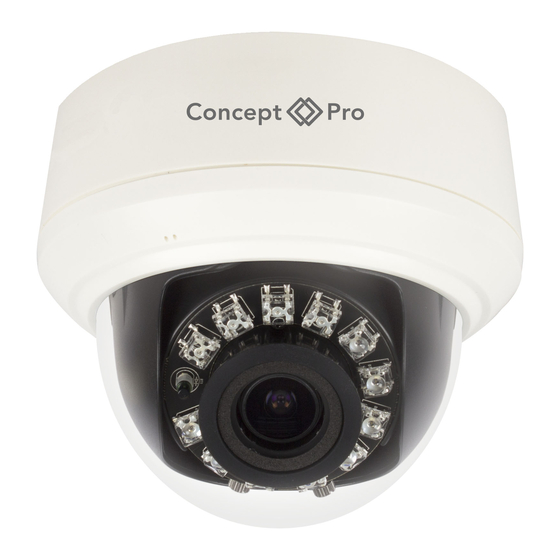
Summary of Contents for Concept Pro CVP9324DN-IP
- Page 1 CVP9324DN-IP CVP9324DNIR-IP CVP9324DN-IP4M CVP9324DNIR-IP4M CVP9324DNIR-IP4M-G CVP9324DNIR-IP4M-Z IP External Dome Camera QUICK START GUIDE IP CAMERA QUICK START GUIDE...
- Page 2 1. CONTENTS Packaging Contents IP Camera x1 Wall Plugs x3 Fitting Screws x3 Torx Wrench x1 RJ45 Waterproofing Cap x1 Conduit Key x1 Analogue SVO Cable x1 Mounting Template x1 2. INSTALLATION Remove the Dome Cover Loosen the three tamper screws using the provided torx wrench.
- Page 3 3. CONFIGURING THE CAMERA Outer Camera Connections RJ45 10M/100M Base-T Ethernet (PoE/Video) Audio Input Audio Output DC1V Power Connector Alarm Input Alarm Output - If using DC12V to power the camera, ensure the power supply matches the camera power supply requirements specified and connect to the camera DC12V power input. - Connect the RJ45 connector to a network switch.
- Page 4 This is highly recommended for all users to ensure proper device security. Using the Concept Pro Test Monitor (VLEDTM-TS7) Turn on the VLEDTM-TS7 test monitor and enter the IP Camera menu, then select ONVIF. ONVIF will open and automatically scan the connected network for ONVIF devices.
- Page 5 5. Troubleshooting Common Issues Answered Can’t find the camera IP address using Concept Pro Lite or other software: • Make sure Ethernet and/or DC power cables are correctly connected to the camera. • Make sure the PoE switch or DC power source meets the camera power requirements.
- Page 6 6. Caution Safety Precautions 1. This installation should be made by qualified service personnel and should adhere to all local codes. 2. Avoid installation on a surface subjected to frequent vibration or shocks. 3. Do not operate the camera beyond its specified temperature range or power source ratings.
- Page 7 Number Plate Capture installations. Simply follow the instructions below to configure the settings for Number Plate Capture. 1. Connect the Concept Pro IP camera to a PoE switch and PC. Navigate to the IP camera web interface. 2. From the live video stream, right-click the video and select ‘Sensor’.
- Page 8 3. To alter the Sensor settings, select Debug Mode in the lower-left. 4. Select the Exposure tab and apply the following settings: - Mode > Manual - Meter Area > Whole - Fix Shutter > 1/20000 - Fixed Gain > 50* - Iris >...
- Page 9 5. Select the DayNight tab and apply the following settings: - D/N Setting > Night Mode - IR > Fixed - Strength > 50%* * This setting may require adjusting depending on the installation environment. Please be sure to test and just settings for optimal performance. 6.
- Page 10 NOTES IP CAMERA QUICK START GUIDE...
- Page 11 NOTES IP CAMERA QUICK START GUIDE...
- Page 12 Design and specification are subject to change without notice.
Need help?
Do you have a question about the CVP9324DN-IP and is the answer not in the manual?
Questions and answers