Table of Contents
Advertisement
Quick Links
Advertisement
Table of Contents

Related Manuals for ROBOTIQ Palletizing Solution


Summary of Contents for ROBOTIQ Palletizing Solution
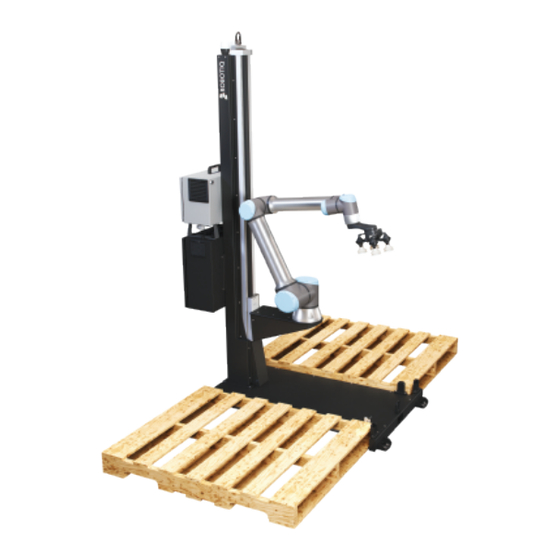
- Page 1 Palletizing Solution For installation on Universal Robots X-990105-F...
-
Page 2: What Is Supplied
2. Cut all straps that retain the components and remove all cardboard boxes out of the crate. Do not operate the Palletizing Solution or even turn 3. Unscrew the four (4) bolts that retain the base into the on the power supply before the device is firmly crate. -
Page 3: Mechanical & Electrical Installation
Using the set of wheels provided with the Solution 1. Screw the four (4) provided leveling bolts to lift the solution (about 1 centimeter high). 2. Secure the four (4) wheels using the provided screws. 3. Unscrew the four (4) bolts to get the solution down on its wheels. Do not work on the Solution while it is on its wheels as it is not stable. - Page 4 Harness cable for safety signals Power cable to UR controller 1.Place the robot on the plate so its power cable is oriented towards the linear axis. Align properly with the two dowel pins (already installed on the robot base) and secure the robot using four (4) M8 screws.
- Page 5 For other configurations installation, refer to the PowerPick Vacuum Gripper manual, available at support.robotiq.com. 1. To mount the Vacuum Gripper, its accessories and the cable routing system, power on the robot and rotate the joints, as described in the table below.
- Page 6 5. Locate the 10 mm air tube section with the white labels: it will be connected to the Gripper. a. Connect the 10 mm air tube to the Gripper. b. In the first sleeve, remove the remaining protective layers from the double sided tape and place the air Cable Routing (image at bottom of page) tube so the white label #1 is at the edge of the sleeve Use dry and filtered air only.
-
Page 7: Minimum Maximum
Connect the three (3) wires of the cable to the robot controller as described below. To complete the installation and for all additional information about the Robotiq Palletizing Solution and its software, Connection Wire color please refer to the corresponding sections of the instruction...
Need help?
Do you have a question about the Palletizing Solution and is the answer not in the manual?
Questions and answers