ROBOTIQ PE Series Quick Start Manual
Hide thumbs
Also See for PE Series:
- Original notice (97 pages) ,
- Instruction manual (104 pages) ,
- Quick start manual (10 pages)
Advertisement
Advertisement
Table of Contents

Related Manuals for ROBOTIQ PE Series


Summary of Contents for ROBOTIQ PE Series
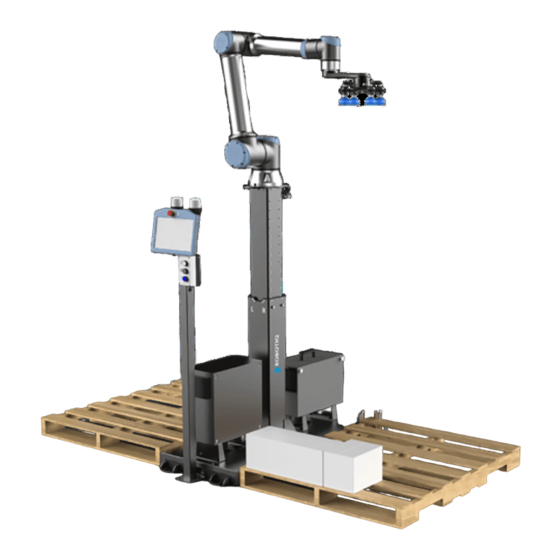
- Page 1 Palletizing Solution PE Series For installation on Universal Robots X-990114-C...
-
Page 2: Tools Needed
This step-by-step guide will allow you to install and test your Robotiq Palletizing Solution PE Series on Universal Robots. 3. TOOLS NEEDED 1. WHAT IS SUPPLIED? -
Page 3: Mechanical & Electrical Installation
(the side on which is the notch to let the casters. power cable through the robot base) is oriented towards the front of the Solution (towards the Robotiq Controller). Align properly with the two dowel pins (already installed on the robot base), and secure the robot using four (4) M8 x 25 mm screws and Belleville washers. - Page 4 (2) screws on the right side, with a 15 Nm torque. 5. Place the robot on the plate so that the back of the robot is oriented towards the Robotiq Controller. Align properly Push Button Enclosure and Teach Pendant Rack...
- Page 5 5. Connect the Ethernet/USB converter cable to a USB port. 6. Connect the Ethernet cable to the Ethernet/USB adapter. 2. Run the cable of the Robotiq coupling through one of Centering the Solution the holes in the back base plate.
- Page 6 Configurator to find out if it is needed in your 7. Move the robot so the robot tool flange is parallel to the case. Available at designer.suite.robotiq.com ground: change the feature reference to Base and modify the tool position like the following: RX=0°, RY= 180°, RZ=0°.
- Page 7 Follow ISO 8573-1, class 3.4.3 Standard. Elbow Wrist • Use of a local pressure regulator with a filter Robot bracket bracket and air dryer is recommended. model sticker sticker 180 mm 10 mm UR10 11. Shutdown the robot and power off the Robotiq controller.
- Page 8 2. Run the gripper's coupling cable to the UR controller. qualified personnel. If you use the anchors provided 3. Connect the white, green and bare wires to the Robotiq with the Solution, it should be installed in 28 MPa RS-485 signal converter. Also, connect the red (24V) and [4000 psi] undamaged concrete (minimum).
Need help?
Do you have a question about the PE Series and is the answer not in the manual?
Questions and answers