ROBOTIQ PE Series Quick Start Manual
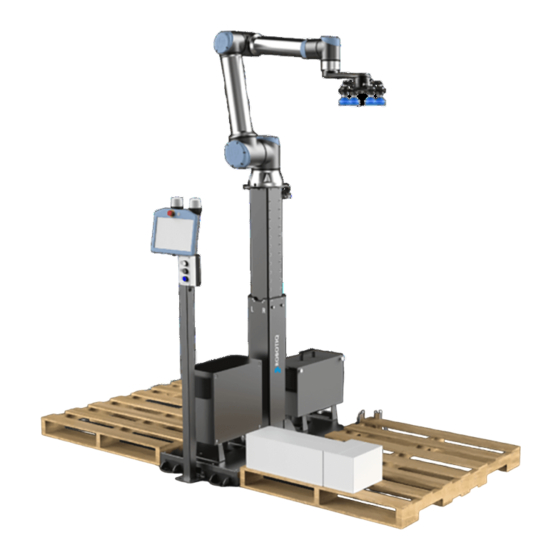
Palletizing solution
Hide thumbs
Also See for PE Series:
- Original notice (97 pages) ,
- Quick start manual (10 pages) ,
- Instruction manual (104 pages)
Table of Contents
Advertisement
Quick Links
Advertisement
Table of Contents

Related Manuals for ROBOTIQ PE Series


Summary of Contents for ROBOTIQ PE Series
- Page 1 Palletizing Solution PE Series For installation on Universal Robots X-990114-E...
-
Page 2: Tools Needed
THANK YOU FOR 3. TOOLS NEEDED CHOOSING ROBOTIQ Included Not included This step-by-step guide will allow you to install and test your Robotiq Palletizing Solution PE Series • Power screwdriver on Universal Robots. • 12.7mm (1/2 in) concrete drill •... -
Page 3: Mechanical & Electrical Installation
(the side where the notch to let the power cable through the robot base is) is oriented towards the front of the Solution (towards the Robotiq Controller). Align properly with the two dowel pins (already installed on the robot base), and secure the robot using four (4) M8 x 25 mm screws and Belleville washers. - Page 4 4. Place the robot on the plate so that the back of the robot M6 x 20 mm screws and washers. Tuck excess cable into is oriented towards the Robotiq Controller. Align properly the base. with the two dowel pins (already installed on the robot 2.
- Page 5 3. Make sure the six (6) screws that hold the pedestal in place are tight. Required torque is 15 Nm. 2. Run the cable of the Robotiq coupling through one of 4. Unscrew half a turn the four (4) screws that secure the the holes in the back base plate.
- Page 6 2. Remove the protective layers from the double sided tape and install the PowerPick Controller on the Robotiq Controller, with pneumatic 10. Tighten the four (4) screws to secure the column onto the fittings pointing to the pedestal column. Leave base.
- Page 7 4. Install eight pieces of double sided tape: a. Take two pieces of double sided tape and remove one protective layer from each of them. Inside the first sleeve, in one end of the second Hook and Loop closure (see the 100 mm marks on the image), apply the two Cable Routing (image at bottom of page) pieces of double sided tape side by side.
- Page 8 7. Run the air tube through the base via a hole under the qualified personnel. If you use the anchors provided Robotiq Controller. Make it run through the hole at the back with the Solution, it should be installed in 28 MPa of the base.
Need help?
Do you have a question about the PE Series and is the answer not in the manual?
Questions and answers