Advertisement
Quick Links
SSV WORKS, 201 N. Rice Ave Unit A, Oxnard, CA 93030
www.SSVworks.com | Phone: 818-991-1778 | Fax: 866-293-6751
WARRANTY INFORMATION:
All SSV Works enclosures are covered by a limited lifetime warranty against defects in material
or workmanship. All SSV Works Electronics are covered by a limited 1 year warranty against
defects in material or workmanship. All SSV Works Speakers are covered by a limited 1 year
warranty against defects in material or workmanship. Labor for replacement of defective
components is not covered. Contact SSV Works for further warranty information.
TOOLS NEEDED FOR INSTALLATION
- T-30 Torx Driver
- 10mm Wrench
PARTS LIST IMAGES
1. MT-DM3 Dash Panel
5. MRB3 Power & Ground
Connector
9. #6x.5" Dash Mount Screws &
#4x.45" MRB3 Mount Screws x2
- Drill
- 9/16" and 3/32" drill bit
2. MRB3 Bluetooth Media
Player and Brain
6. Antenna
10. MRB3 Brain Plate Mounting
Screws x3
Can-Am Maverick Trail/Sport
!
- #2 Phillips screwdriver
3. MRB3 Brain Tray
7. M6 x 16mm Screw & Nut x1
11. MRB3 Brain Mounting
M5 Screws x4
MT-2A
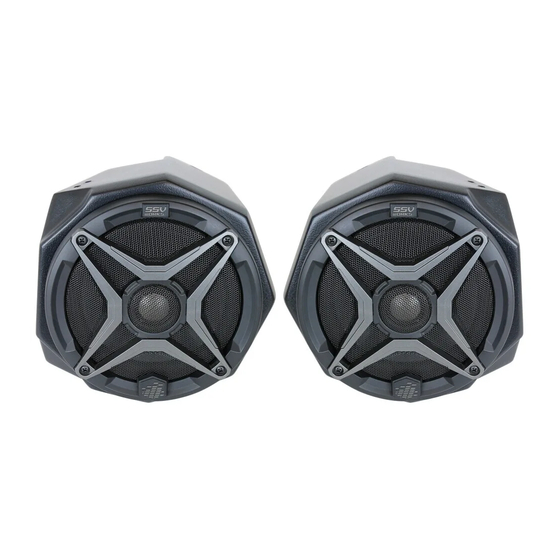
2-Speaker Audio Kit
Please read and understand these
instructions completely before
installation to avoid possible injury, or
damage to the accessory or vehicle.
4. Front B-H1149 Speaker Wire
8. M6 Washer x2
12. Zip Ties
Advertisement

Summary of Contents for SSV Works MT-2A
- Page 1 All SSV Works Electronics are covered by a limited 1 year warranty against installation to avoid possible injury, or defects in material or workmanship. All SSV Works Speakers are covered by a limited 1 year damage to the accessory or vehicle.
- Page 2 Fasten MRB3 brain to the tray with provided M5 hardware. E. Using 9/16” drill bit, drill hole off set to the left of the dash for C. Feed controller cable through the 9/16” hole that was drilled in the MRB3 controller cable. figure E. MT-2A...
- Page 3 F. Put the assembled DM3 in place. Using the SSV provided hardware (T30 torx screw, washers, and 10mm nut) fasten down the DM3 from the bottom. Drilling for this step is not required, the hole needed is factory. G. Drill a pilot hole on either side of the DM3 with a 3/32” drill bit. By hand fasten down using the (2) #6x.5” screws. MT-2A...
-
Page 4: Tools Needed For Installation
All SSV Works Electronics are covered by a limited 1 year warranty against installation to avoid possible injury, or defects in material or workmanship. All SSV Works Speakers are covered by a limited 1 year damage to the accessory or vehicle. - Page 5 Avoid sharp edges and rotating parts, zip tie harness in place. (three) mounting screws to fully secure the pod. Note: Verify each end of the harness goes to the correct side of the vehicle. Each connector is properly labeled driver/passenger MT-2A...
- Page 6 K1.Connect the MRB3 controller to K2. Connect the power/ground wire. K3. Connect the antenna. Route output from the MRB3 brain to the brain. the antenna wire under dash. the B-H1149 speaker harness. MT-2A © 2018 SSV Works, Oxnard, CA 93030 MT-2A Rev. A 12-13-18...


Need help?
Do you have a question about the MT-2A and is the answer not in the manual?
Questions and answers