Advertisement
Table of Contents
- 1 Table of Contents
- 2 Packing List
- 3 Pre-Installation
- 4 Best Practices for Piping & Drain Installation
- 5 Fig 1
- 6 Adding Media & Installation Instructions
- 7 Attaching the Brine Tubing to the Brine Solution Tank & the Fleck 9100 Brine Valve
- 8 What to Do if Your Filter Tank Does Not Sit Level on the Floor
- Download this manual
Clean Water Made Easy
www.cleanwaterstore.com
Fleck 9100 Softener Installation &
Start-Up Guide
Thank you for purchasing a Clean Water System! With proper
installation and a little routine maintenance your system will be
providing filtered water for many years.
Your new system comes with a printed Fleck Service manual, which
along with this start-up guide will help guide you in the installation and
start-up of your new system.
The Fleck service manual covers other types of systems as well such as water softeners and filters, so there
may be information in your Fleck service manual that does not pertain to your system. Please review this
start-up guide entirely before beginning to install your system and follow the steps outlined for best results.
Questions?
Call us toll-free: 1-888-600-5426 or 1-831-462-8500
Email us:
support@cleanwaterstore.com
See more information on our website:
www.cleanwaterstore.com/resources
Advertisement
Table of Contents

Related Manuals for Clean Water Systems Fleck 9100


Summary of Contents for Clean Water Systems Fleck 9100
- Page 1 Clean Water Made Easy www.cleanwaterstore.com Fleck 9100 Softener Installation & Start-Up Guide Thank you for purchasing a Clean Water System! With proper installation and a little routine maintenance your system will be providing filtered water for many years. Your new system comes with a printed Fleck Service manual, which along with this start-up guide will help guide you in the installation and start-up of your new system.
- Page 2 Fig 1 ................................5 Adding Media & Installation Instructions......................6 Attaching the brine tubing to the brine solution tank & the Fleck 9100 brine valve ........... 7 What to Do If Your Filter Tank Does Not Sit Level on the Floor ................8 Page 2 www.cleanwaterstore.com...
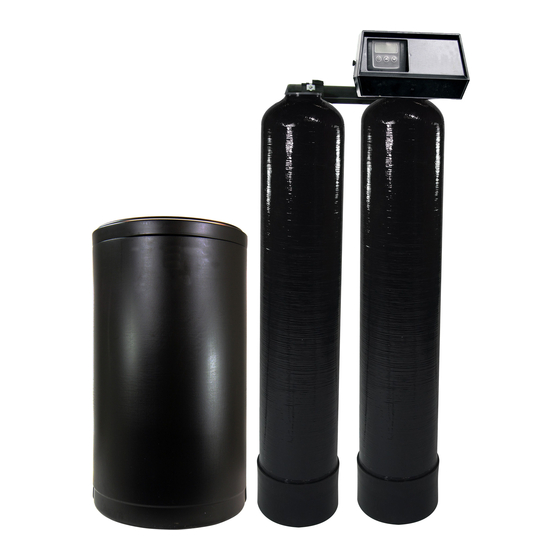
- Page 3 Model Size: 2.0 Cubic Foot Softener: Quantity Description Fleck 9100 backwash control valve & bypass valve 1 and two top screens Pipe connector kit (either 1”or ¾”) 12” x 52” filter tank with distributor tube Two 1.0 cubic foot boxes of Softener resin media Brine solution tank Model Size: 2.5 Cubic Foot Softener:...
- Page 4 1. See typical installation (see Fig 1). The water softener is installed after the pressure tank. 2. Make sure to connect the inlet pipe to the Fleck 9100 inlet and the outlet to the outlet (see Fig 2). You can see the in and out arrows on the bypass valve which is where the pipes are connected.
- Page 5 6. The drain line tubing (not supplied) is connected to a drain from the drain outlet using flexible ½” ID tubing. Note that the drain can run up above the Fleck 9100 control and into a drain, it does not have to drain down, as the filter backwashes under line pressure from your well pump.
- Page 6 Adding Media & Installation Instructions 1. Unscrew by hand the Fleck 9100 control valve from top of the tanks if it was shipped screwed on. Place distributor tubes in tank if not already inside tanks. If not already done, make sure blue cap is on top of distributor tubes, or wrap the top of distributor tubes with electrical or duct tape.
- Page 7 Fleck 9100 Softener Installation & Startup Guide 7. Add a small amount of vegetable cooking oil to the tank threads and screw on Fleck 9100 control valve carefully. Alternatively you can use silicone grease, but do not use pipe-joint compound, Teflon tape, or Vaseline or other petroleum greases to lubricate tank threads.
- Page 8 13. See the Fleck 9100 Service Manual for instructions on how to program and set softener. Your Fleck 9100 is already programmed for the size tank you have, but you do need to set the current time of day and program the water softener with your water hardness.
Need help?
Do you have a question about the Fleck 9100 and is the answer not in the manual?
Questions and answers